Viewing and Updating Project Details
You view and manage projects comprising of transaction assignments, project attachments, and project contacts on the Project Details page.
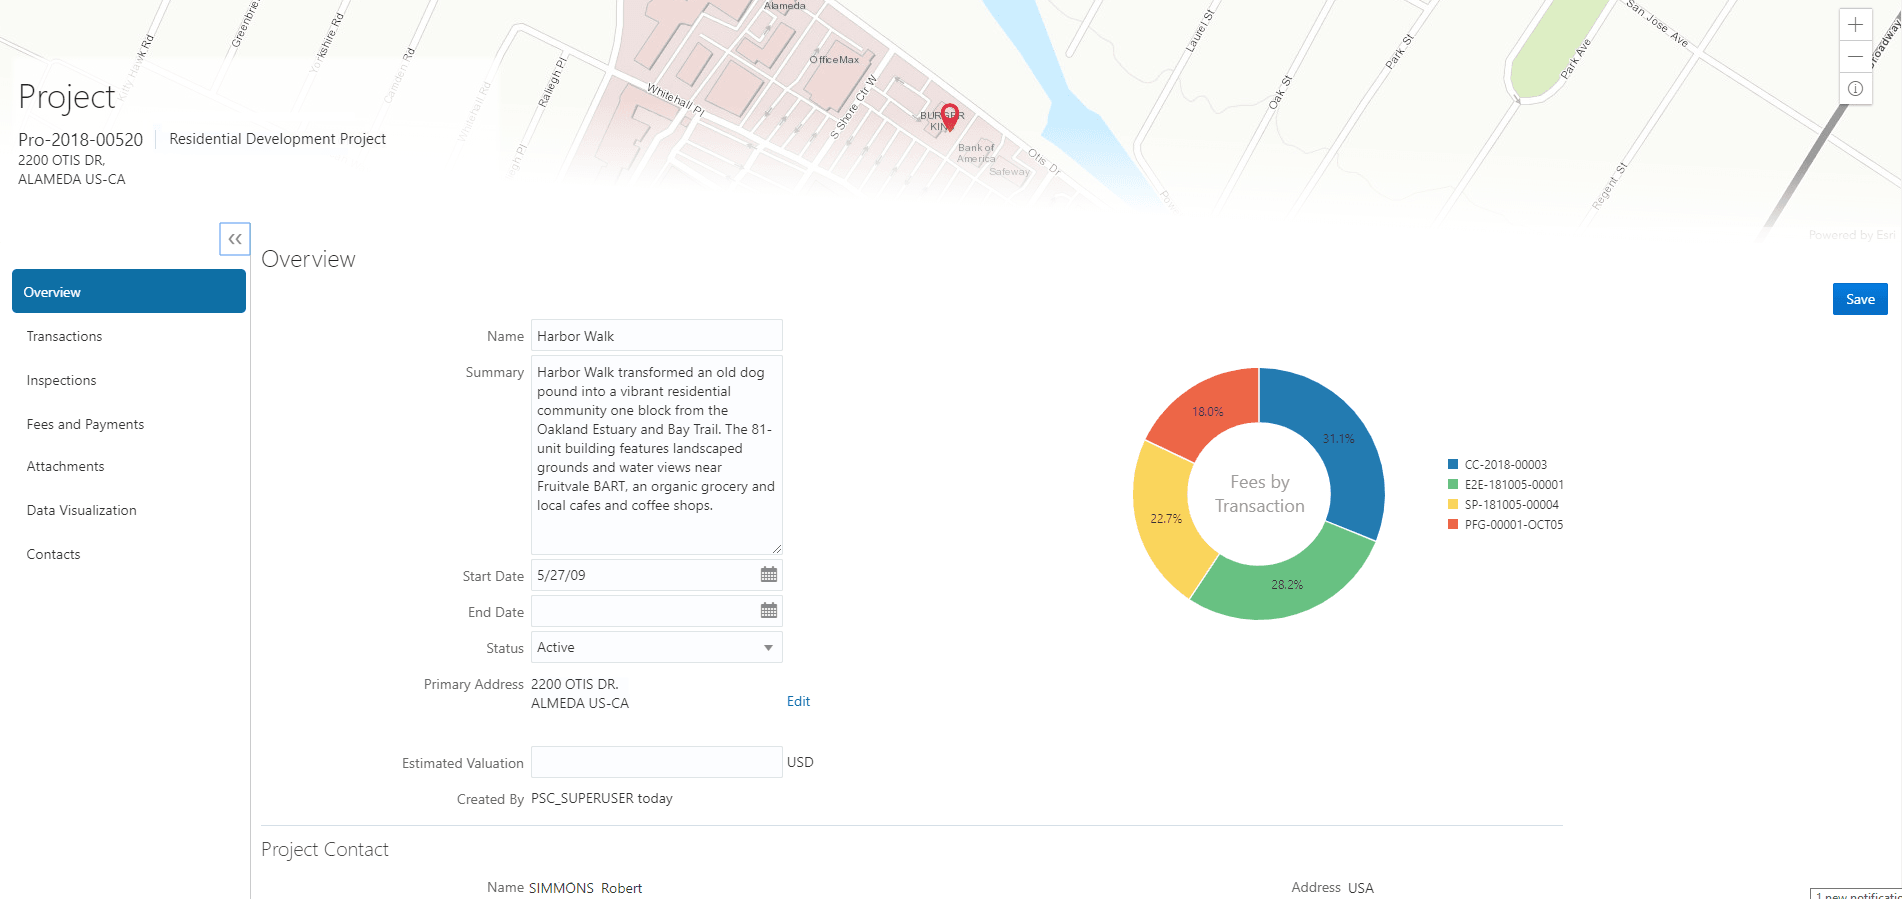
The header displays the project code, project type description, and the project primary address. A map marker displays the primary location of the selected project on the map.
The left panel lists the various links to the project detail pages – Overview, Transactions, Inspections, Fees and Payments, Attachments, and Contacts. Clicking each link opens the detail view on the right panel.
This example illustrates the Project Details page:
Using the Overview Page
You view a project summary on the Overview page, where you get a snapshot of information regarding a project with links to more detail.
-
From the Fusion Applications Permitting and Licensing homepage, click the Project List tile.
-
On the Projects page, click a project record to open the Overview page.
-
On the Overview page, review details or enter information in the Overview section:
-
Page Elements
Description
Project Details section
Name
View the name of the project.
Summary
View a detailed description of the project.
Project Type
View the type of project.
Start Date
View the start date for the project.
End Date
View the end date of the project.
Created By
View the name of the user who created the project record.
Estimated Valuation
View the estimated amount for the project.
Update Details button Use the button to open the Project details drawer, from where you can update the details for the project, such as the name, summary, stastus, start and end dates, valuation and address. You can also update or delete the project image. Primary Contact section
Primary Contact
View the name, phone, address and email for the primary contact for the project.
View Details button
Click the button to go to the Contacts page for the project. You can add new contacts or select saved contacts to be added to the project.
Only one contact can be marked as primary at a time. If you turn on the Primary switch for another contact, then that contact becomes the only primary. A primary contact cannot be deleted. To delete a contact, first mark another contact as primary and then from the row Actions menu, select the option to delete.
Fees and Payments section
Total Fees
View the sum of all the fee values from all the transactions assigned to the project.
View Details button
Click the button to go to the Fees and Payments page for the project.
Using the Transactions Page
On the Projects page, click the project card or select the View Details button for a project in the grid.
Click Transactions on the left panel to access the list of transactions that are assigned to the project. The transactions are listed in different tabs based on the application types: Permits, and Planning Applications. The Transactions page provides these details:
Page Elements
Description
Search
Use the Search field to search for applications to be linked to the project. By default, this field has an In Progress Applications filter applied.
Link Applications button
Click to open the Link Applications drawer and select transactions to link to the project.
See Assigning Transactions under Adding a New Project.
Actions menu
From the row-level Actions menu, you can view the details of the application linked to the project, as well as remove it from the project.
See Unassigning Transactions from a Project under Adding a New Project.

Click the Export icon to download the list of applications in a CSV file format. The downloaded file displays all visible fields in separate columns.
Application ID and Application Type
Displays the unique identifier of the application and its type.
Status
Displays the status of the application.
Condition
When applicable, displays the name of the condition applied to the application.
Property
Displays the address of the property for which the application is applied.
Description
Displays the description or scope of work for which the application was created.
Applicant
Displays the name, email ID, and contact number of the applicant associated to the transaction.
Submitted On
Displays the date on which the application was submitted.
Expiration Date
Displays the date on which the application is set to be expired.
Total Fees and Balance Due
Displays the total fees paid and the balance due, if any.
Using the Inspections Page
-
On the Projects page, click the project card or select the View Details button for a project in the grid.
Click Inspections on the left panel to access the list of permit inspections that are assigned to the project. The Inspections page provides these details:
Page Elements
Description
Application ID and Application Type
Displays the application ID and type.
Inspection and Inspection Type
Displays the inspection ID and type.
Status
Displays the schedule status of the inspection, for example, Scheduled, Requested, Completed, and Canceled.
Inspection Schedule
Displays the time and date set for the inspection.
Inspector
Displays the inspector assigned to the inspection.
Property
Displays the property associated with the inspection.
Result
Displays the result of the inspection, Pass or Fail.
Reference Entity
Displays the reference entity associated with the inspection.
Actions menu
From the row-level Actions menu, click View Details to view the details of the inspection for the project. All sections on this page are display-only. Use the View Application action to view the application associated with the inspection.
See Reviewing Inspection Details.
Using the Attachments Page
Attachments provide supporting documentation needed by users while managing projects. You view a list of files and upload or download documents associated with your project on the Attachments page.
-
On the Projects page, click the project card or select the View Details button for a project in the grid.
-
Click Attachments on the left panel to access the attachments associated with the project.
-
Click the
Export icon to export the
attachments as a .csv file. -
To find a specific attachment, you can enter values in the search field.
-
The Attachments page provides these details in the grid:
Page Elements
Description
File Name, File Size, Uploaded By, Uploaded On
View the following information in the Filename field:
-
Filename with file type extension
-
File Size
-
Uploaded By user name
-
Uploaded On date
Description
View the description of the attachment as entered by the user who added the attachment.
Actions
Click the actions icon to select and perform an action:
-
View Details
-
Download
-
Delete
-
Adding Project Attachments
You upload files to the Attachments page using the New attachment drawer.
-
On the Projects page, click the project card or select the View Details button for a project in the grid.
Click the Attachments link to view the Attachments page for the project.
Click the Add icon.
Select the file to upload in the browser dialog box and click Open. The filename appears on the New attachment drawer.
-
On the New attachment page, you can enter a description of the file.
Click the Upload button.
Downloading Project Attachments
You download a document on the Attachments page.
-
On the Projects page, click the project card or select the View Details button for a project in the grid.
Click the Attachments link to view the Attachments page for the project.
-
In the attachments grid, click the three-dot Actions menu for the document you want to download.
Select Download and save to the location of your choice.
You can also select multiple attachments using the row checkboxes and download them together using the Download button available above the attachments grid.
Deleting Project Attachments
You can use this method for deleting one or more documents.
-
On the Projects page, click the project card or select the View Details button for a project in the grid.
Click the Attachments link to view the Attachments page for the project.
Click the Edit icon above the grid.
Select one or more documents to delete.
Click the Delete icon.
To delete a single document, access the Attachments page, and select Delete in the Action menu for the document you want to delete.
You can also select multiple attachments using the row checkboxes and delete them together using the Delete button available above the attachments grid.
Using the Contacts Page
-
On the Projects page, click the project card or select the View Details button for a project in the grid.
-
Click Contacts on the left panel to access the list of contacts that are added to the project. You will see the primary contact that was added at the time of creating the project.
-
From the three-dot Actions menu, click View Details for the contact record to open the Contact details drawer. You can review and edit certain fields here.
Note:You cannot delete a primary contact or turn off the Primary Contact option. Only agency staff such as an administrator can select from the registered profiles to assign a primary contact. Such an assignment will automatically update the earlier primary contact as not primary.
-
Click Save to save your changes to the Contact details drawer and return to the Contacts page.
-
Click Add New Contact to add a brand-new contact manually. You create a new contact by entering all the contact details and then include in the transaction.
As a registered user, you cannot make primary contact assignments for your project.
-
Click Select from Saved Contacts to add a contact from the registered contacts. First, select a contact name from a list of contacts that are already registered in the system and then add the details.
As a user, you cannot make primary contact assignments for your project. Only agency staff such as an administrator can change a primary contact from the registered profiles. Once changed, the primary contact that was selected at the time of creating the project will longer be a primary contact.
Using the Fees and Payments Page
-
On the Projects page, click the project card or select the View Details button for a project in the grid.
-
Click Fees and Payments on the left panel to access the details of the fees and payments associated with a submitted transaction. The Fees and Payments page provides these details:
Page Elements
Description
Total Fees
Displays the total amount of fees that may be applicable to the transaction.
You can see this both at the top of the grid and as a column in the grid.
At the grid level, you can click the Total Fees link to access the Total fee details drawer, which displays details of the different types of fees.
Fees paid
Displays the amount of the total fees already collected.
You can see this both at the top of the grid and as a column in the grid.
Balance Due
Displays the remaining portion of the fees yet to be collected.
You can see this both at the top of the grid and as a column in the grid.
At the grid level, click the link to access the Amount details drawer which lists the various fee items for which amount is due.
Application ID Application Type
Displays the application ID and type.
Status
Displays the status of the fees and payment transaction, for example Canceled, Pending, Hold, and Due.
In Review
Displays the fee still under review.
Not Payable
Displays the fees that are not payable due to various reasons.
View Deposit Accounts button
Click to open the Deposit accounts drawer and view a list of all deposit accounts associated with the project.
Viewing Deposit Accounts: Agency staff can view a list of all active deposit accounts that are associated with the current project. You select the deposit account to charge fees for a specific transaction that is associated with the project. Click the View Deposit Accounts button on the Fees and Payments page. The Deposit accounts drawer lists the details of accounts:
-
Account Type
-
Click the account link to drill down to the details of the deposit account.
-
Account ID.
-
Primary Owner
-
Balance: Displays the available balance amount in the account.
-
Minimum Balance: Displays the minimum balance that must be maintained in the account.
For information about deposit accounts, see Depositing Funds.