Redwood Experience for Create Work Relationship Process
Enrich the user experience by using the Redwood Create Work Relationship process to create a work relationship for an employee. This process is available for line managers and HR Specialists from the My Team and My Client Groups tabs respectively.
The When and why and Assignment steps are mandatory in the process. You need to complete these steps to create the work relationship
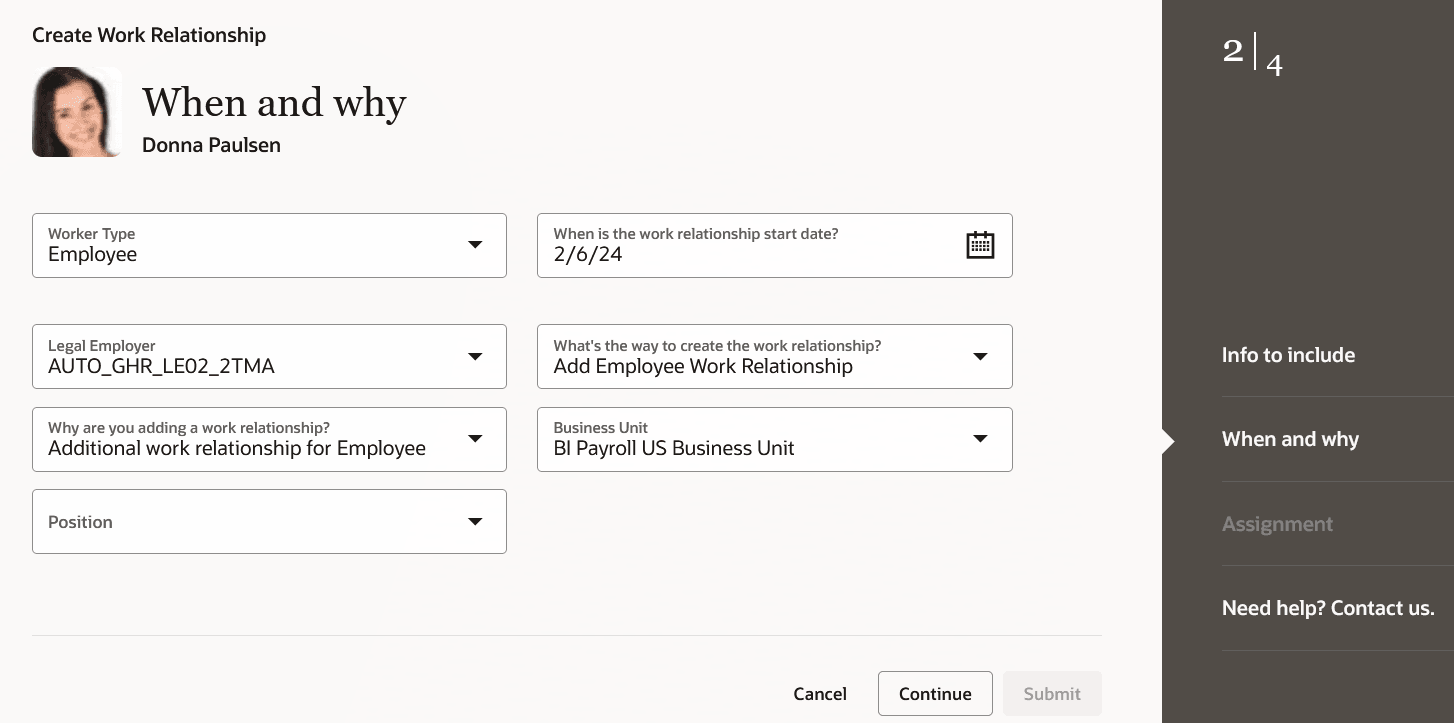 .
.
When and why step of the Create Work Relationship process
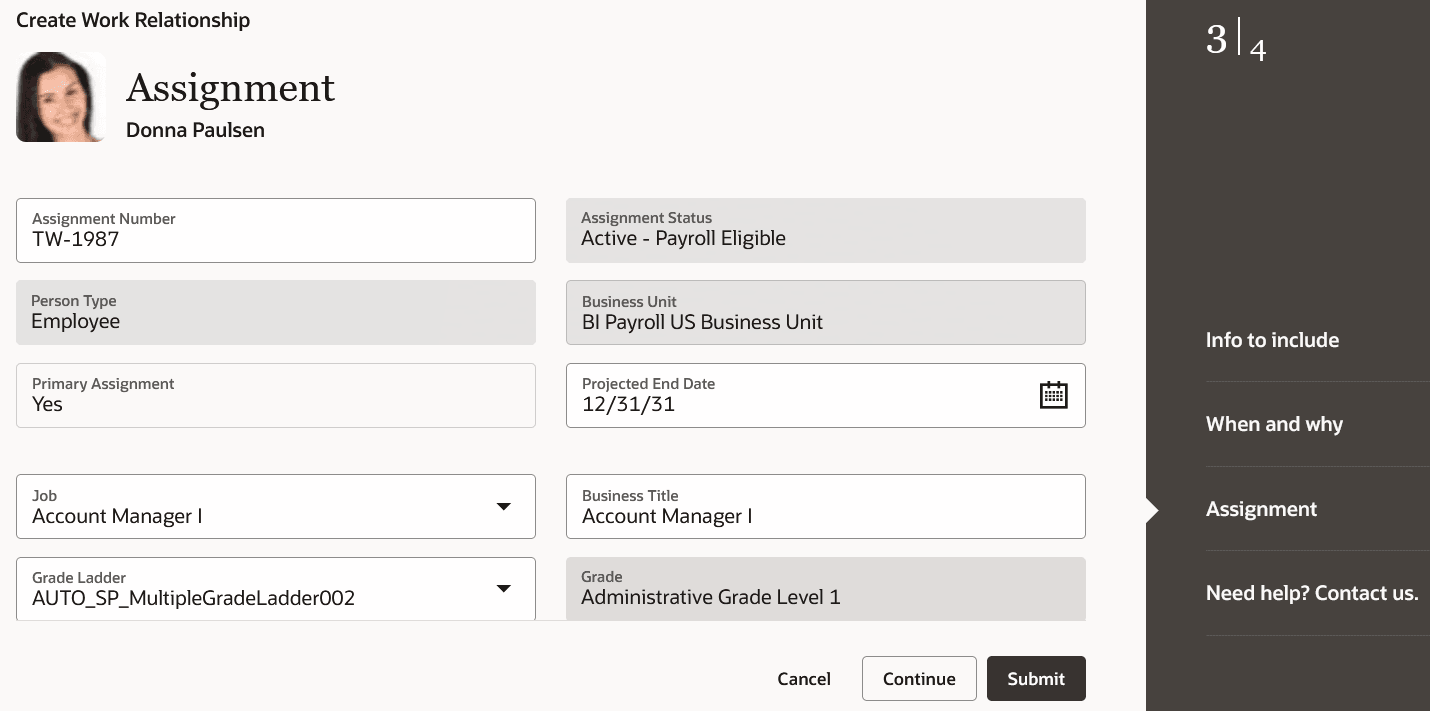
Assignment step of the Create Work Relationship process
The process offers fewer clicks and better performance. By using the new process, you can take advantage of the cohesiveness through the application.
Steps to Enable
To use the Redwood Create Work Relationship process, you need to enable the following profile options at the site level.
| Profile Option | Profile Value |
|---|---|
|
HRC_ELASTIC_SEARCH_ENABLED |
Y |
|
ORA_PER_ORACLE_SEARCH_WORKERSLOV_ENABLED |
Yes |
|
ORA_HCM_VBCS_PWA_ENABLED |
Y |
|
ORA_PER_CREATE_WR_REDWOOD_ENABLED |
Yes |
To enable the profile options, navigate to the Setup and Maintenance work area:
- Search for and click the Manage Administrator Profile Values task.
- Search for and select each of the profile options listed in the table.
- Select the Level as Site.
- In the Profile Value field, enter the applicable value.
- Click Save and Close.
Tips And Considerations
- The action LOV will now additionally show actions of the following action type based on the selected assignment in the create work relationship launch page.
- Hire an Employee
- Add Contingent Worker
- Add Pending Worker
- Add Nonworker
- For example, if employee assignment is selected, then it will additionally show the actions of action type Hire an Employee. Similarly, if contingent worker assignment is selected, it will show Add Contingent Worker action type.
-
For common tips and considerations. refer to the Tips and Considerations section of the New Redwood Process to Promote and Change Position feature in Update 24A.
-
You can personalize this page using constants and business rules. For more information refer to the Extending HCM Redwood Applications Using Visual Builder Studio guide.
Key Resources
For more information, refer to these resources on the Oracle Help Center.
-
Work Relationships topic in the Using Global Human Resources guide
-
Examples of Creating Multiple Work Relationships for a Person in the Using Global Human Resources guide
-
Extending HCM Redwood Applications Using Visual Builder Studio guide
For a listing of all profile options for the recreated pages across applications, see the following document in My Oracle Support:
- HCM Redwood Pages with Profile Options - MOS Document - 2922407.1
Access Requirements
Access to the new Redwood Create Work Relationship process is controlled using the same security privileges that control access to the responsive Create Work Relationship page. If your user doesn’t have access to a step in the process, that step isn’t displayed on the Info to include step.
You need to add the following aggregate privileges to your custom role to get the list of values under the Payroll section:
- Use REST Service - Payroll List of Values (ORA_PAY_REST_SERVICE_ACCESS_PAYROLL_LOV)
- Use REST Service - Payroll Reference Data Lists of Values (ORA_PAY_REST_SERVICE_ACCESS_PAYROLL_REFERENCE_DATA_LOVS)
- Use REST Service - Payroll Legal Organization Lists of Values (ORA_PAY_REST_SERVICE_ACCESS_PAYROLL_LEGAL_ORGANIZATION_LOVS)
For information on existing security privileges, refer to this resource on the Oracle Help Center.
- Security Reference for HCM guide, Cloud HCM