Product Configure Widget for Native Integration with Oracle CPQ
With OSF v5.5.0, a new widget has been introduced for product configuration for the native integration between Oracle Commerce and Oracle CPQ. More details about the integration which has been delivered in 24A can be found here.
Highlights
- Out-of-the-box UI and API’s for CPQ configuration.
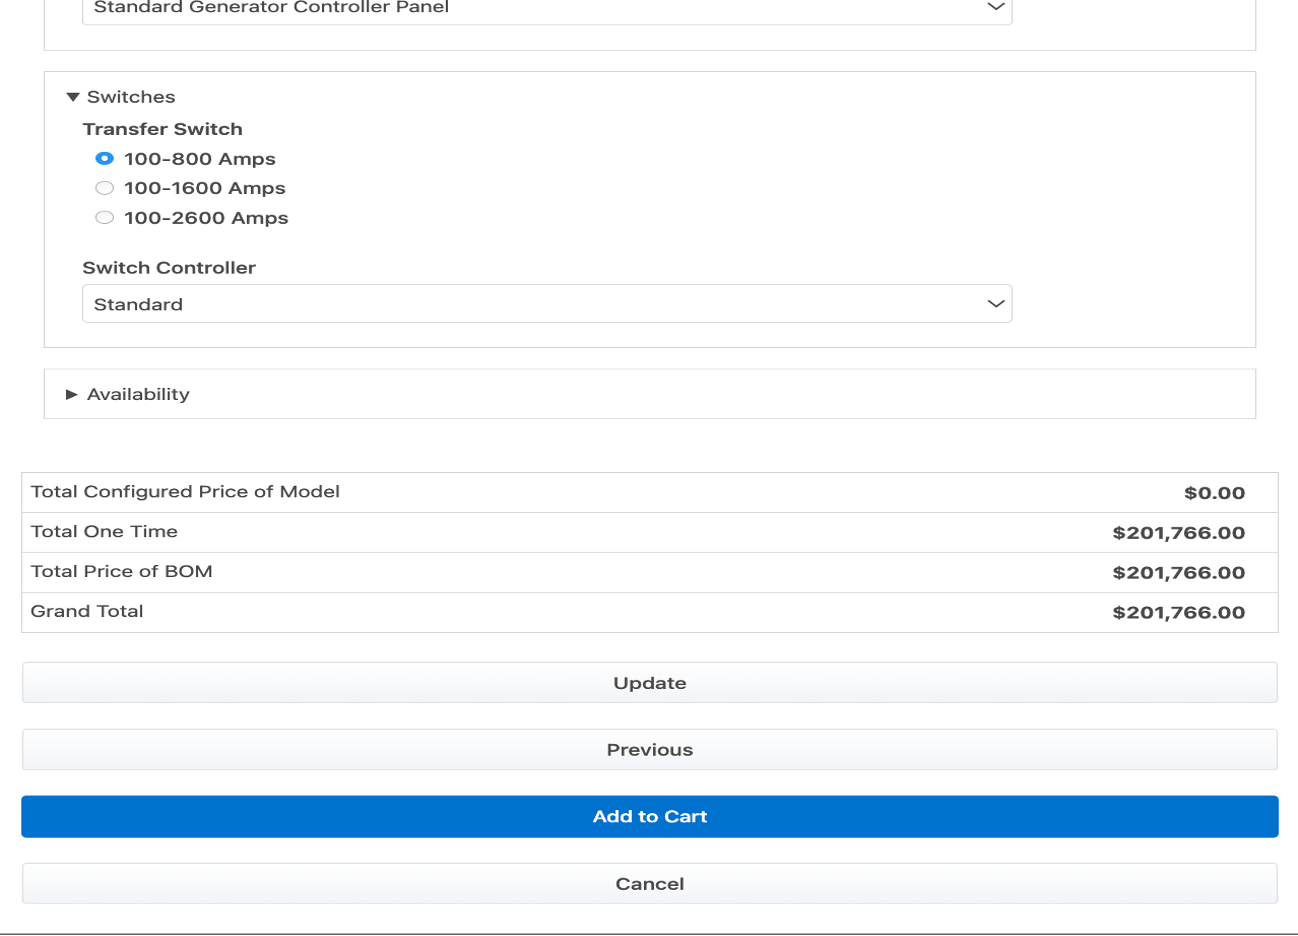
- The new widget facilitates quicker interactions by transmitting and receiving only the changed or delta payload.
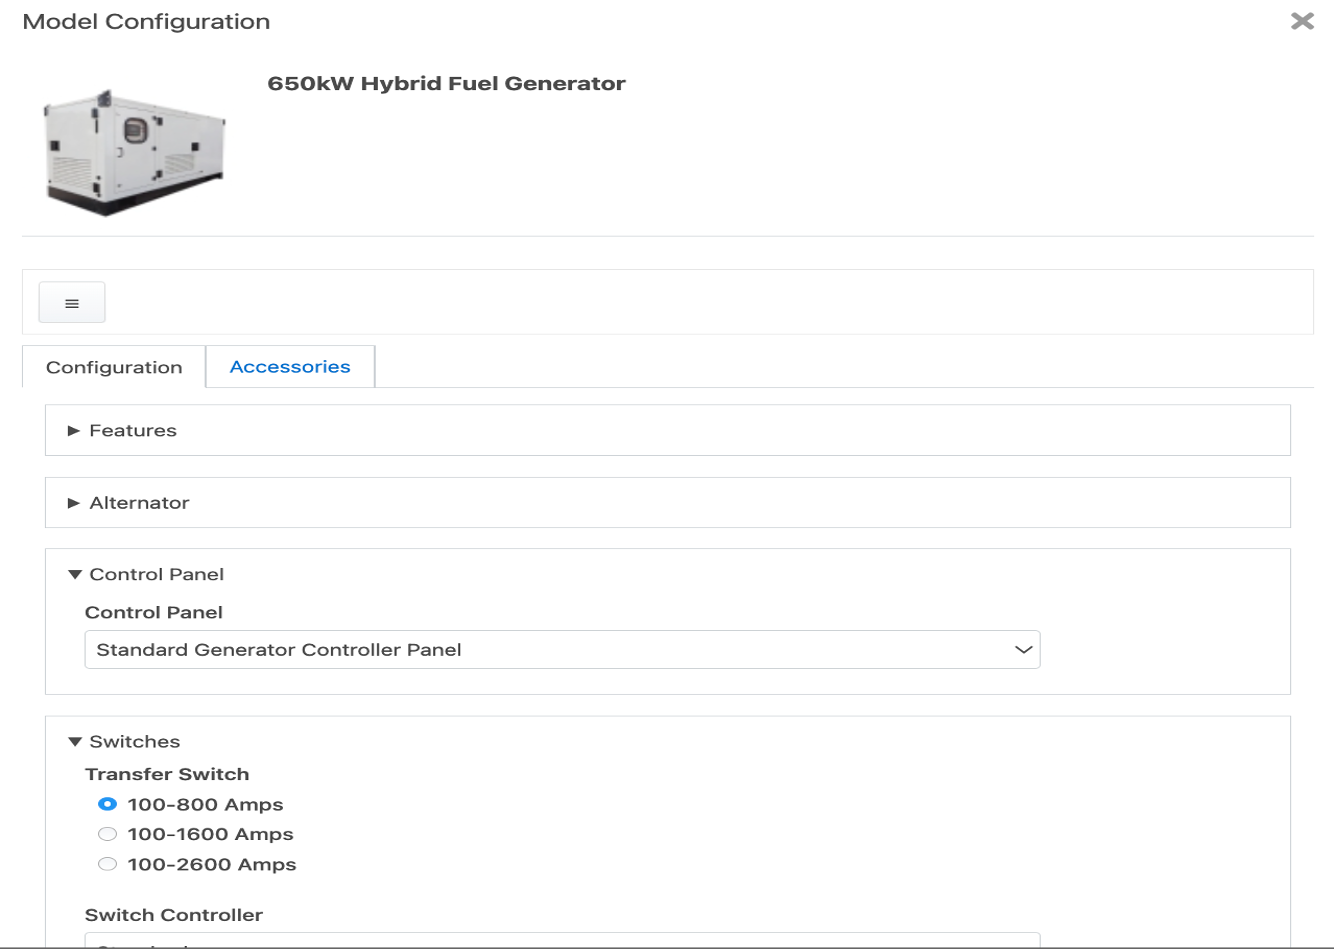
- Effectively handles complex CPQ layout configurations.
- Supports auto update and ajax sensitive properties which eliminates explicit save operations from the shopper.
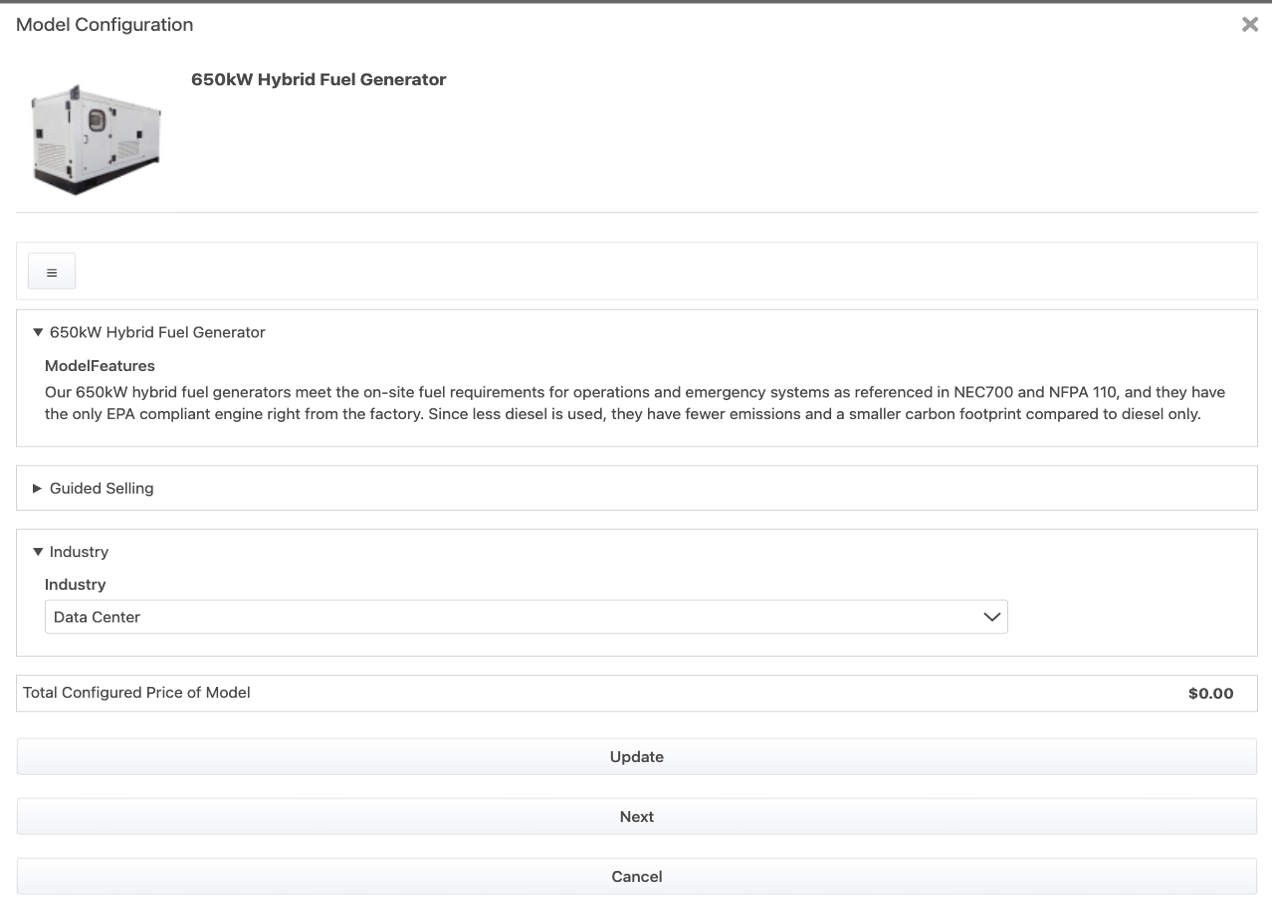
With the new widget, shoppers shall experience seamless integration and optimal performance throughout the configuration process. This widget will also lowers implementation costs for merchants as CPQ configuration is now supported natively on Oracle Commerce.
Steps to Enable
The plug-ins shall be included by default in reference applications after upgrading your OSF workspace to v5.5.0. This section describes how to add them to an existing OSF application.
- First, you must add extensions dependencies to your application.:
- Navigate to your <workspace-dir>/packages/apps/<appname> folder
- Run the following commands:
- yarn add @oracle-cx-commerce/rt-endpoints
- yarn add @oracle-cx-commerce/rt-actions
- yarn install
- Make sure the dependencies are installed to your local node_modules/@oracle-cx-commerce folder.
- Now configure the application.
- First, open the following file, or create it if it does not exist:
packages/apps/<appname>/assets/components/product-configure-native/index.json
Add the ProductConfigureNative button type to the file:
{
"type": "ProductConfigureNative"
}
-
- Next, open the following file, or create it if it does not exist:
packages/apps/<appname>/assets/components/product-details-container/layout.json
Add a Configure button to the Product Details page by including the product-configure-native component in ProductDetailsContainer layout. For example:
{
"layout": [
{
"components": [
"product-image-viewer",
"product-name",
"product-price",
"product-variant-options",
"product-inventory-status",
"product-add-to-cart-button",
"product-configure-native",
"product-social-sharing",
"product-long-description"
],
"width": 12
}
],
"component": "ProductDetailsContainer",
"title": "ProductDetails"
}
- Finally, add plug-in exports to your application:
- Navigate to your <workspace-dir>/packages/apps/<appname>/src/plugins/actions/index.js file and add the following line:
- export * from '@oracle-cx-commerce/rt-actions';
- Navigate to your <workspace-dir>/packages/apps/<appname>/src/plugins/actions/meta.js file and add the following line:
- export * from '@oracle-cx-commerce/rt-actions/meta';
- Navigate to <workspace-dir>/packages/apps/<appname>/src/plugins/endpoints/index.js file and add the following line:
- export * from '@oracle-cx-commerce/rt-endpoints';
- Navigate to <workspace-dir>/packages/apps/<appname>/src/plugins/endpoints/meta.js file and add the following line:
- export * from '@oracle-cx-commerce/rt-endpoints/meta';
Tips And Considerations
- Please refer 24A REST API documentation for detailed information on the new Oracle Commerce REST APIs introduced for CPQ Configuration.
- Support for Edit Configuration flow shall be added in a future release.
- Customers using StoreFront Classic are required to build their own UI widgets.