Lookups Available Across Application
Previously, Lookups that define domains of values for menu attributes were only defined and usable in Pricing Portal. Beginning in Oracle CPQ 25C, Lookups are moved to the CPQ platform level to allow Commerce and Configuration administrators to access and share lookups across the CPQ application. These lists of menu values can now be used to control the available options for Pricing, Configuration, and Commerce menu-type attributes.
The Lookups page lists standard and custom Lookups. Customers can add their own custom Lookups or use standard Lookups that are provided by CPQ.
Lookup List Page Descriptions
-
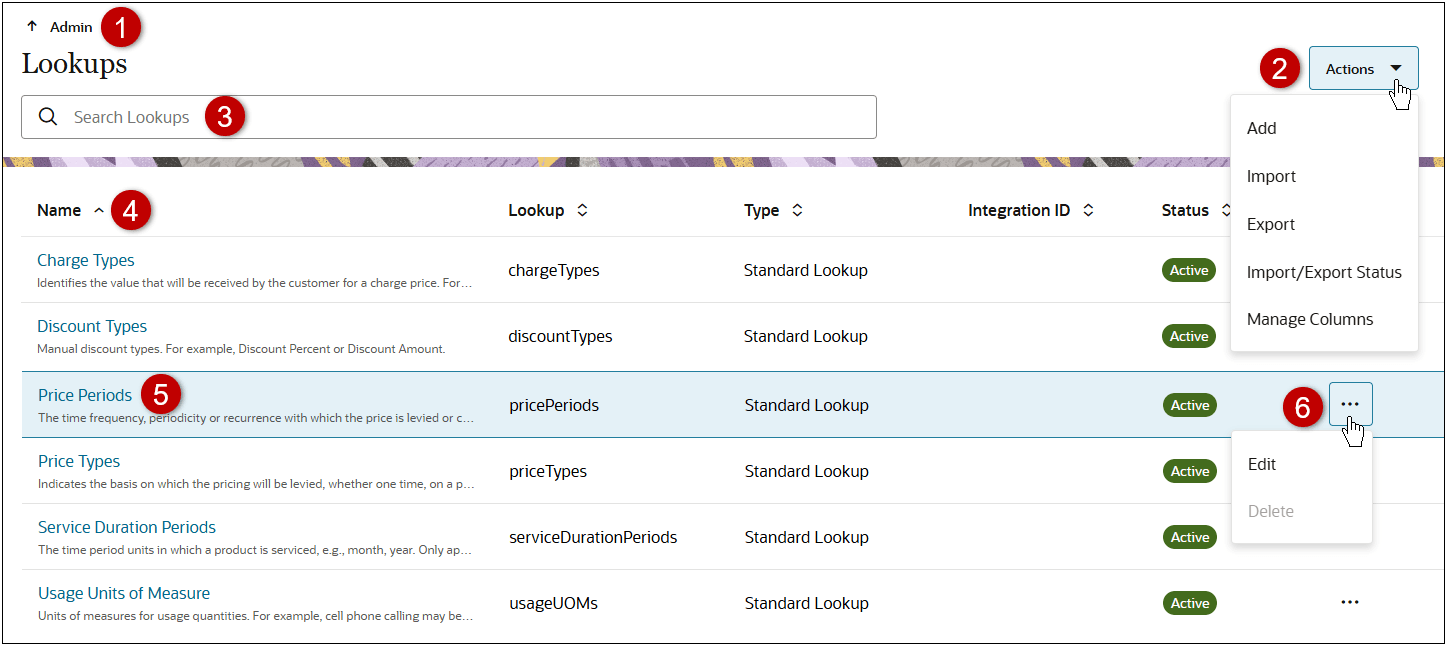
Navigate to the Admin homepage.
-
Click Actions to Add, Import, or Export lookups; view Import/Export Status; or Manage Columns for the Lookups list.
-
Enter search criteria to filter Lookup results, which remain persistent while navigating within Lookups.
-
Sort Lookups using Name, Lookup variable name, Type, Integration ID, or Status column headers.
-
Click the appropriate Name link or the line ellipsis > Edit to access an existing Lookup.
-
Click the Lookup line ellipsis to Edit a Lookup or Delete an inactive custom Lookup.
Note: Standard Lookups and active custom Lookups can’t be deleted.
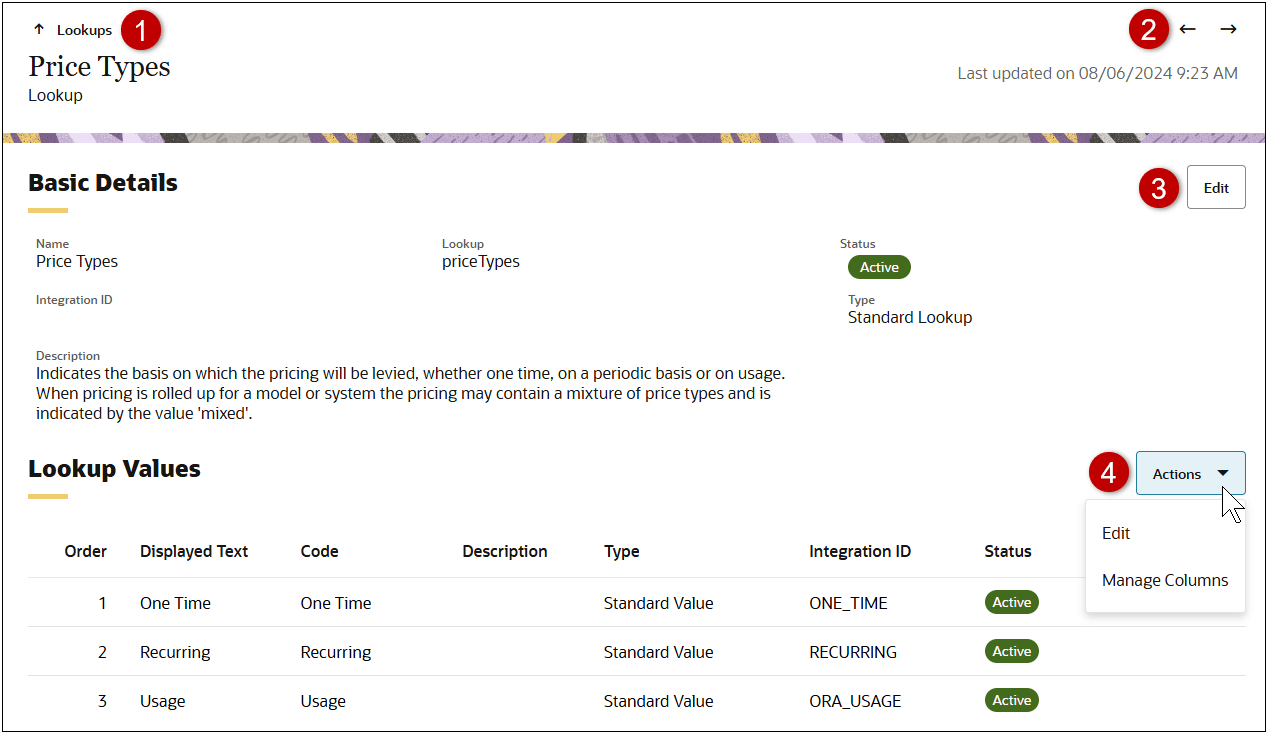
When an administrator clicks on the lookup Name or the line ellipsis > Edit, the Basic Details and Lookup Values for the lookup are displayed.
Lookup Page Descriptions
-
Navigate back to the Lookups page.
-
Navigate to Next or Previous lookup in the Lookup list or filtered Lookup search results list.
-
Click the Edit button to modify basic details for the Lookup.
-
Click Actions menu to Edit (add, delete, or modify) Lookup Values or Manage Columns for the Lookup Values.
Platform level lookups can reduce administration efforts and minimize inconsistency for shared attributes. Beginning in Oracle CPQ 25C, Configuration leverages this feature to implement shared lookups across pricing and configuration.
Steps to Enable
Add a Lookup
Perform the following steps to create a new Lookup:
-
Navigate to the Admin page.
-
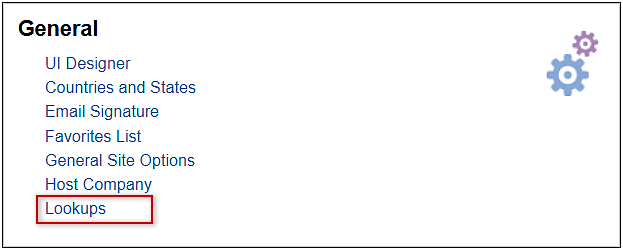
Click Lookups in the General section.
-
Select Add from the Actions drop-down.
-
Create a Lookup.
-
Enter a Name.
-
Enter a Lookup variable name.
Lookup variable names can only contain alpha-numeric characters and underscores. The entry can be changed before saving, but after saving the value is read-only. "_c" is automatically appended to the end of custom Lookups.
-
(optional) Enter an Integration ID.
-
(optional) Enter a Description.
-
Click Create.
-
Select Edit from the Lookup Values Actions drop-down.
-
Click Add.
-
Enter the following information for the lookup value option:
-
Enter the Display Text.
-
Enter the Code.
-
(optional) Enter a Description.
-
(optional) Enter an Integration ID.
-
The Status is automatically set to Active. To inactivate this option, select Inactive.
Note: Translations can be managed either via bulk services or by logging in as a user in the translation language.
-
Perform one of the following:
-
Click Update when you done adding lookup values.
-
Click Cancel to undo your changes.
-
Click Add to create another lookup value.
-
To delete a single lookup value, set the Status to Inactive, then click the line ellipsis and select Delete.