Add Privileges to Access PRM Redwood Features
Users with the following job roles have access to both PRM in the Redwood UX and the classic PRM UIs:
- Sales Representative
- Sales Manager
- Sales VP
- Sales Administrator
You can assign these privileges to the users with other job roles, to view PRM features in the Redwood UX:
- ZCM_VIEW_DIGITAL_SALES_ACCOUNT_PRIV
- ZCM_VIEW_DIGITAL_SALES_CONTACT_PRIV
- MOO_VIEW_DIGITAL_SALES_OPPORTUNITY_PRIV
- MKL_VIEW_DIGITAL_SALES_SALES_LEAD_PRIV
- ZMM_VIEW_DIGITAL_SALES_ACTIVITY_PRIV
- ZBS_VIEW_SALES_DASHBOARD_PRIV
- ZPM_VIEW_PARTNER_PROFILE_PRIV
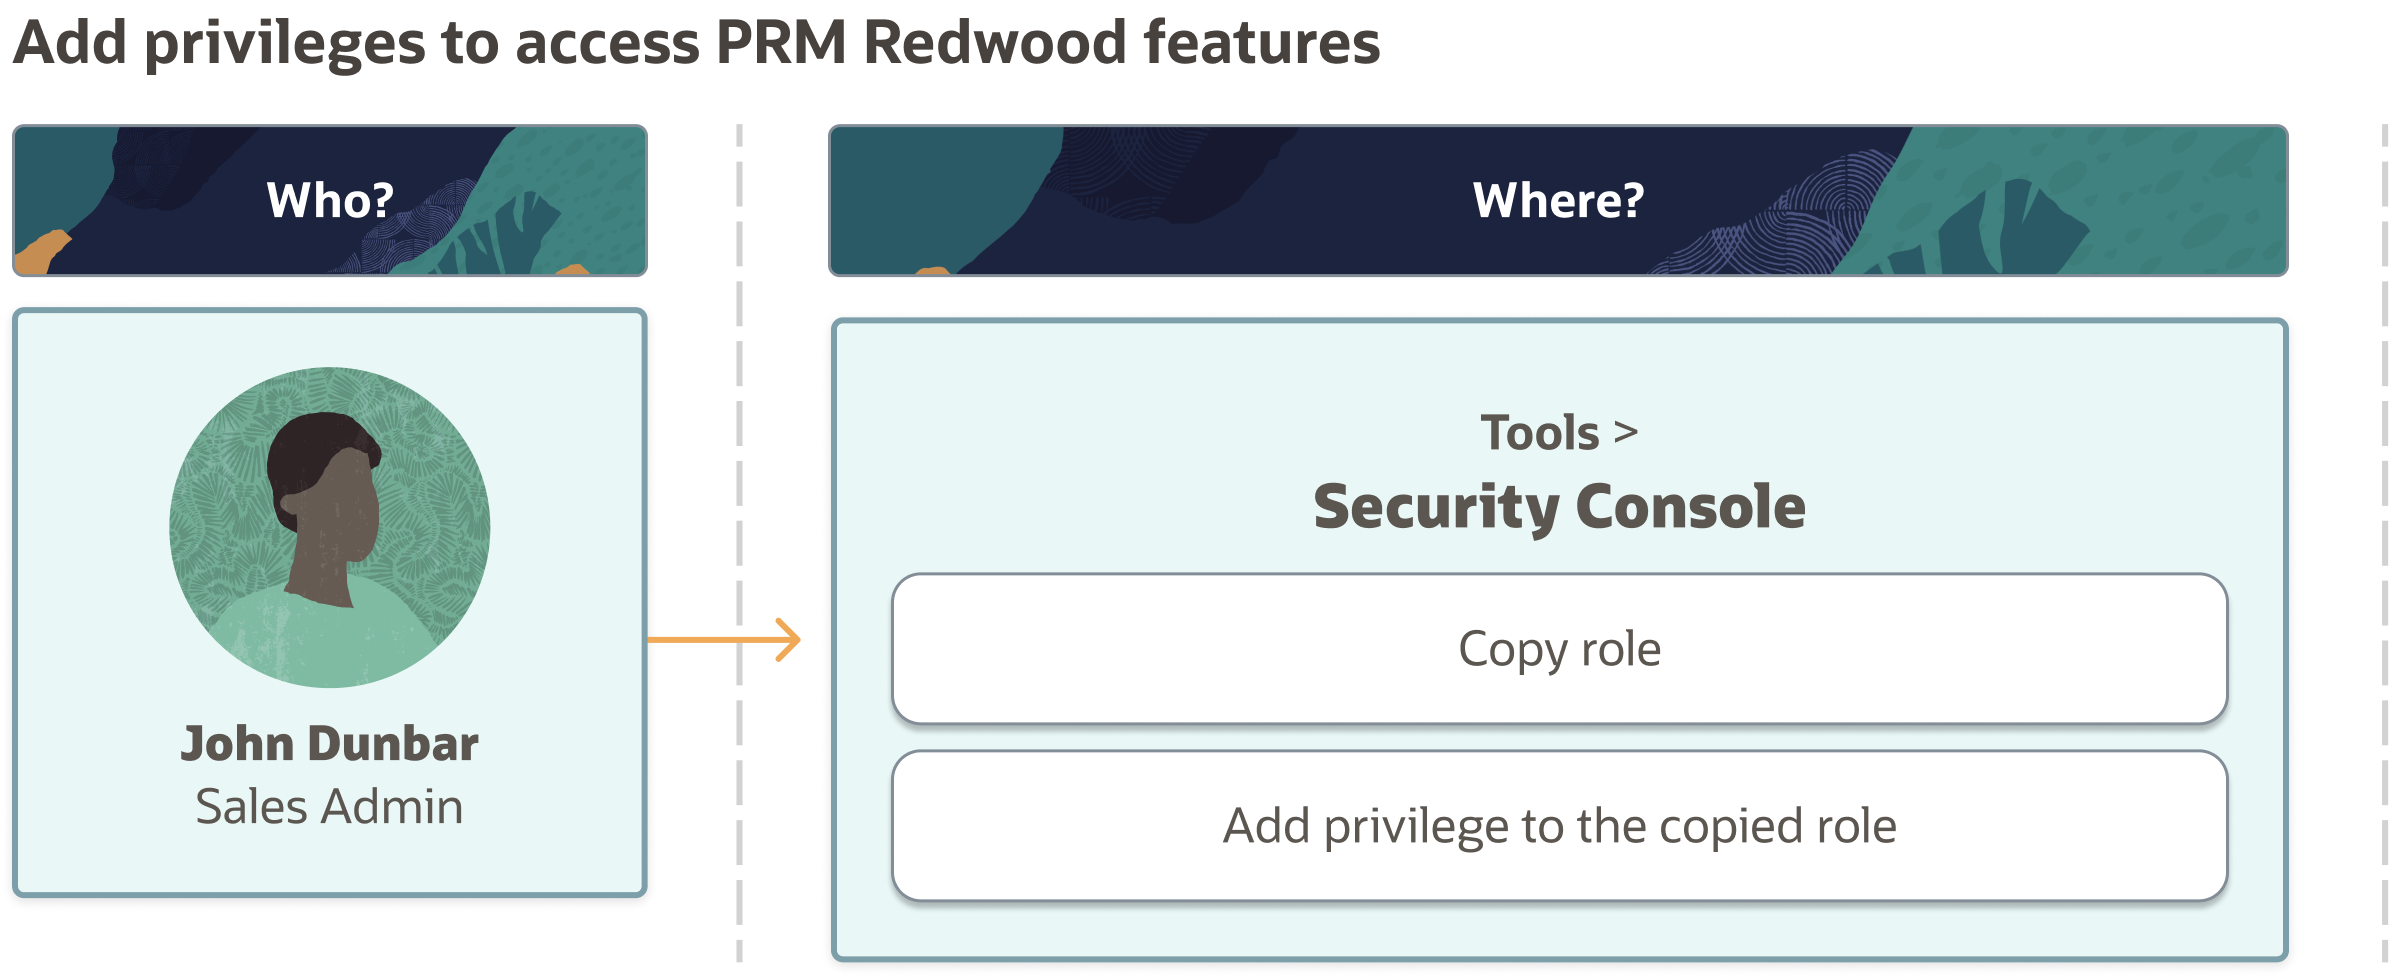
Here are the steps to add privileges for any selected role:
- Sign in as a sales administrator such as John Dunbar.
- Navigate to .
- Copy the role you want to add privileges to:
- On the Roles tab of the Security Console, search for the role to copy.
- Select the role in the search results. The role hierarchy appears in tabular format by default.
- In the search results, click the down arrow for the selected role and select Copy Role.
- In the Copy Options dialog box, select a copy option.
- Click Copy Role.
- Add a privilege to the copied role:
- Click Add Function Security Policy.
- In the Add Function Security Policy dialog box, search for and select the privilege.
- If you select a role, then click Add Selected Privileges to add all function security privileges from the role to your custom role. If you select a single privilege, then click Add Privilege to Role.
- Click OK to close the confirmation message.
- Repeat to add more privileges.
- Close the Add Function Security Policy dialog box.