How do I remove the Create Account button and action on the list page in Oracle Sales in the Redwood User Experience?
You can remove the Create Account button and action for a sales representative by removing the Create Sales Organization functional privilege from the assigned job role. To do this, you must copy and edit roles in the Security Console. You can't remove the button or action using Oracle Visual Builder Studio.
Here's how to remove the button and action:
- While signed in a setup user, open the Security Console ().
- Make a deep copy of the Sales Representative job role provided by Oracle and add the
user to the copy:
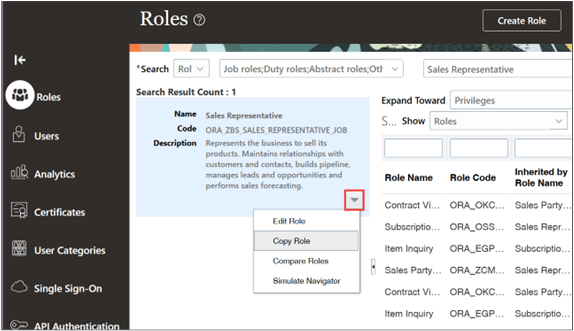
- On the Roles tab, search for and select the Sales Representative job role provided by Oracle (ORA_ZBS_SALES_REPRESENTATIVE_JOB)
From the Actions menu in the left pane, select Copy Role.
- In the Copy Options dialog box, select Copy top role to make a shallow copy, and click Copy Role.
In the Copy Sales Representative Custom page, click step 6, Users.
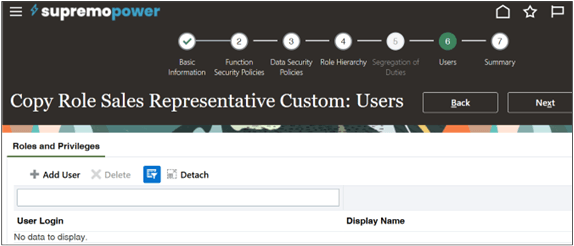
- Add the user.
- In the Summary step 7, click Submit and Close.
- Wait until the generation process completes. You can check on the progress on the tab.
- Make a deep copy of the Sales Party Management Duty role, and delete the Create
Sales Organization functional privilege from the copy:
- On the Roles tab, search for and select the Sales Party Management Duty (ORA_ZCM_SALES_PARTY_MANAGEMENT_DUTY).
-
From the Actions menu in the left pane, select Copy Role.
- In the Copy Options dialog box, select Copy top role and inherited roles.
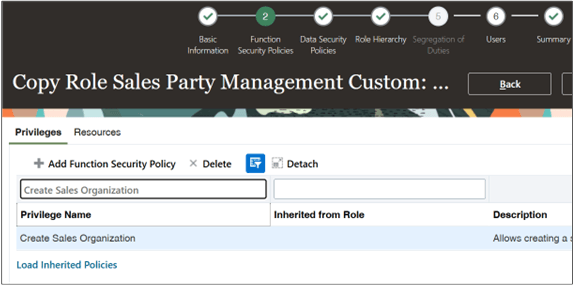
In the Functional Security Policies step 2, search for the Create Sales Organization functional privilege and delete it.
- In the Summary step 7, click Submit and Close.
- Wait until the generation process completes. You can check on the progress on the tab.
- In the copy of the Sales Representative job role you made, substitute the copied
Sales Party Management Duty role for the one provided by Oracle. (Oracle role codes
start with ORA. Custom roles don't.)
- On the Roles tab, search for and select the Sales Representative custom job role.
- From the Actions menu in the left pane, select Edit Role.
- In the Role Hierarchy step 4, search for and delete the Sales Party Management Duty (ORA_ZCM_SALES_PARTY_MANAGEMENT_DUTY).
- Add the Sales Party Management custom duty role you created.
- In the Summary step 7, click Submit and Close.