Add the Custom Link to the Sales Contact UI
Perform the steps in the following procedure to add the Eloqua Engage custom link you created for the Contact object to the CX Sales Contact UI.
-
In Application Composer, in the Objects area, expand Standard Objects, expand the node for the Contact object, and then select Pages.
-
Click the Application Pages tab.
-
In the Details Page Layouts area, edit the Default Layout.
-
Edit the Summary area.
-
Move the custom link you created for Eloqua Engage from the Available Fields area to the Selected Fields area, and position it as required
-
Click Save and Close, and then Done.
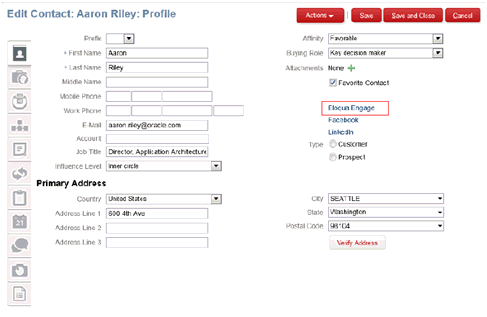
You can view the custom link on the CX Sales Edit Contact UI as shown in this figure.