How to Automate Change Order Approval
Here's how you create a rule to automate the approval of change orders.
- In the Setup and Maintenance work area, go to the following:
- Offering: Product Management
- Functional Area: Change Orders
- Task: Manage Task Configurations for Supply Chain Management
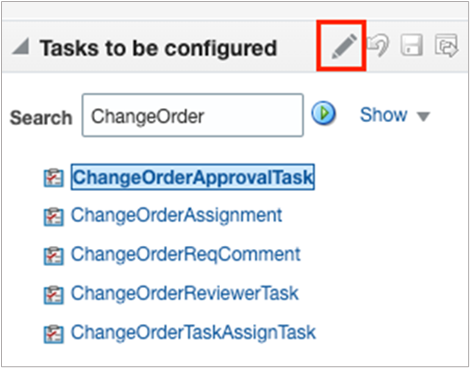
- In the Search field enter ChangeOrder and click Search task types.
- Select ChangeOrderApprovalTask from the search results.
-
Click the Edit task (or Pencil) icon.
Here's a screenshot of the Edit task icon.
- Click Assignees and select Change Order Header Rule Based Single Approver.
- Click the diamond icon and select Go to rule.
- Here's how you create a new rule based on the description of the change order.
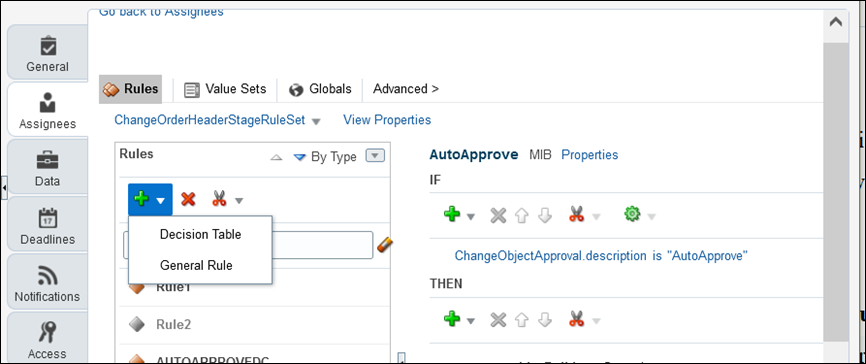
- In the Rules window, click the Advanced Add or Modify Options (plus)
icon and select General Rule.
Here's an image that shows how you create an approval rule.
-
In the IF statement, specify the criteria to automatically approve the change order.
Click the Advanced Add or Modified Options (plus) icon and select simple test.
Let's say that you want to automatically approve the change order if the description is AutoApprove. Enter:
ChangeObjectApproval.description is "AutoApprove".
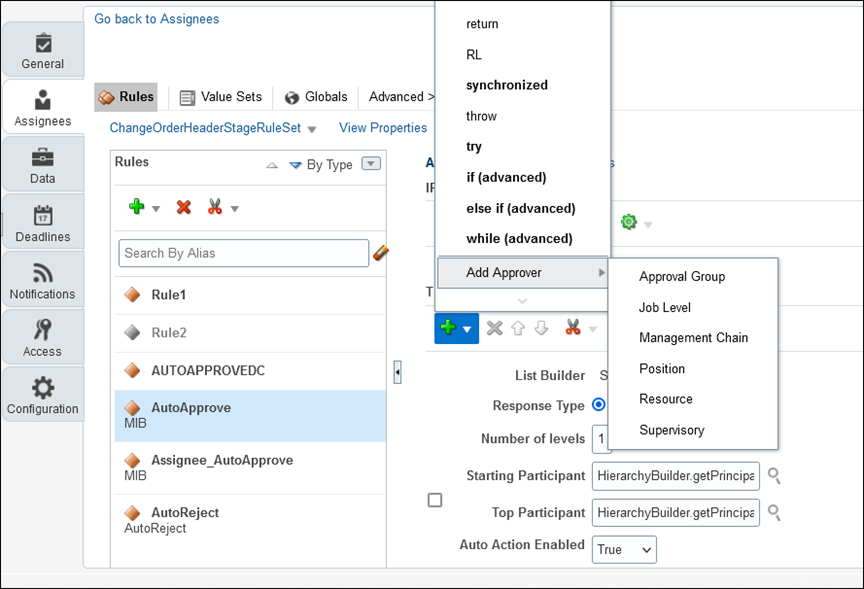
- In the Then statement, click Insert Action(plus) icon
> Add Approver >
Supervisory:The table shows the values you must enter in the Then statement:
Field Value List Builder Supervisory Response Type Required Number of levels 1 Starting Participant The user who is considered as auto approver. To configure the change assignee as auto approver, enter:
HierarchyBuilder.getPrincipal(Task.payload.COAssignee,-1,"","")
Top Participant The last participant in the approval. Approval does not go beyond this participant in a hierarchy. Enter:
HierarchyBuilder.getPrincipal("workflowsystem",-1, "","")
Auto Action Enabled True Auto Action "APPROVE" Rule Name "AutoApprove" Here's an image that shows how you add an approver.
Note: Absence of an approver can result in stuck workflows. So be sure to create rules for various scenarios. - In the Rules window, click the Advanced Add or Modify Options (plus)
icon and select General Rule.
- To validate the rule you created, click Validate.
- After successful validation, click Commit task.