Creating Confidential Application in Fusion IDCS
A confidential application in Identity Cloud Service (IDCS) represents the AI Agent Studio and acts as the OAuth 2.0 client. This allows the agent to programmatically obtain access tokens required to call OTM REST APIs securely.
An example of creating the confidential application in Fusion’s IDCS is shown below.
- Sign in to the Fusion IDCS Console as a valid admin user.
- On the Welcome page, select Take me there to go to the Identity Domain.
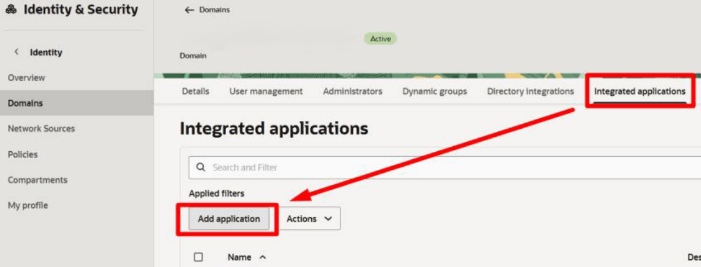
- Navigate to Identity > Domains.
- On the Domain page, select Integrated applications. This page is where you'll add an OAuth2 confidential client application.
- Select Add application.
- On the next page, select Confidential Application and select Launch workflow.
- On the Add Confidential Application page, provide a unique application
Name and a Description. Remember: In the Prerequisites, write down the IDCS of Fusion confidential app Name. You will need it later.
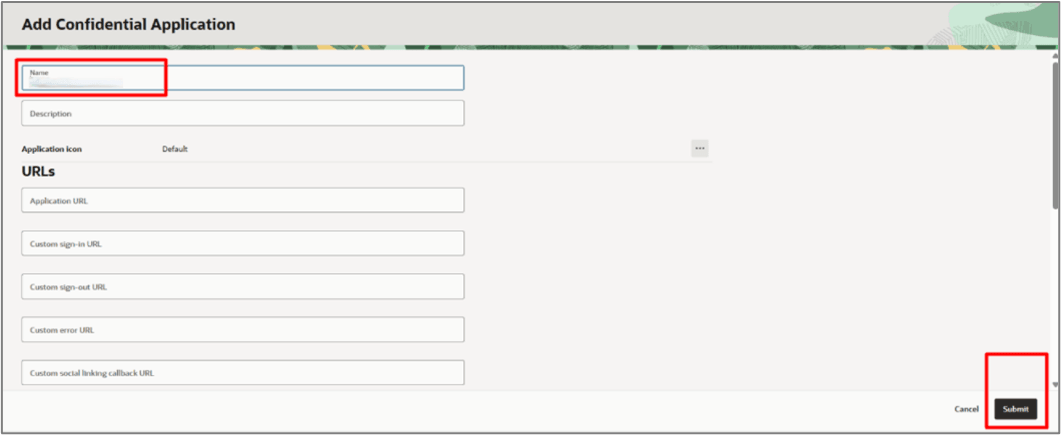
- Select Submit.
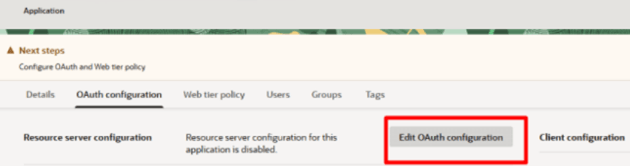
A new confidential application is created. On the new application page, you'll configure OAuth.
- Select the OAuth configuration tab.
- Select Edit OAuth configuration.
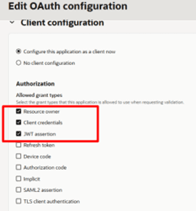
Next, enable Client Configuration for this OAuth application.
- Scroll down to the Client Configuration section and select the Configure this application as a client now option.
- Select the allowed grant types: Resource owner,
Client credentials, and JWT
assertion.
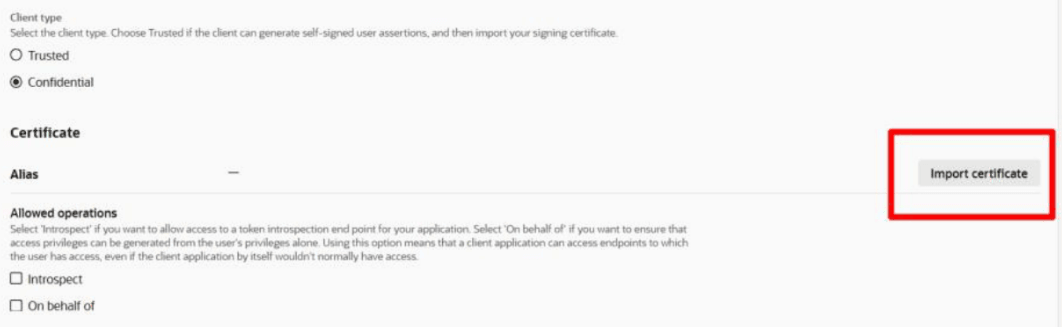
Scroll down and import the certificate generated previously.
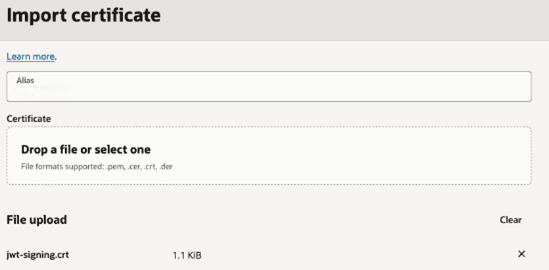
- Select Import certificate.
- Add a certificate Alias. For example, OTM_GTM.Remember: In the Prerequisites, write down the IDCS of Fusion certificate Alias. You will need it later.
- Use the Drop a file or select one field to upload the
certificate. Upload the file
jwt-signing.crtthat was created earlier.Remember: Import the certificate that you created earlier. Generating Public/Private Keys with a Certificate - Once the certificate is uploaded, select Import.
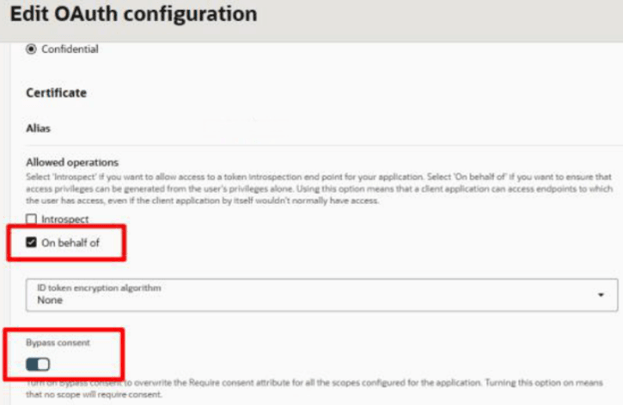
- Select the On behalf of checkbox.
- Select the Bypass consent checkbox.
- Scroll down and turn on Add resources.
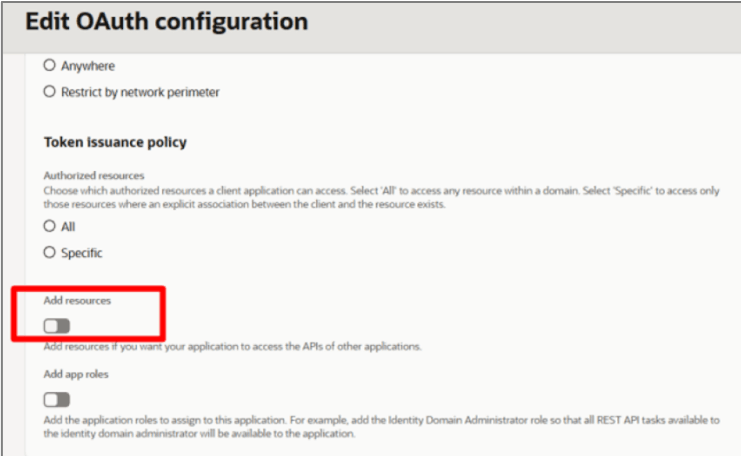
- Scroll down and select the Add scope button.
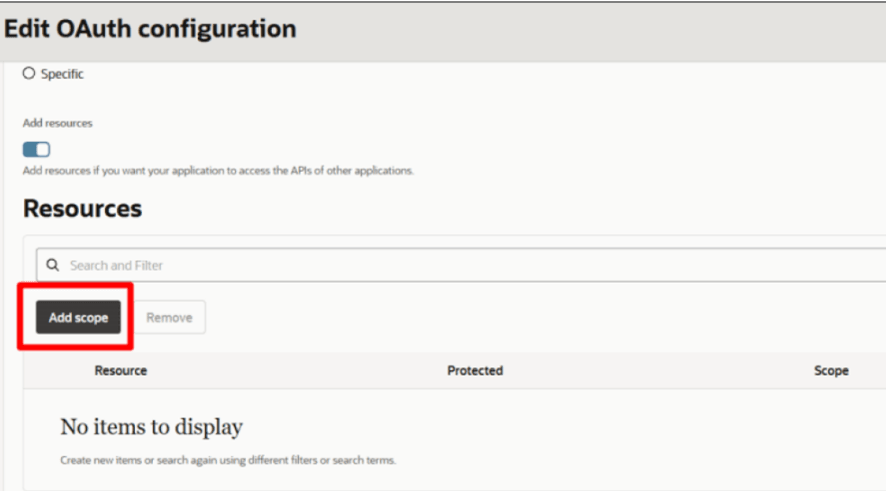
Next, add the AI Agent Studio scope to the confidential application.
- Under Add scope, select the AI Agent Studio scope with a Name
of Oracle Fusion Al Cloud (Spectra).
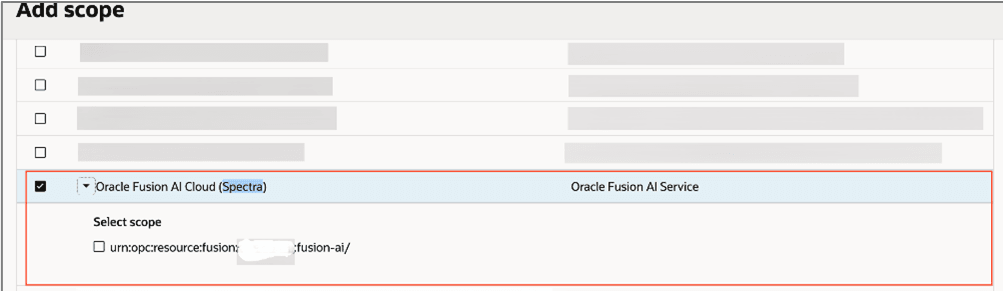 Attention: The Oracle Fusion Al Cloud (Spectra) scope is created automatically if you have a Fusion instance. If you do not see this scope, then contact your Fusion contact or Fusion Support.Remember: Use the value that you wrote down for the IDCS of Fusion confidential app Scope in Prerequisites.
 - Confirm the Scope similar to
urn:opc:resource:fusion:<fusionservername>:fusionai/.
- Select the Submit button. Remember: In the Prerequisites, write down the IDCS of OTM confidential app Client ID. You will need it later.
- Select Actions menu and select Activate.
- On the Activate application message, select Activate application.