Creating the AI Agent Studio Data Source
Configure Agent Team in AI Agent Studio using the OTM confidential application. There should only be one data source per OTM instance for each release.
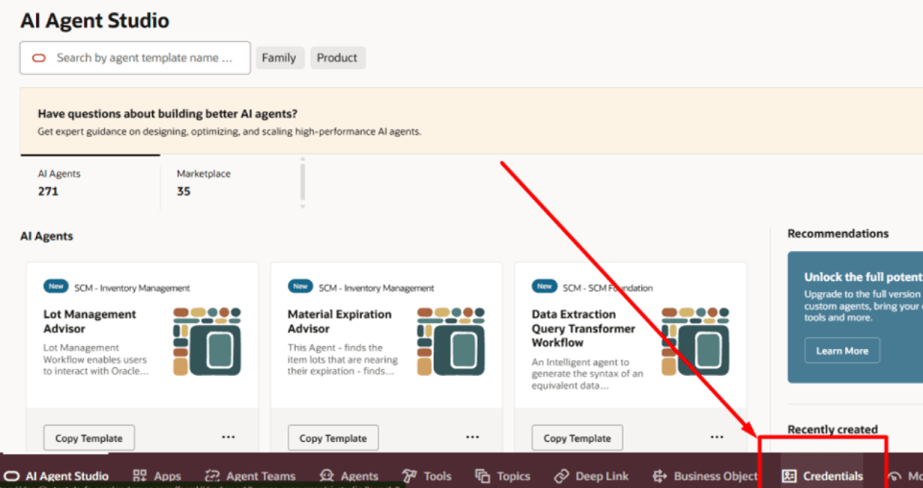
- Sign in AI Agent Studio as an admin user.
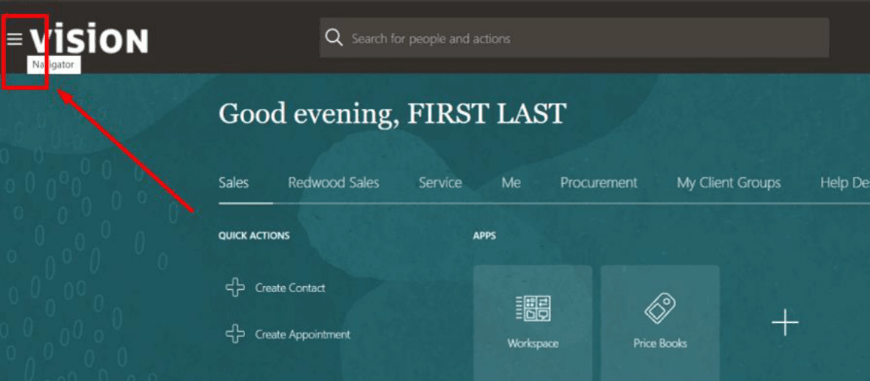
- Open the Navigator.
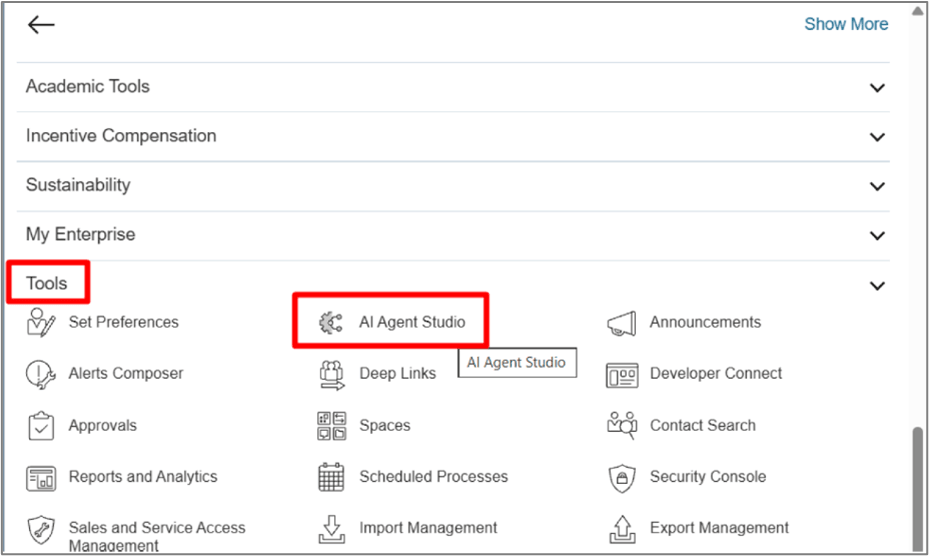
- Go to Tools > AI Agent Studio.
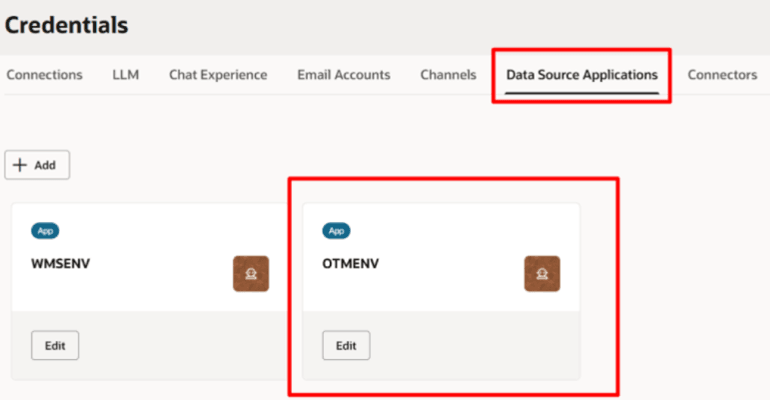
- Select the Credentials tab.
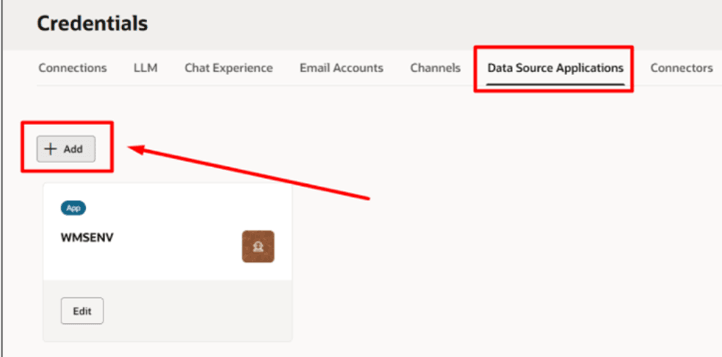
- Select the Data Source Applications tab.
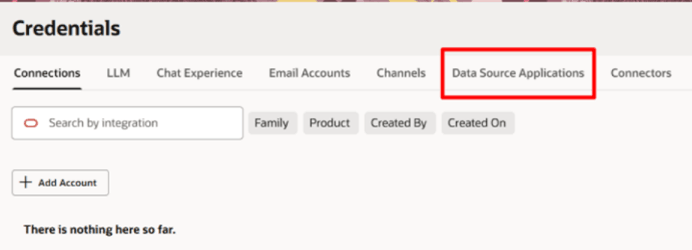
- Select + Add.
- Create or edit an entry with a data source Name of OTMENV.
- In the Base Url field, enter the OTM Base URL.
- In the IDCS Url field, enter the OTM IDCS URL.
- Copy the Client ID from the confidential app on IDCS of OTM
created previously.Remember: Use the value that you wrote down for the IDCS of OTM confidential app Client ID in Prerequisites.
- Copy the Scope from the confidential app on IDCS of OTM
created previously.Remember: Use the value that you wrote down for the IDCS of OTM confidential app Scope in Prerequisites.
- Enter the Public Key created previously. This should be
jwt-signing.crt.Note: You must paste the CERTIFICATE in this field. Paste the contents of the file including the header and footer sections.Remember: Import the certificate that you created earlier. Generating Public/Private Keys with a Certificate - Enter the Private Key created previously. This should be
jwt-signing.key.Note: You must paste the private key in this field. Paste the contents of the file including the header and footer sections.Remember: Import the private key that you created earlier. Generating Public/Private Keys with a Certificate![This image is a screen shot of the Add new data source application details screen with suggestions for each field added in red. For the Name, you must use OTMENV so that is shown in red. For Base Url, the following is written in red: https://[your OTM base URL].oraclecloud.com. For IDCS Url, https://idcs[your IDCS OTM URL]identity.oraclecloud.com/oauth2/ is written in red. For Client Id, The Client ID from the IDCS of OTM confidential app is written in red. For Scope, This is the scope on the IDCS of OTM confidential app is written in red. For Public Key, jwt-signing.crt is written in red. And for Private Key, jwt-signing.key is written in red.](images/ai--private_key.png)
- Select Done.
You see the new OTMENV on the Data Source Applications tab.