Introduction
Use HCM Spreadsheet Data Loader (HDSL) to provide your business users with bulk-data loading capabilities. You can configure spreadsheet templates for your specific use cases and assign access to those templates to just the roles that require them. For example, your HR Specialist could have access to a New Hire spreadsheet, whereas the Overtime Hours spreadsheet may only be available to your Payroll Administrator.
This tutorial explains how to find preconfigured templates you can import and edit for your use cases.
Objectives
In this tutorial, you will:
- Understand how to find preconfigured templates.
- Import a template and configure template access.
- Review and override template parameters.
Prerequisites
To complete this tutorial, you need:
- Access to the Spreadsheet Templates task.
- A role assigned access to the business objects you want to import templates for.
Tip:
The Configure HCM Spreadsheet Data Loader Security tutorial explains how to configure this access.Task 1: Downloading Templates from Cloud Customer Connect
HSDL templates can be found on the HCM Resource Center on Cloud Customer Connect.
- To access the forum from the Cloud Customer Connect home page, click Categories > Human Capital Management > HCM Resource Center.
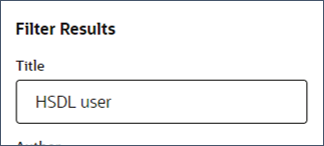
- Search for topics with the Keyword HSDL to see all available HSDL templates.
- Search for topics with the Keywords HSDL and User to see all HSDL templates for the User object.
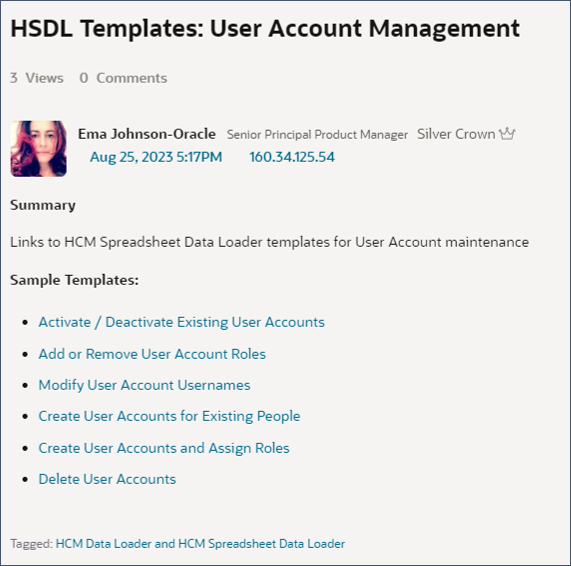
- Search for the topic titled HSDL Templates: User Account Management and click the topic name.
- Click on the template you want to import. For example, Add or Remove User Account Roles.
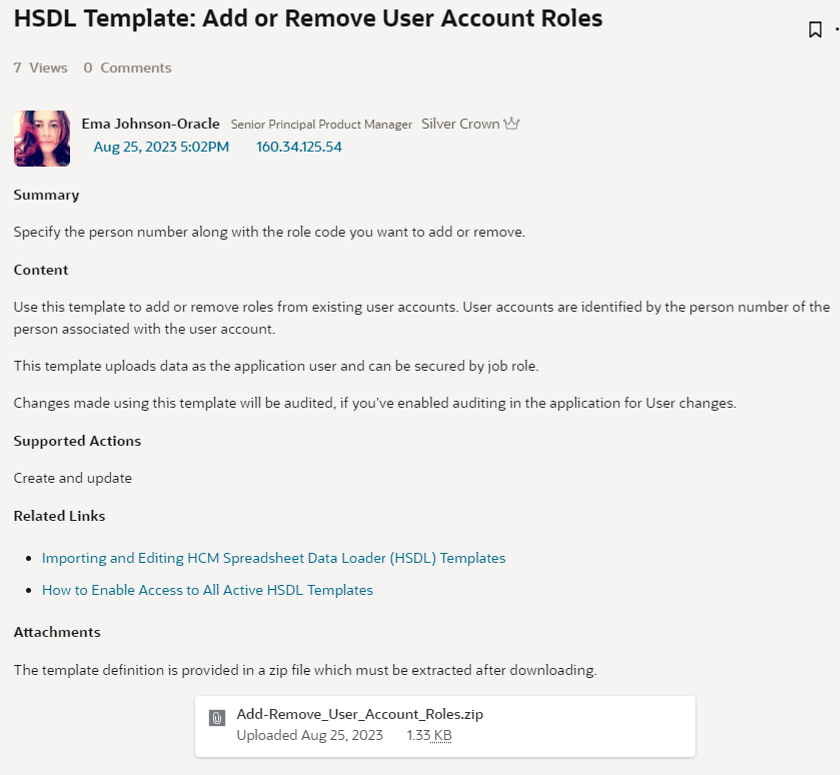
Each HSDL template topic provides:
- A description of the template and the actions that are supported.
- Links to related topics.
- A zip file containing the xml template definition.
- Click the zip file to download it.
- Extract the zip file ready for the xml to be imported.

Tip:
Topics named HSDL Templates: (plural) will provide links to templates related to the subject, such as User Account Management. Topics named HSDL Template: (singular) will provide the download for a specific template.Task 2: Importing Spreadsheet Templates
In this step you'll import the template into the application where you can edit it and make it active.
- Log into the application with a user that has access to maintain HSDL Templates.
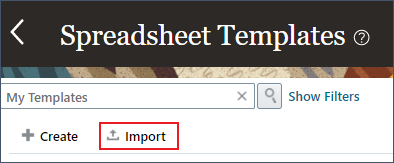
- Navigate to My Client Groups > Data Exchange > Spreadsheet Template.
- Click Import.
- On the Import dialog window, specify a name that describes the use case the spreadsheet template supports, such as Add or Remove User Account Roles.
- Select the xml file you downloaded from Cloud Customer Connect using the Import field.
- Provide a description so business users can understand when to use this template.
- If the template is legislation specific, specify the Legislative Data Group that it's applicable for.
- Click OK.
Tip:
A code will be defaulted based on the name specified but you can override this. It needs to be unique.
You should receive confirmation that the template was imported with no errors. Click OK.

Tip:
If errors were encountered, download the log file for more information.You'll be returned to the Spreadsheet Templates page where you can now edit or assign roles to the template.
Task 3: Securing Template Access
If you want business users to have secured access to individual spreadsheet templates, you need to configure the template to assign the roles that can use the template and what access they have.
Note:
Some objects don't support business users loading data and you can't share templates based on these objects with business users.- Edit your template, if you've closed it click on the template name from the Spreadsheet Templates task.
- On the Define tab, review the value for the Assign Roles to Template field found in the Template Security section. Only if it is 'Enabled' can you continue with assigning role access to your template.

- If the Upload Data As field has a value of Elevated User only users with access to all templates can use this template and you can't assign roles. Change the value to Session user.
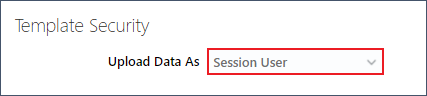
Note:
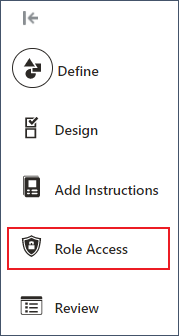
This field is read-only when Assign Roles to Template has a value of Disabled. - Click Role Access.
- Click the Add icon on the Permitted Data Set Operations table toolbar.
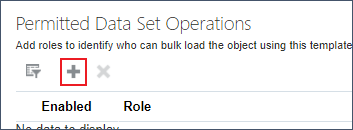
- Search for and select the job role that should have access to the template:
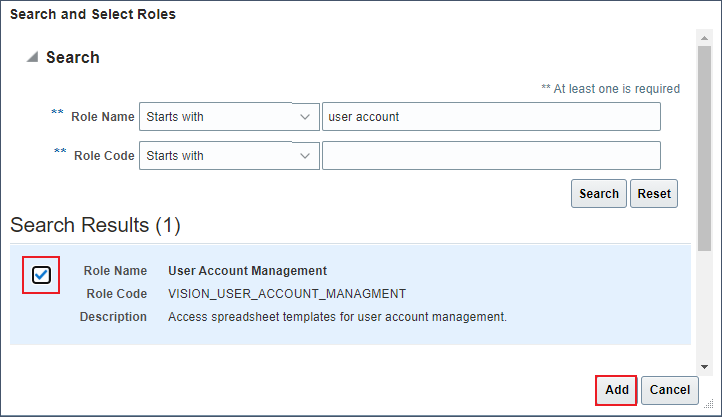
- Click Add.
- Configure the data set operations that users with this role should have:
Data Set Operations Operation Access Create Users can create new data sets. Save Data set changes can be saved to the staging tables. Upload Data sets can be uploaded to the Oracle HCM Cloud. Roll Back Successfully loaded spreadsheet rows can be rolled back. If the object supports being rolled back. View All All data sets can be downloaded, not just those created by the user. - Click Save.

Task 4: Configuring Template Parameters
There are a number of spreadsheet template parameters available that can be used to override default processing. For example, you can enable incremental events and audit changes uploaded by a spreadsheet.
Note:
Events and audit must be enabled in the application for the business object the template loads data for, for the template parameters to have any affect.- Edit your template, if you've closed it click on the template name from the Spreadsheet Templates task.
- Navigate to the Define page.
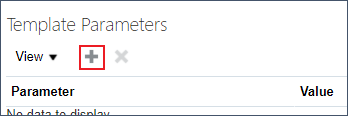
- Click the Add icon on the Template Parameters table toolbar.
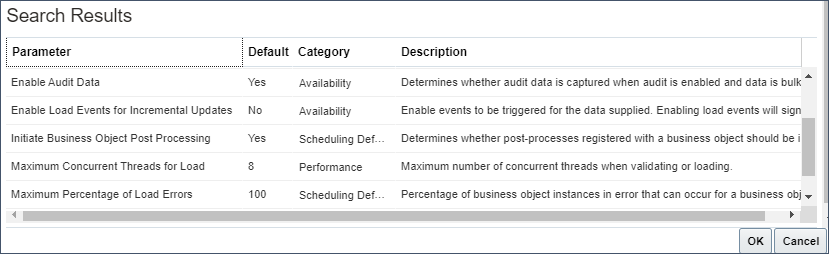
- Click Search on the Search Template Parameters page.
- Review the list of parameters and their default values to determine if you need to override the default. For example, you may want to enable events or audit data.
- Select the parameter to override and click OK.
- Specify the Value for the chosen parameter in the Template Parameters table.
- Repeat as required.
Note:
The parameter defaults for the environment are configured using the Configure HCM Data Loader task so consider overriding parameters for the template that you don't want to change if the default setting is overridden for the environment.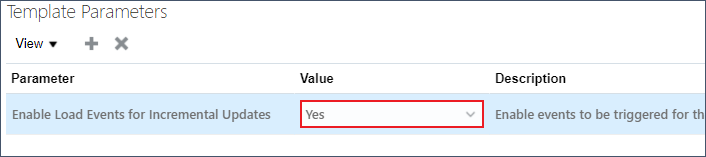
Task 5: Activating Your Template
Most templates available from Cloud Customer Connect will have a draft status. For business users to access the template it needs to be activated.
Note:
Once you've activated a template you are limited as to the edits you can make to it. Activating a template should be your last step.- Edit your template, if you've closed it click on the template name from the Spreadsheet Templates task.
- Navigate to the Define page.
- Update the Status field to Active.

- Click Save and Validate.
Related Links
Acknowledgements
- Authors - Ema Johnson (Senior Principal Product Manager)
More Learning Resources
Explore other labs on docs.oracle.com/learn or access more free learning content on the Oracle Learning YouTube channel. Additionally, visit education.oracle.com/learning-explorer to become an Oracle Learning Explorer.
For product documentation, visit Oracle Help Center.
Importing HCM Spreadsheet Data Loader Templates
F61074_01
September 2023
Copyright © 2023, Oracle and/or its affiliates.