Creating Labels and Documents
Label Designer allows you to configure settings for Labels and Documents. To configure your settings, complete the following steps:
- To create your label from the Label Designer, click Label/Doc.
A pop-up window appears notifying you that your label has been created.

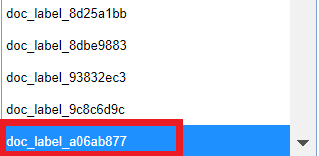
- Select the label you just created from the User Defined Templates
drop-down:
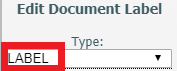
- Select your type (label or document) from the Type drop-down.
 Note: You can’t have Document Type and Label Type selected at the same time because your template will either need to be a document or label template.
 - Select your Label Type.
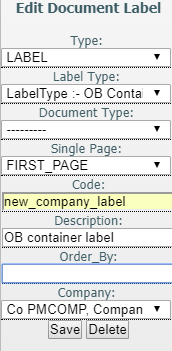
- Enter your label name in the Code field.
- Add a description for your label in the Description field. This is
particularly useful to help you identify labels if you manage multiple labels.
The Order By field allows you to order the data as it comes in from the database. There is also a company drop-down if you are managing templates for multiple companies.
- Once you have finished adding specifications for your Label or Document, click Save.