Internationalization
Message UI
‘Messages’ are Warehouse Management System Messages that are displayed on RF Screen during operations and that appear on the Warehouse Management System UI. These messages include informational messages such as messages for Inventory being received or picked, as well as error messages that prevent some operations. These messages can be modified and worded differently, and they can also be disabled if required.
You can modify short and long messages in bulk using the modified/edited xls file into the UI system using the new message input interface. The system supports three types of file formats namely XML, XLS and PSV through the input interface screen and only the XML format via Init Stage interface API.
| Task Description | WMS Modul | Overview/Comments | Task Details |
|---|---|---|---|
| Messages Setup | Messages | Note: Changes made at the 3PL Parent
Company level will affect all the client companies. Changes made at
the Client Company level will be visible for that company across
facilities. |
|
Literals UI
Literals are field names that are displayed in the UI on headers and the search/edit/create pop-up screen. These field names can be renamed appropriately specific to your business flow.
For example: In the item master, item parts (part_b tp part_f) can be used as item characteristics such as color, size, etc.. These fields can be renamed appropriately to reflect what they represent for you.
You can also define literals by company. In some 3PL scenarios. each underlying company can have different literals.
For example: company-1 inventory attribute_a could refer to country of origin and company-2 might refer to product color or temperature. When users change the company via the Web UI, the respective literals for the relevant company will now be loaded.
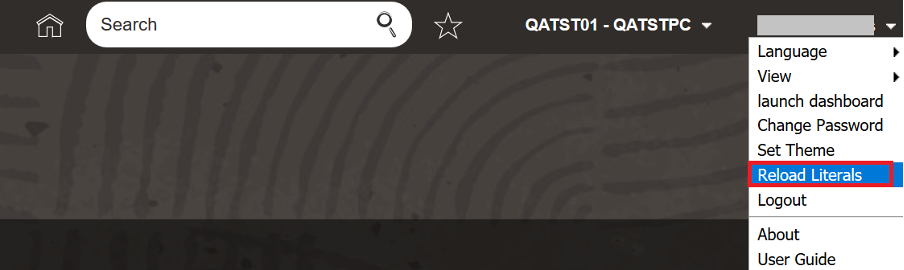
In the company edit pane UI, flag “Reload Literals upon Changing Company” helps you enable reloading of the literals upon changing the company in 3PL scenario. If you have different literals configured by company then enable the flag. A manual option to reload the literals is also available in the settings menu associated with the user.
| Task Description | WMS Module | Overview/Comments | Task Details |
|---|---|---|---|
| Literals Setup | Literals |
Note: Changes made at the Company level will be
visible for that company across facilities.
|
|