WFM Browser Clock View
Clock is a browser-based view that is typically used by a supervisor to clock users in and out of various entities. The person that has logged into the application and clocks other users is called the clocker. The clocker could either clock oneself or clock other users.
Facility Clocking
In order to clock users into or out of a facility, set Mode as “Facility”. Enter the login ID of the user in the User field and hit the clock-in or clock-out button as required.

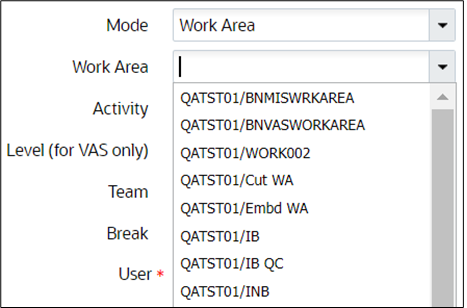
Work Area Clocking
In order to clock users into or out of a Work Area, set Mode as “Work Area” and select the Work Area from the Work Area drop down. Enter the login ID of the user in the User field and hit the clock-in or clock-out button as required.
VAS Activities Clocking
When a user or a group of users (team) need to be clocked into or out of a certain VAS activity, set Mode as “VAS”. Select the appropriate Work Area from the Work Area drop down. From the Activity drop down, Select the activity that the user or team need to work on. Select “user” or “team” (as required) from the Level drop down. Depending on the Level selection, enter either the login ID of the user in the User field OR select a team from the Team drop down (The team dropdown will list all users configured in the selected work area). Next hit the clock-in or clock-out button as required.

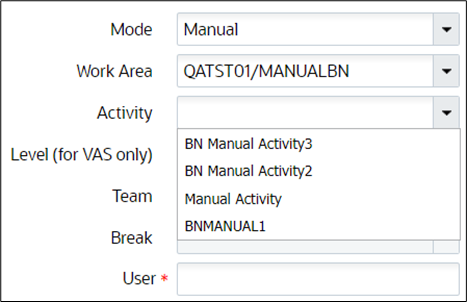
Manual Activities Clocking
In order to clock a user into or out of a manual activity, set Mode as “Manual”. Select the appropriate Work Area from the Work Area drop down. From the Activity drop down, select the activity that the user would be working on. Enter the login ID of the user in the User field and hit the clock-in or clock-out button as required.
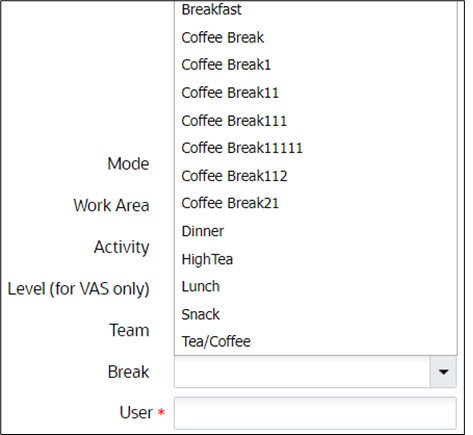
Break Clocking
To clock a user into or out of a break, set Mode as “Break” and select the break from the Break drop down.Enter the login ID of the user in the User field and press the clock-in or clock-out button as required.