Starting a New Application
Create a new app from App Builder, then review its starter pages and page list.
App Builder is your home base for working on applications in your workspace. As shown below, your existing apps display in a list with details, or using the View Icons toolbar button next to the Search field you can switch to an icon view.
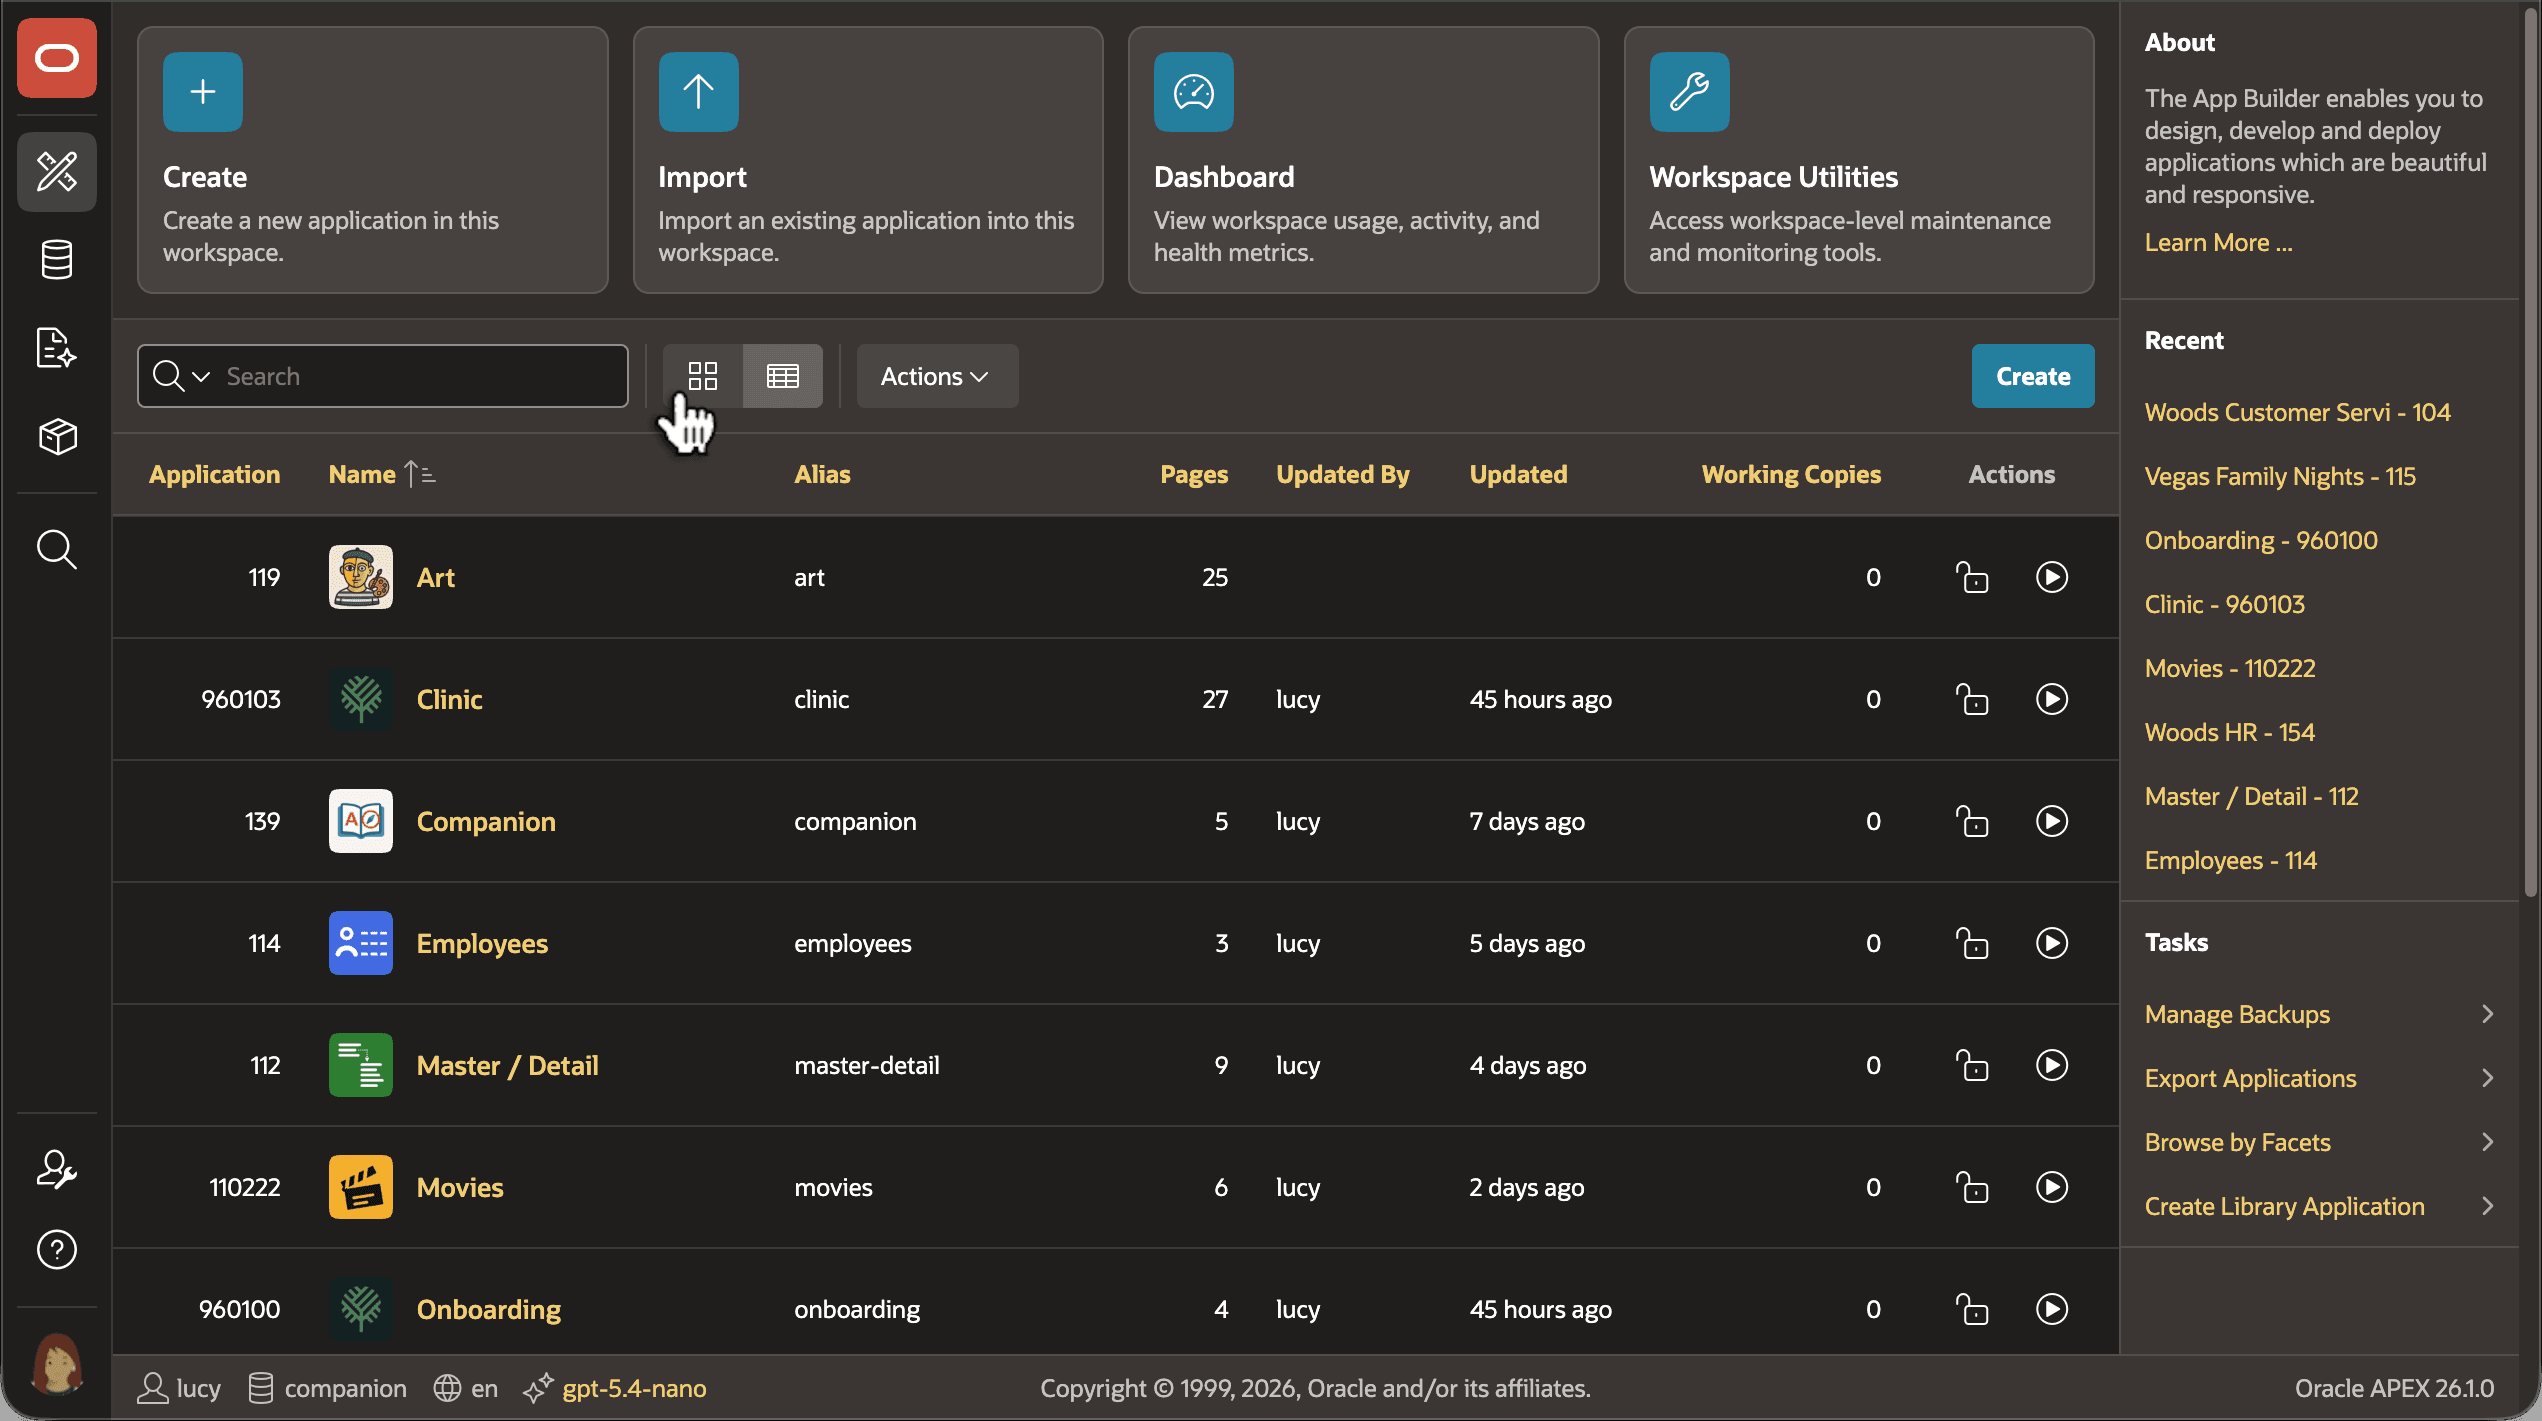
Description of the illustration newapp1.png
To create a new application, click the Create button along the top.
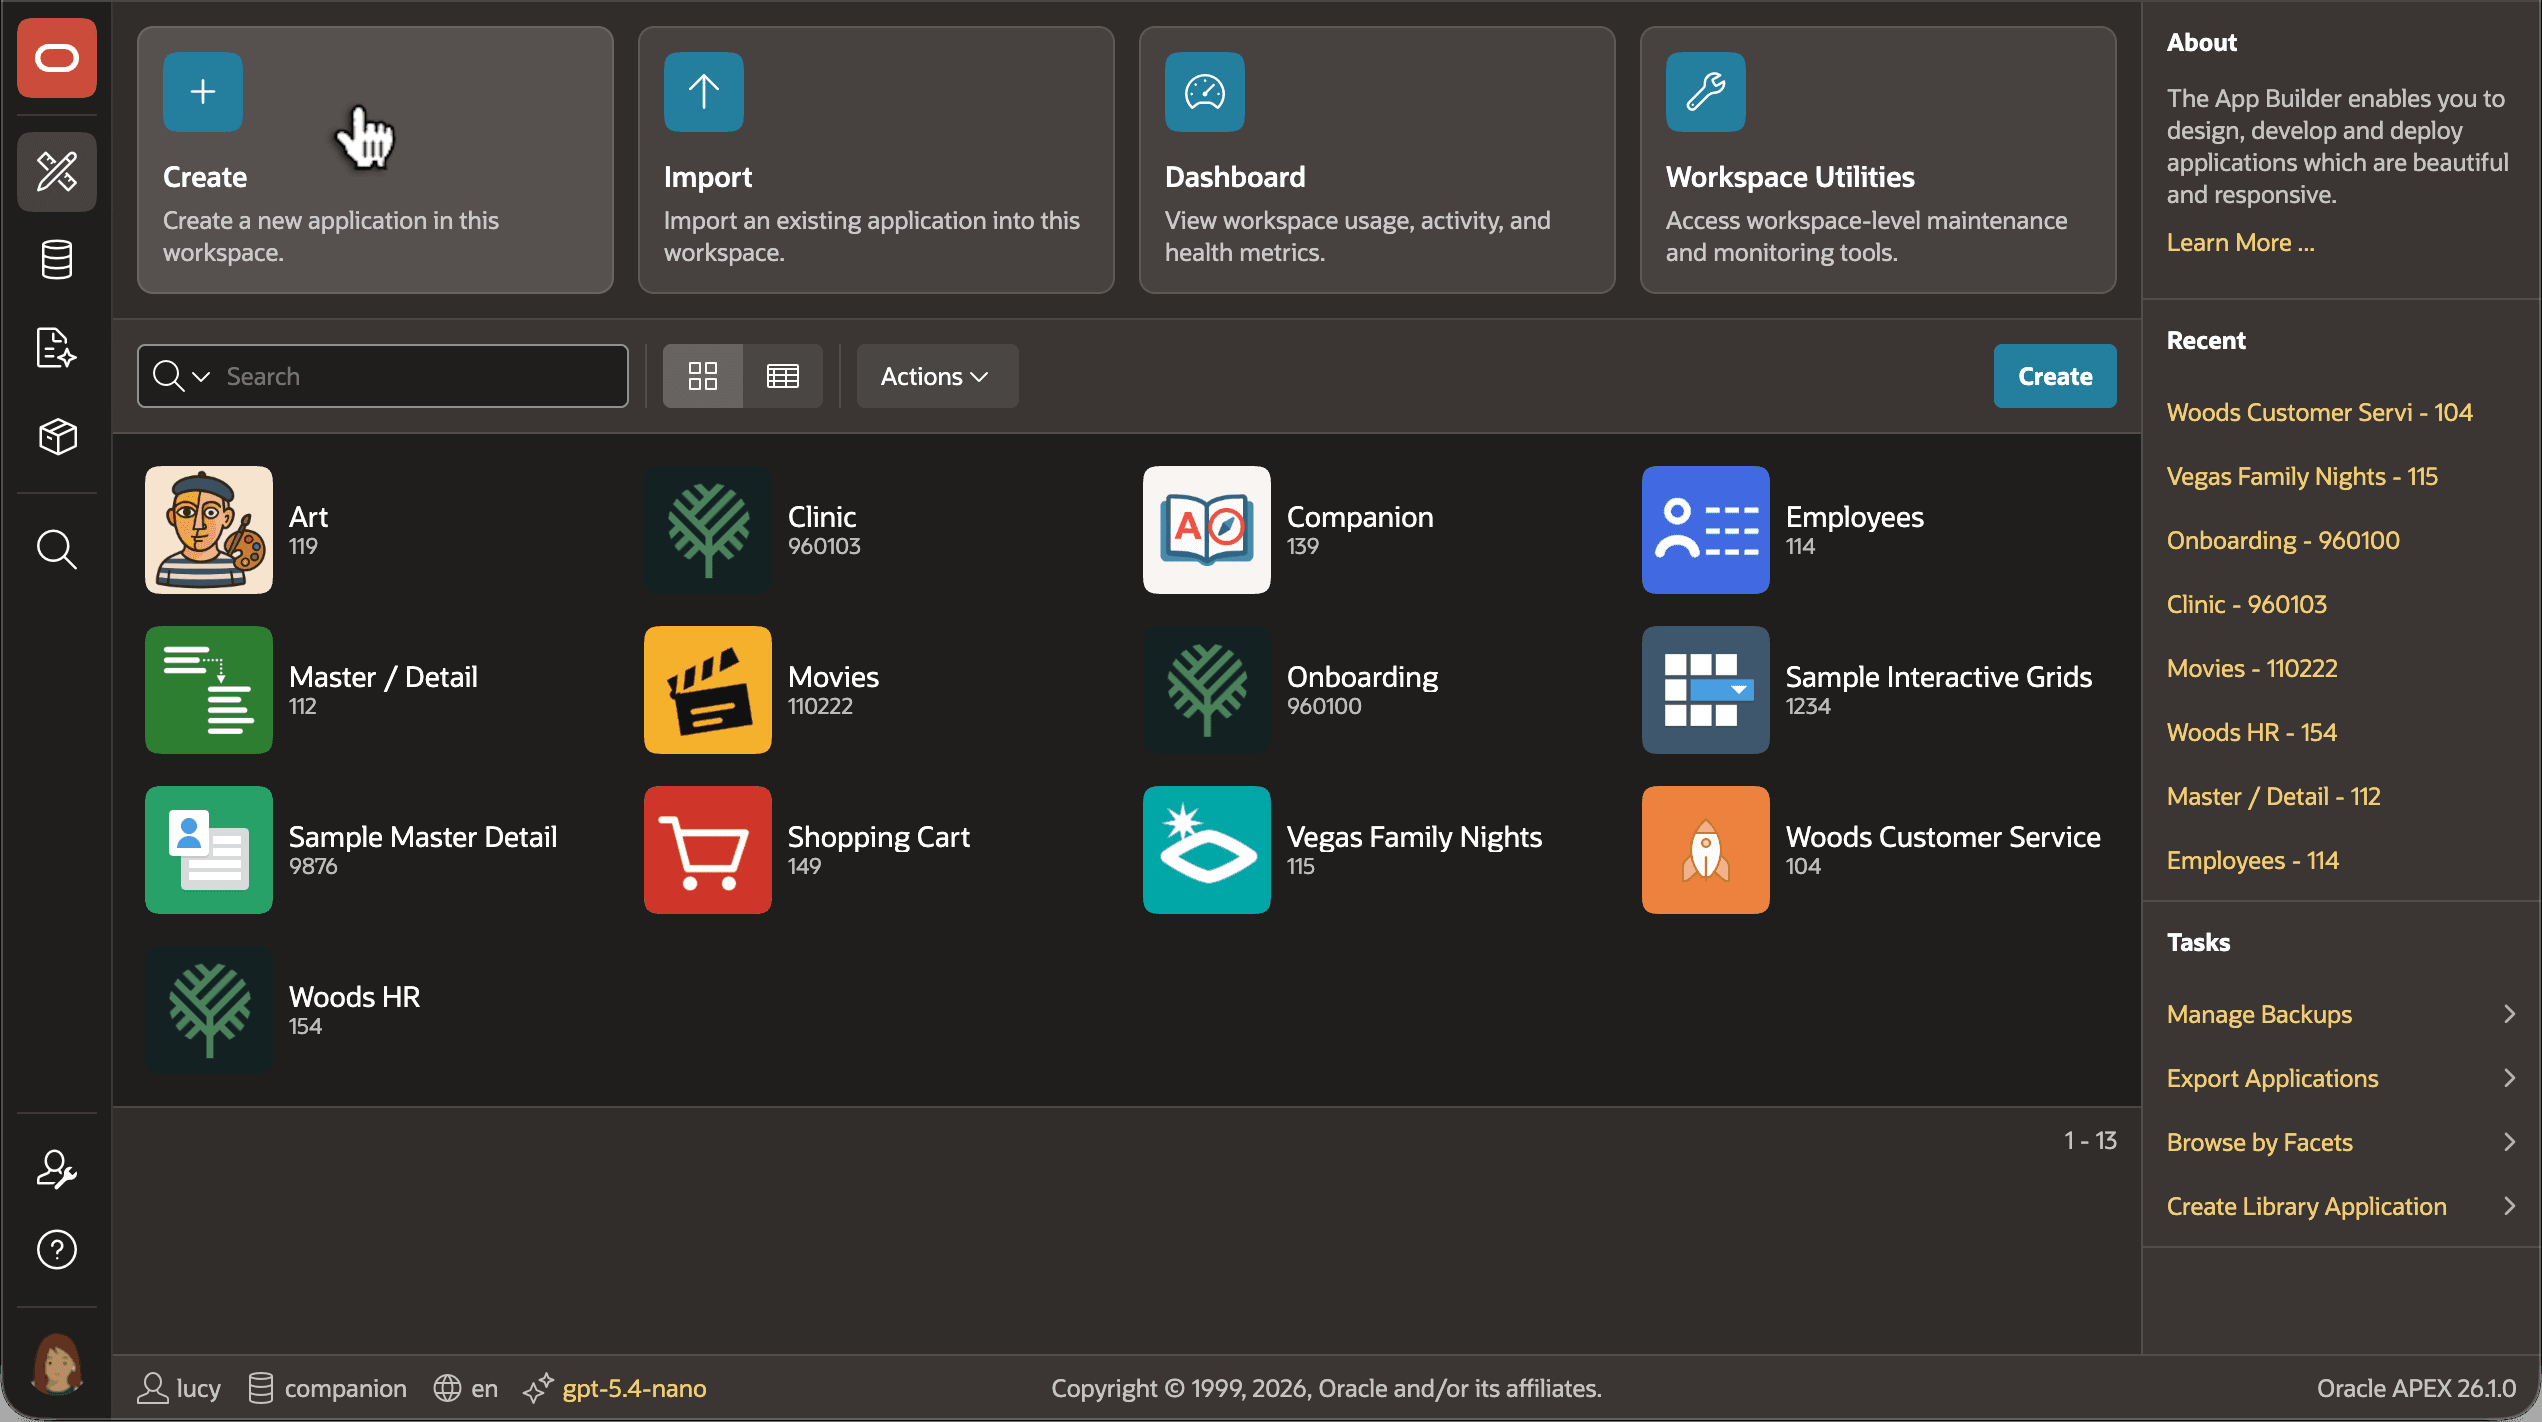
Description of the illustration newapp2.png
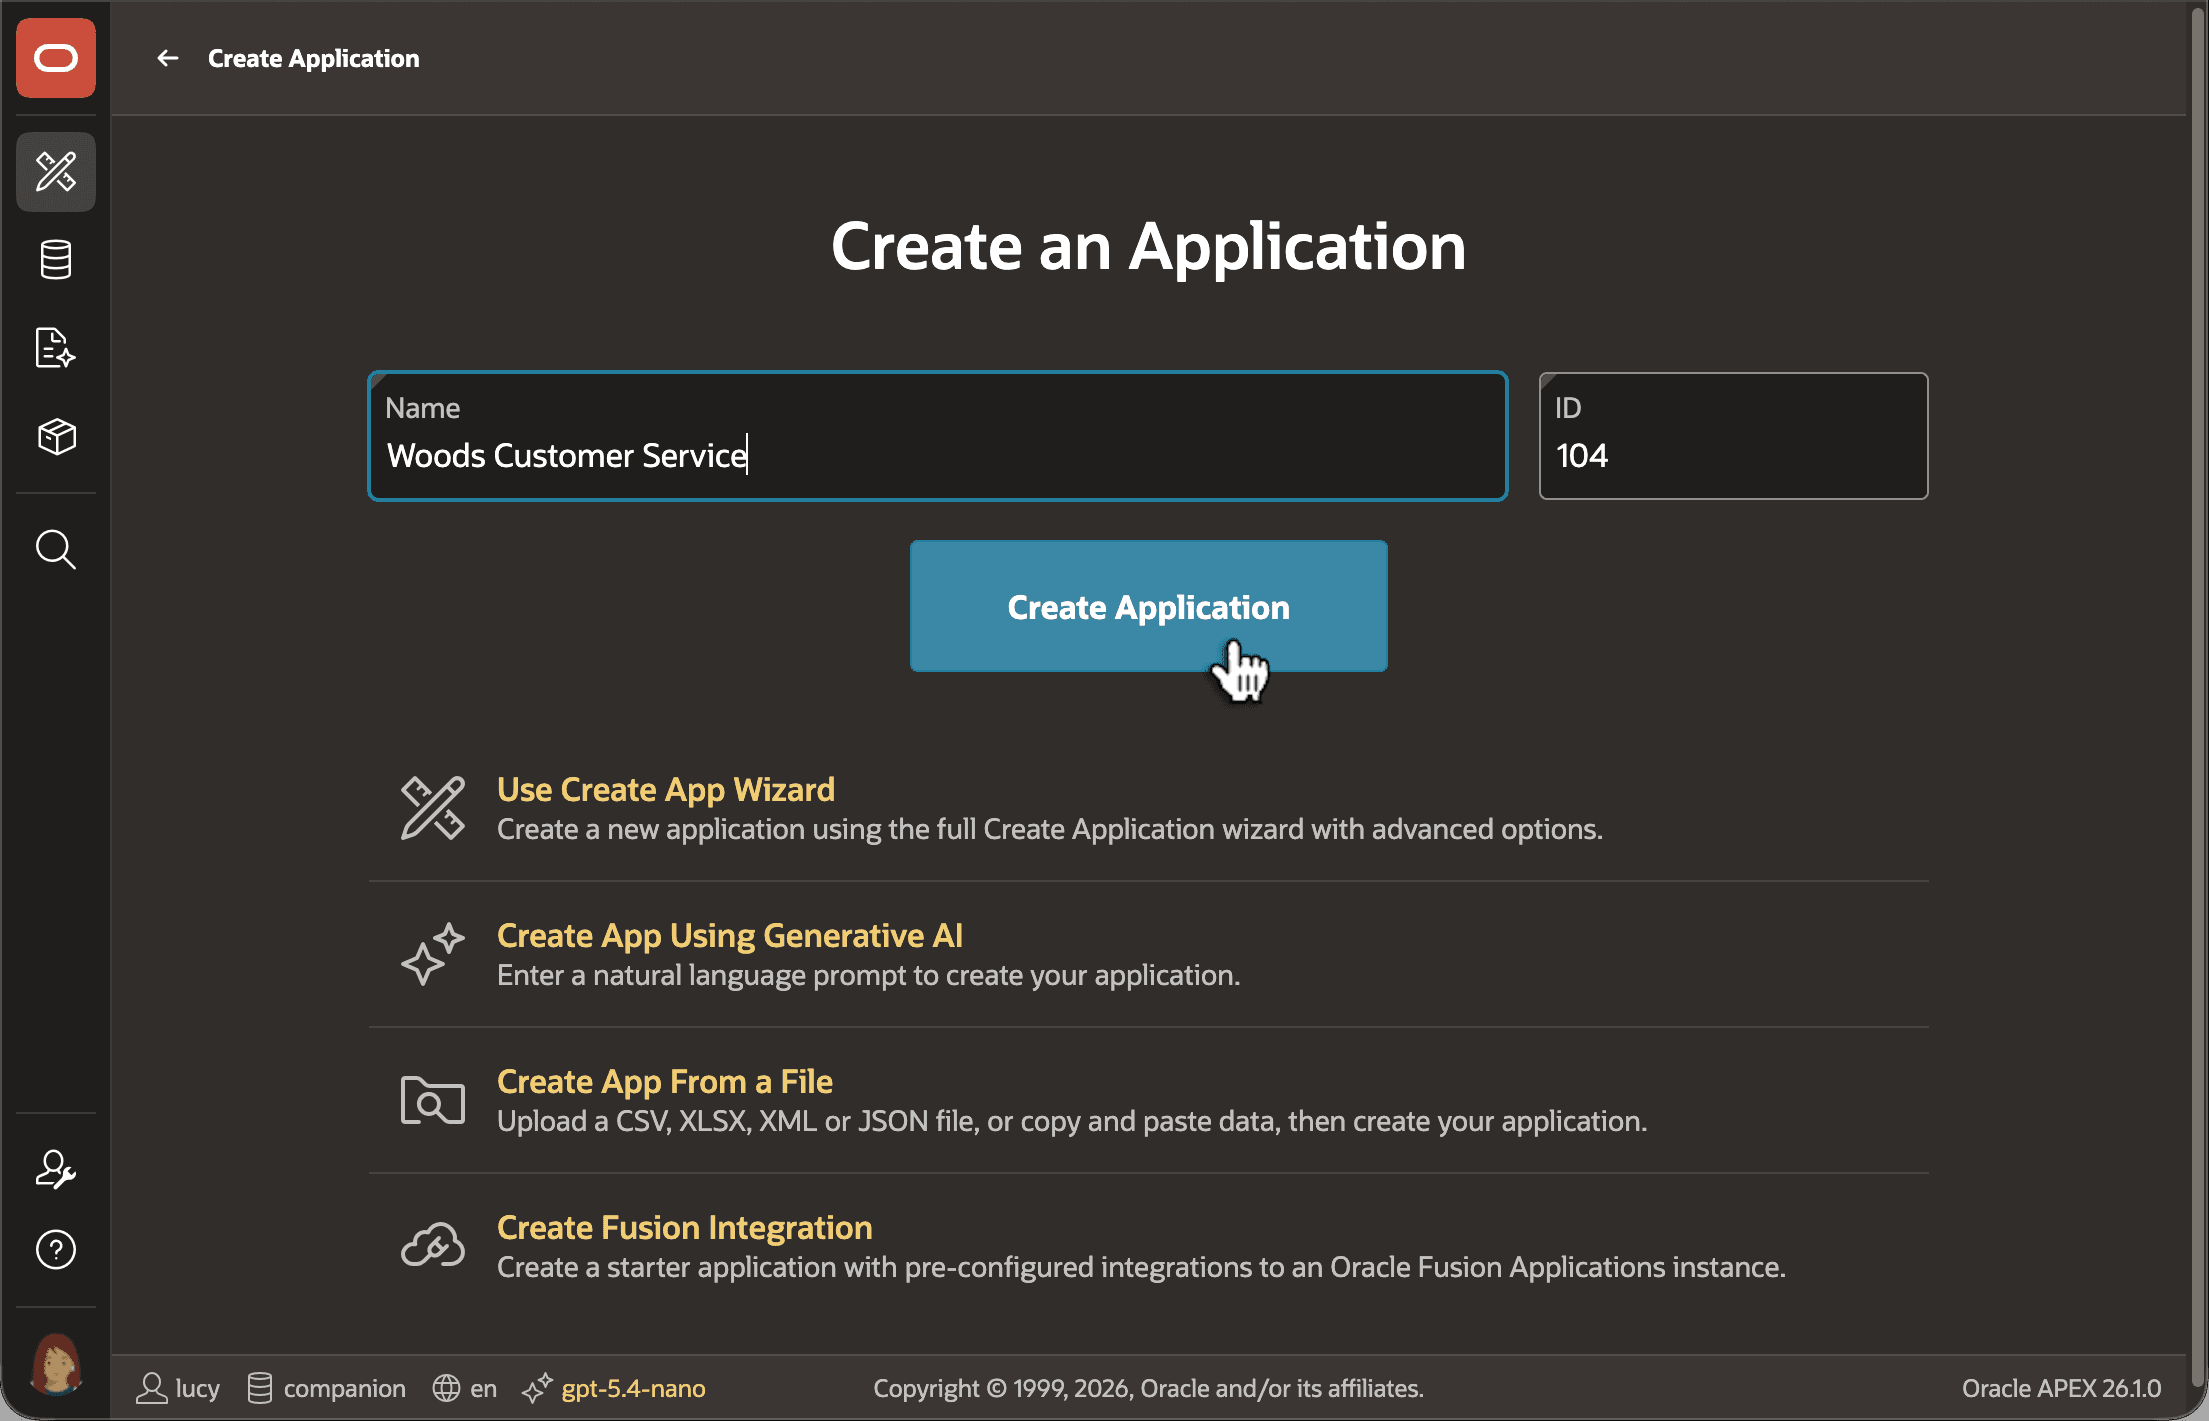
To start simple, just enter an application name and click (Create Application). Every APEX application in your workspace has a numeric ID as well. You can choose a number, or use the available ID App Builder suggests.
Notice below that there are additional options to:
-
Use Create App Wizard - generate common page types and features for existing tables
-
Create App Using Generative AI - explain the pages to generate in natural language
-
Create App from a File - Upload data from a file then generate pages for it
-
Create Fusion Integration - Set up an app to extend Fusion Applications.
Description of the illustration newapp3.png
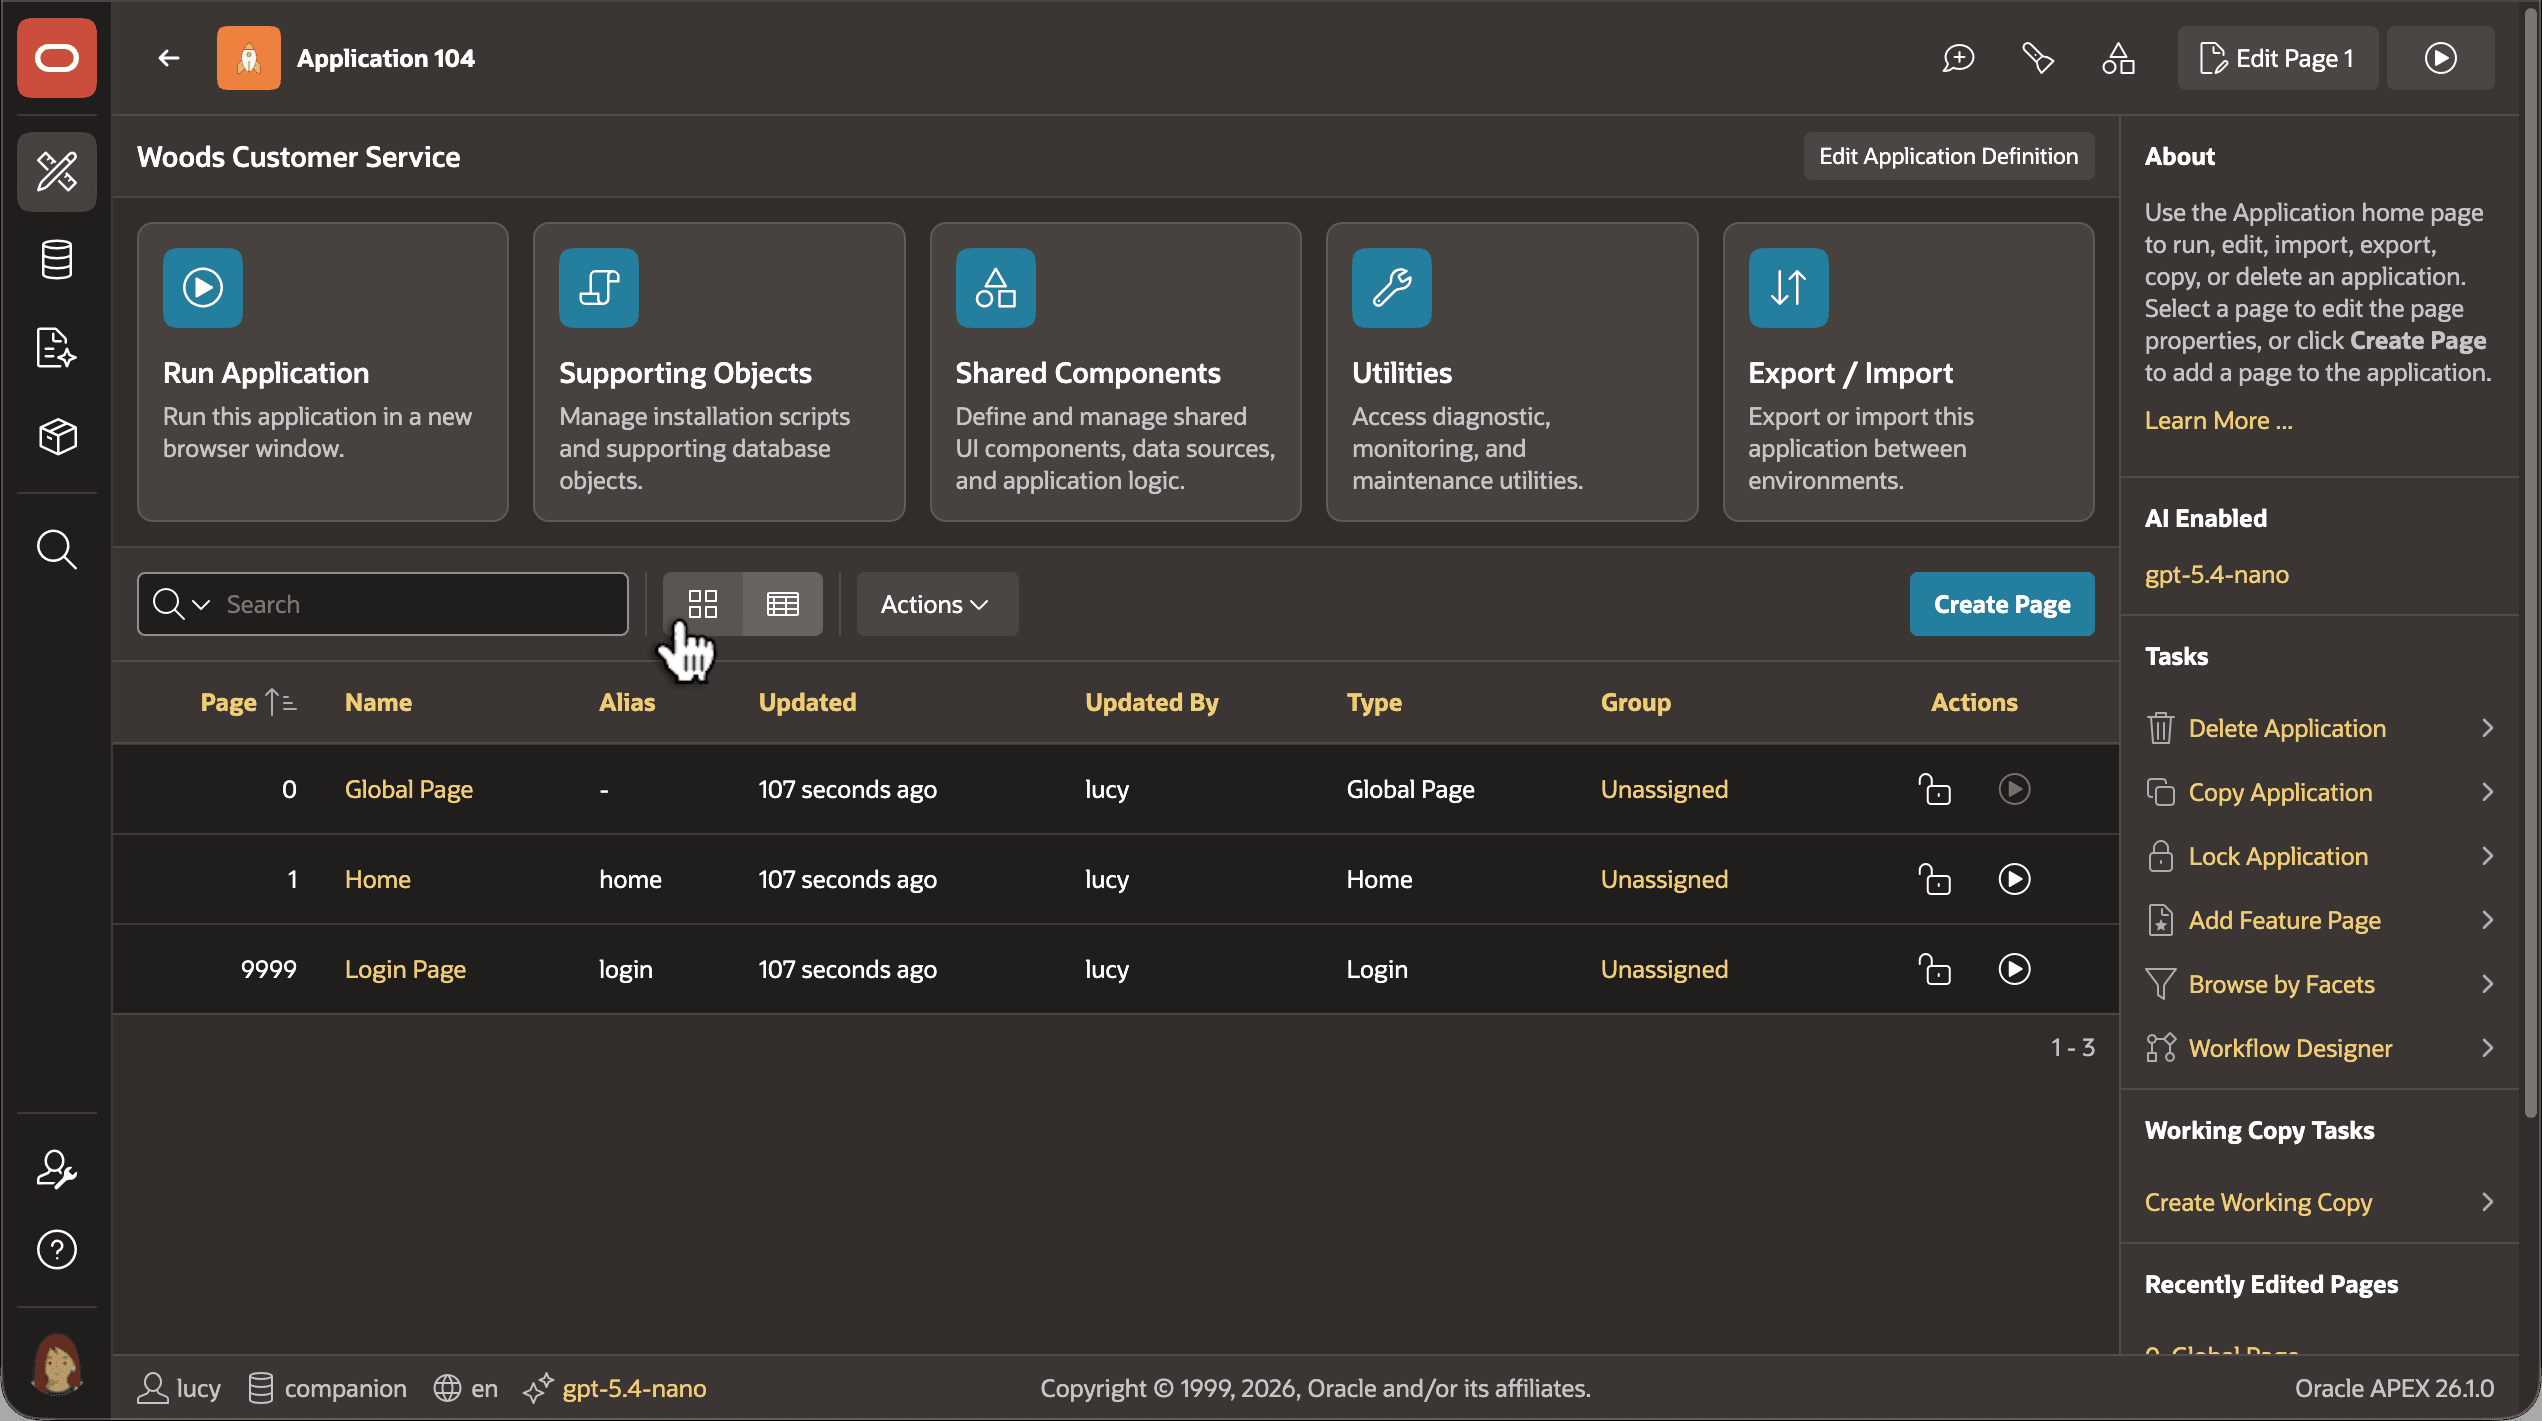
If you just enter an name and click (Create Application), your new app starts with three pages:
-
Home - the initial page users see when you run the app
-
Global Page - a special page whose components appear on every other page
-
Login Page - the page user’s see when they provide credentials to access the app.
Tip: By default, every page includes each component you add to the Global Page. To control when a global page component appears, add a condition to it. See Making Almost Any Element Conditional.
Each page in an application has both a number and user-friendly “alias” to uniquely identify it. The page alias appears in the browser address bar when navigating to a page. Notice both show in the page list below. If you prefer seeing less detail about your pages, use the toolbar button next to the Search field to toggle to icon view.
Description of the illustration newapp4.png
Each page’s icon in this view reflects its page type. In both icon and list views, when your application has more pages than will fit in a screenful, pagination links appear.
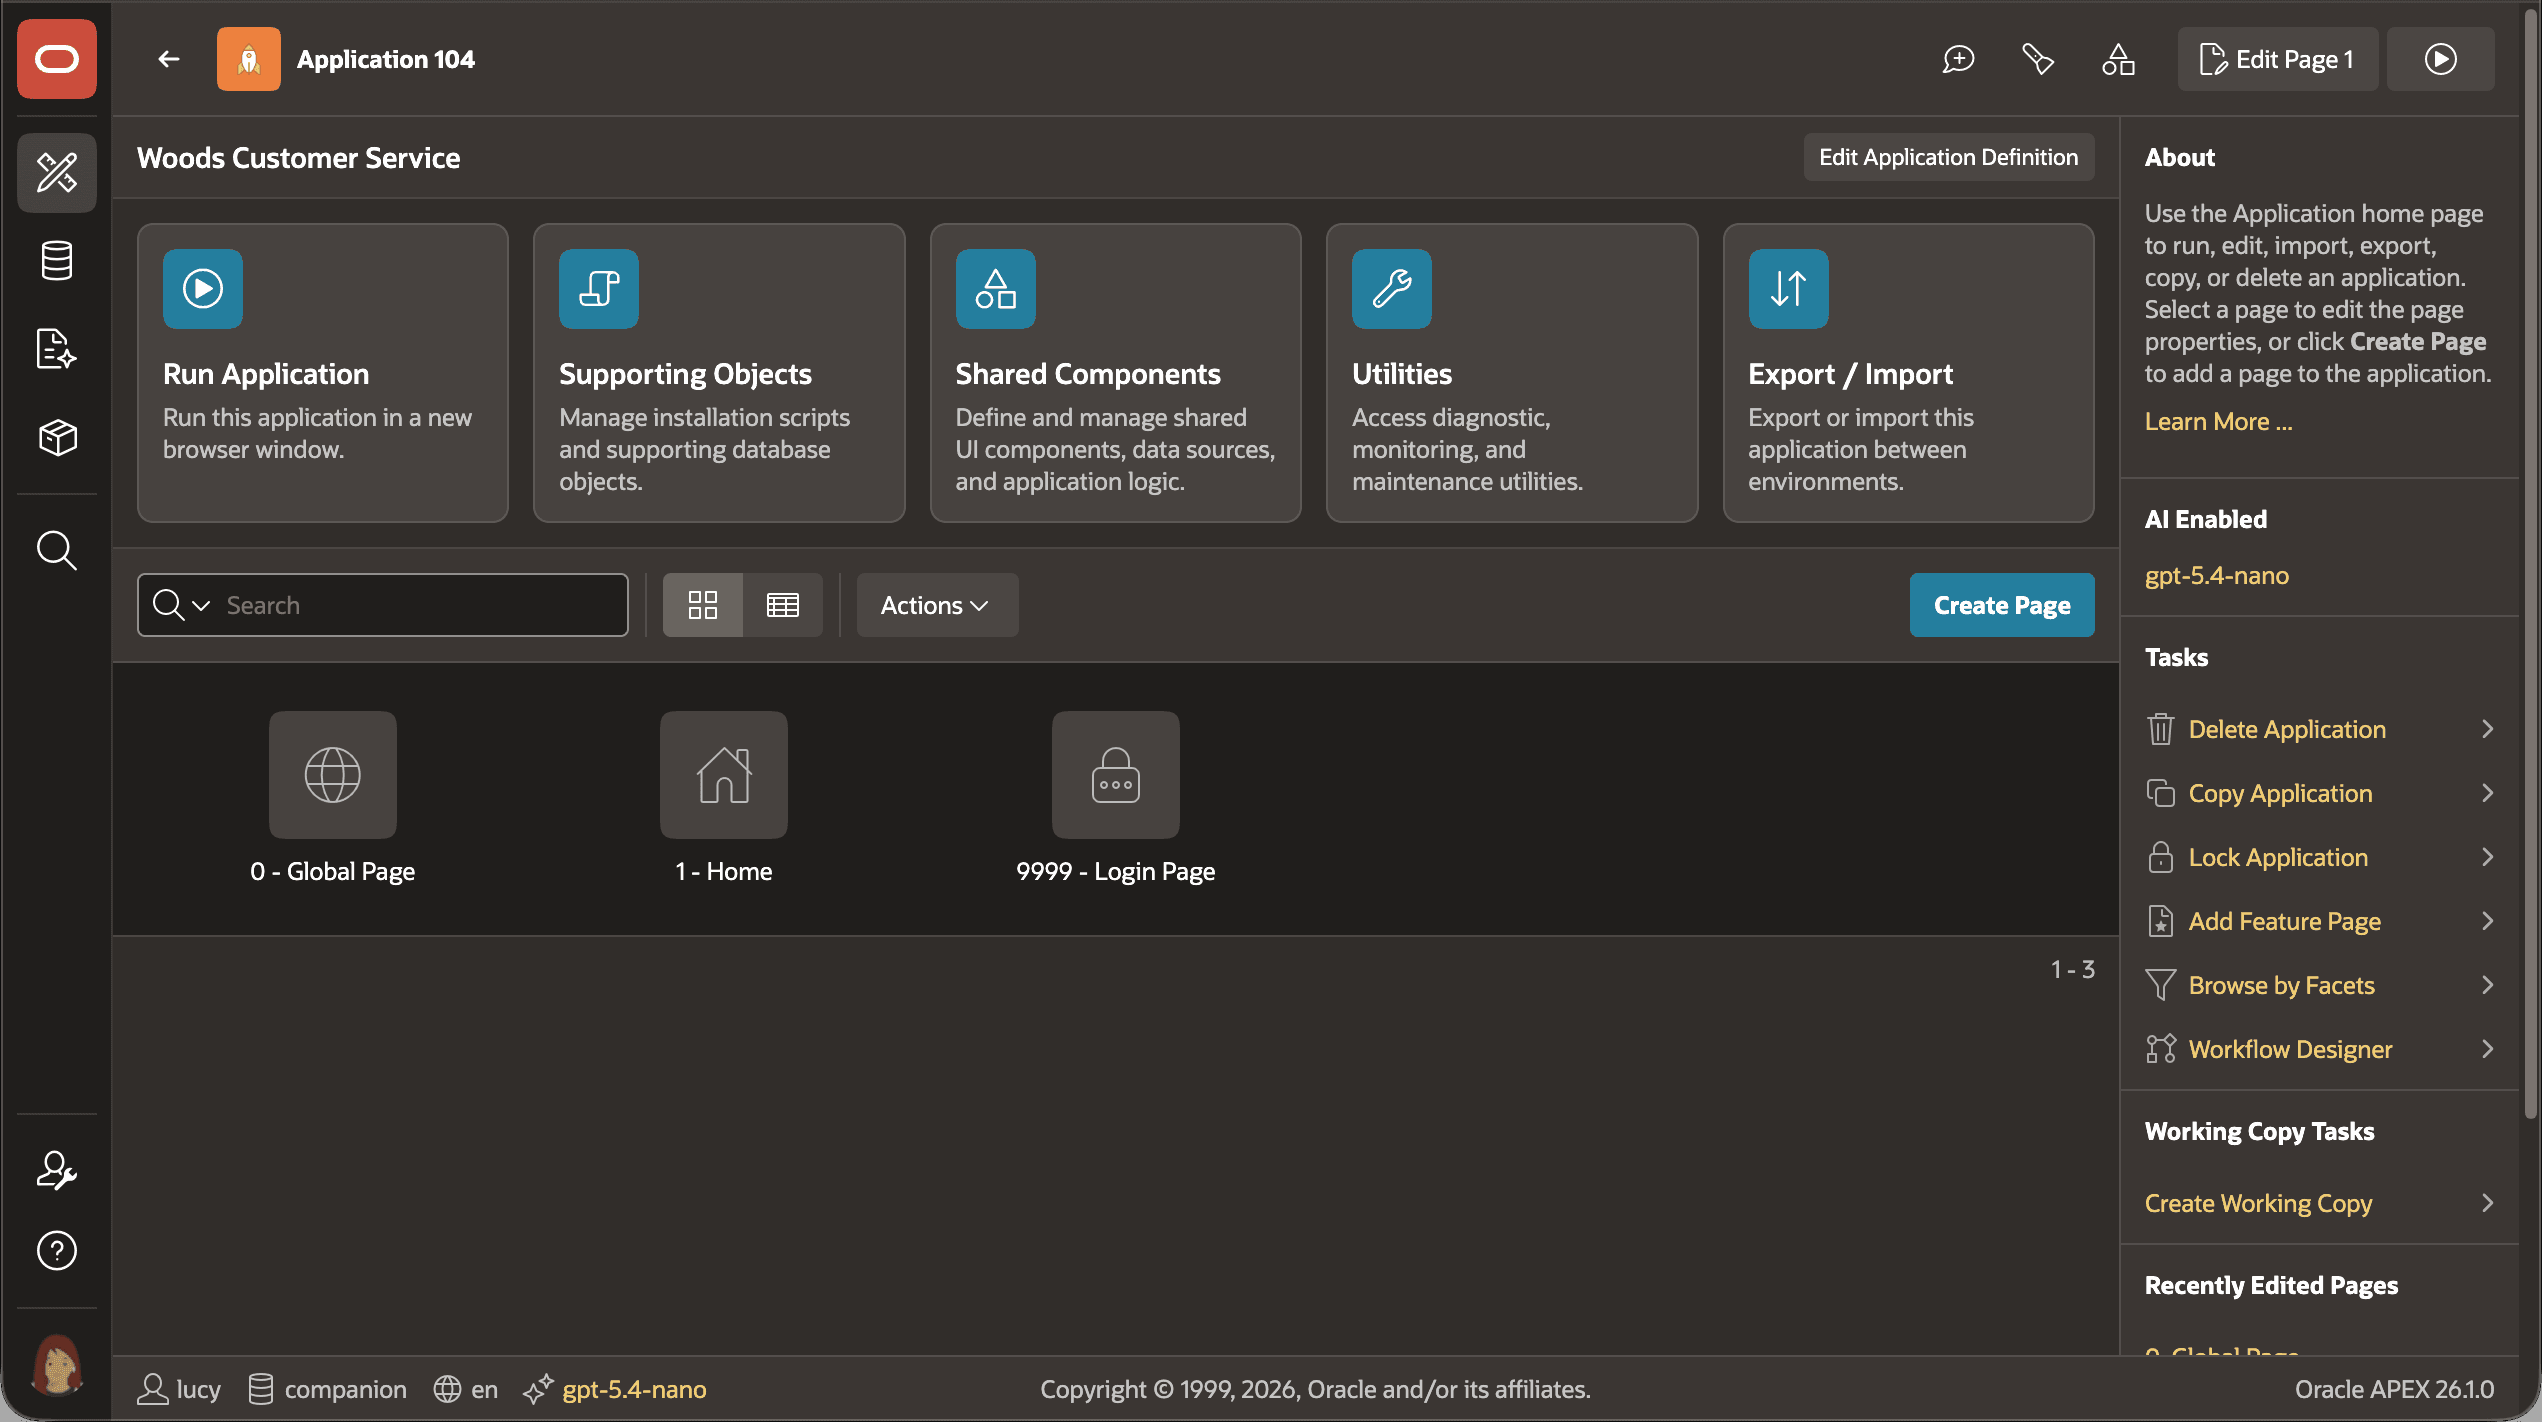
Description of the illustration newapp5.png
For more information, see:
-
Using the Full Create Application Wizard in Oracle APEX App Builder User’s Guide
-
Creating an App Using Generative AI in Oracle APEX App Builder User’s Guide
-
Creating an Application from a File in Oracle APEX App Builder User’s Guide
-
Integrating APEX with Fusion Applications in Oracle APEX App Builder User’s Guide