Creating a REST Enabled SQL Service Reference

Create REST Enabled SQL service references on the REST Enabled SQL page.

Tip:

Before creating a REST enabled SQL reference, developers must complete the requirements described in "Before You Begin: REST Enabled SQL Service Requirements".

To create a REST Enabled SQL service reference:

  1. Navigate to the REST Enabled SQL page:
    1. On the Workspace home page, click App Builder.
    2. Select a existing application.
    3. On the Application home page, click Shared Components in the center of the page.
    4. Under Data Sources, select REST Enabled SQL.

    Tip:

    You can also access the REST Enabled SQL page from Workspace Utilities. On the Workspace home page, click Workspace Utilities and then click REST Enabled SQL.

  2. On the REST Enabled SQL page, click Create.
  3. On General, specify:
    1. Name - Enter a descriptive name for this REST Enabled SQL service. 
    2. Endpoint URL - Enter the base URL for this REST Enabled SQL service.

      Tip:

      The URL must be in the format http://host:port/ords/schema. You obtain the URL by enabling the target schema on the remote database to be accessed by running ORDS.ENABLE_SCHEMA. To learn more, see "Before You Begin: REST Enabled SQL Service Requirements."

    3. Click Next.
  4. For Authentication, specify the appropriate credentials:
    1. Credentials - Select an existing credential to authenticate against, or select Enter new and complete the remaining steps.
    2. Credential Name - Enter a descriptive name for the credentials.
    3. Authentication Type - Specify the Authentication type. Select either Basic Authentication or OAuth2 Client.
    4. Client ID:
      • For Basic Authentication, enter the database user name. User names for Basic Authentication are converted to upper case. To include a case-sensitive user name, prefix it with the exclamation mark (!).

      • For OAuth2, enter the client ID. This information will not be encrypted.

    5. Client Secret - Enter the password, or OAuth2 Client Secret. This information is stored encrypted and cannot be retrieved in clear text.
    6. Verify Client Secret - Enter the password or client secret again to verify your input. When the two values are not identical, an error message displays.
  5. Click Create.

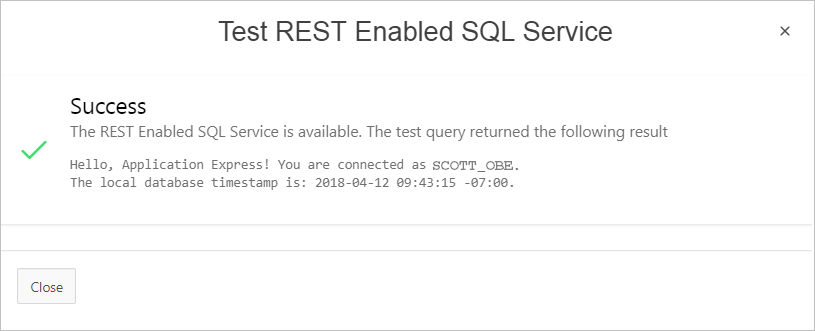
    Oracle Application Express tests the REST Enabled SQL service. If everything has been done correctly (that is, you have included the correct URL, schema name, and password), the Test REST Enabled SQL Service message appears as shown in the following illustration.Description of test_rest_enabled_ref1.png follows
    Description of the illustration test_rest_enabled_ref1.png

The REST Enabled SQL service appears on the REST Enabled SQL page.