Oracle Application Express 18: Mobile App (3 of 3) -
Improving Navigation
Background
Mobile applications developed with Oracle Application Express
are browser-based applications that run inside the browser on
the mobile device. Therefore, these applications must have a
connection in order to communicate with the Oracle Database and
cannot operate in a disconnected environment.
What Do You Need?
To complete this tutorial you need to:
Complete the preceding tutorials in this series.
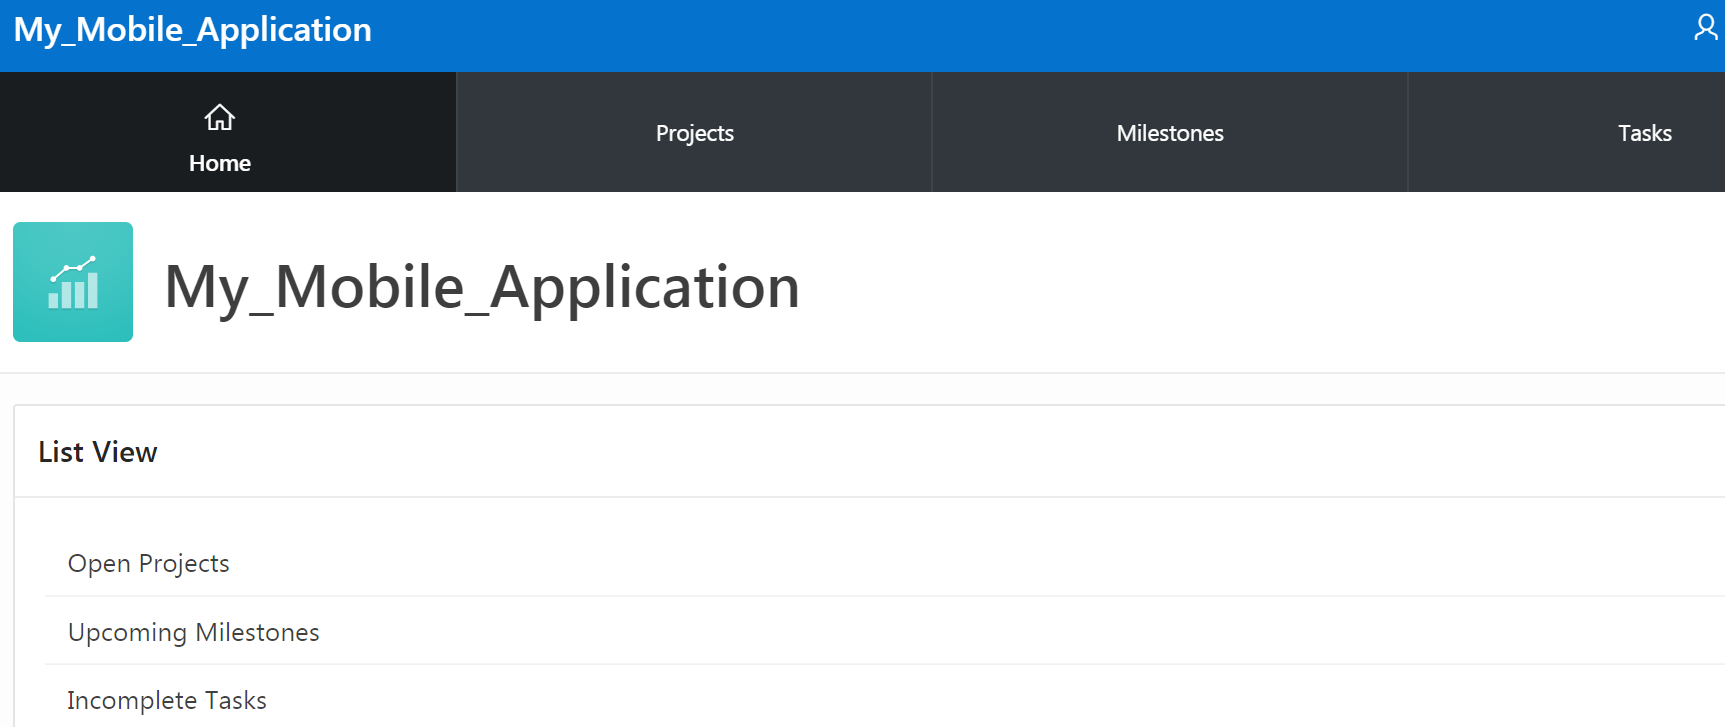
Add
the List View to the Home Page
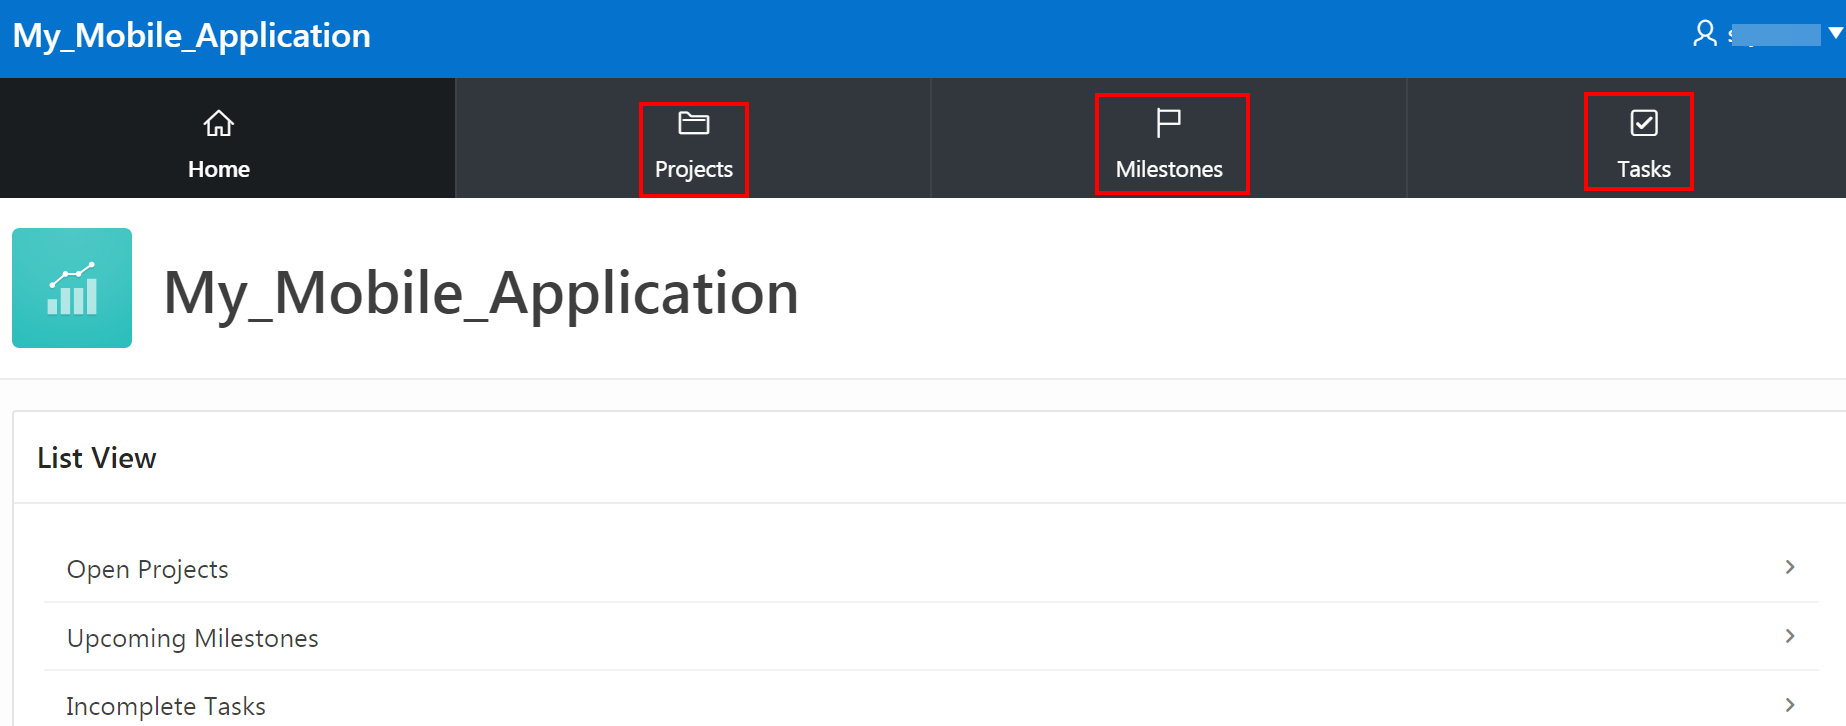
The
List View displays data in an easy to navigate list. You can
also enhance the List View by incorporating numerous features.
To
add
List View to the Home page :
From the application (My_Mobile_Application)
home page, select the Home page. The Page
Designer opens. You add new components in Page Designer by
selecting them from Gallery at the bottom on the central pane.
To add a List View report:
In the Gallery, select the Regions
tab.
Find and select List View.
Right-click List View and select Add To,
and then Content Body.
A new List View region appears in red in both the Rendering
tab and central tab. When you create a new component in Page
Designer, the Messages tab displays a red or yellow badge
indicating the number of messages you need to address.
Clicking on a message changes the focus within Property Editor
to the corresponding attribute associated with the error or
warning.
Description
of the error_message_in_content_body.png
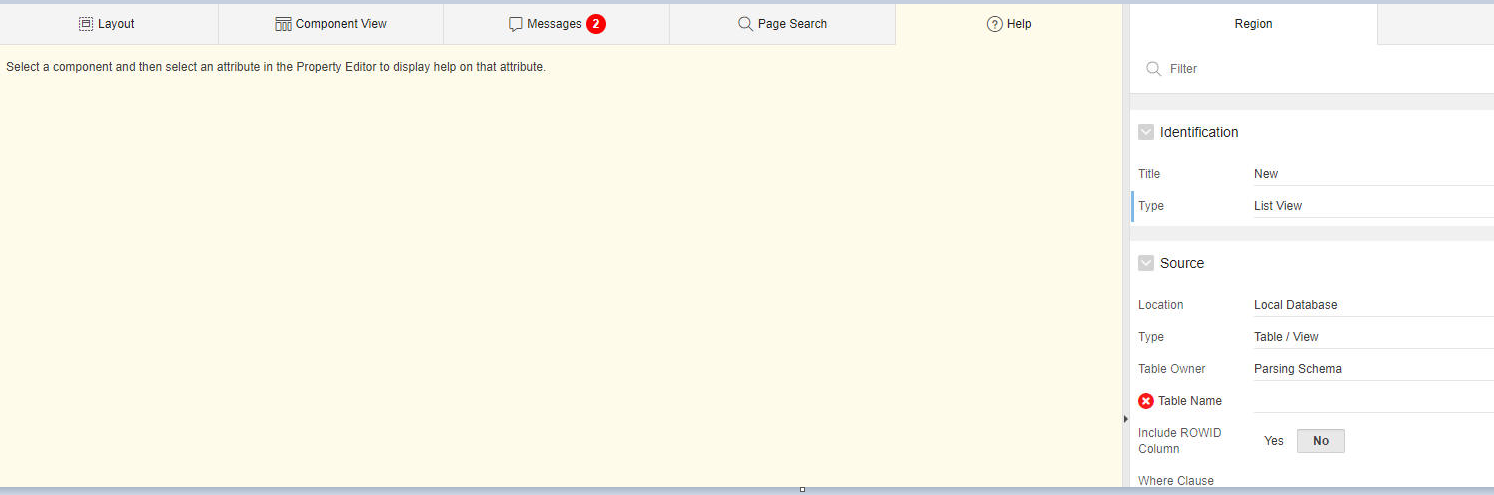
To view Help, click the Help tab and then select an attribute
within the Property Editor located in the right pane.
Description
of the help_message.png
To edit the List View:
In the Property Editor, update the following:
Identification: Title
– Enter List View
Source – Type –
Select SQL Query
Source–
SQL Query – Enter the script.txt
to add labels.
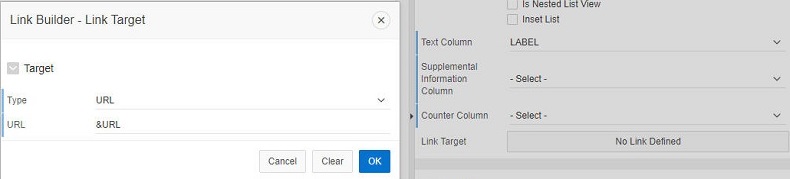
To add the links:
In the Rendering tab, click the Attributes
region .
In Property Editor, update the following:
Settings: Text Column
- Select Label.
Settings: Link Target
- Select No Link Defined
Click Link Target field again and Link
Builder – Link Target window appears. Under Target,
select the following:
 Oracle Application Express 18: Mobile App (3 of 3) - Improving
Navigation
Oracle Application Express 18: Mobile App (3 of 3) - Improving
Navigation Before You Begin
 Add
the List View to the Home Page
Add
the List View to the Home Page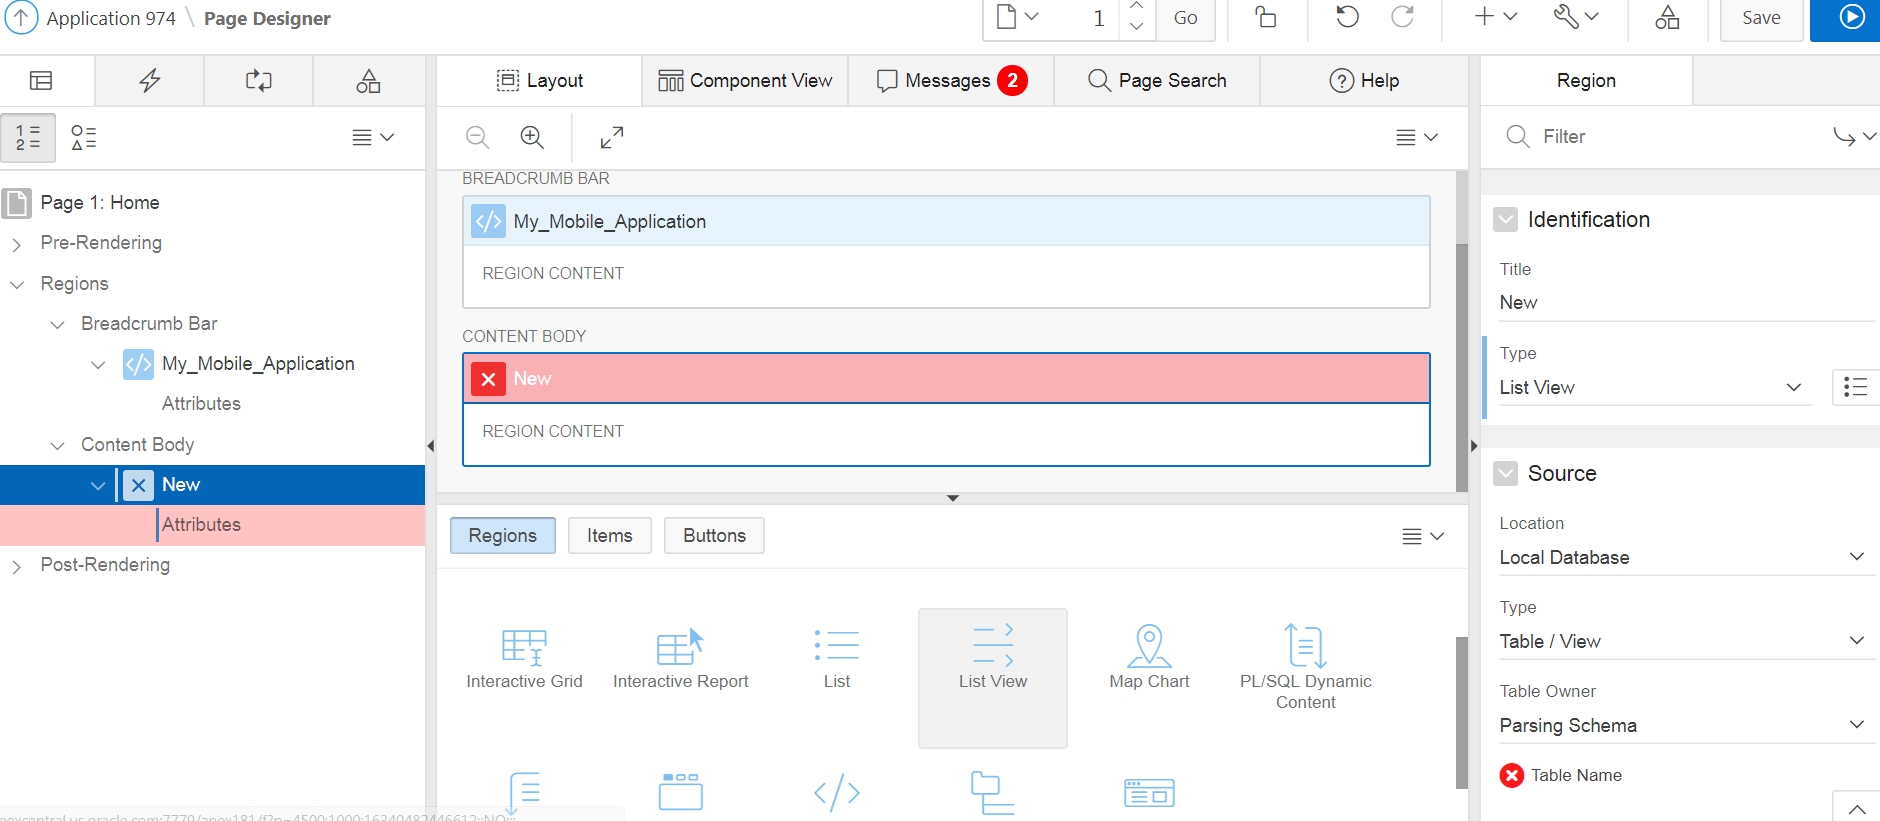
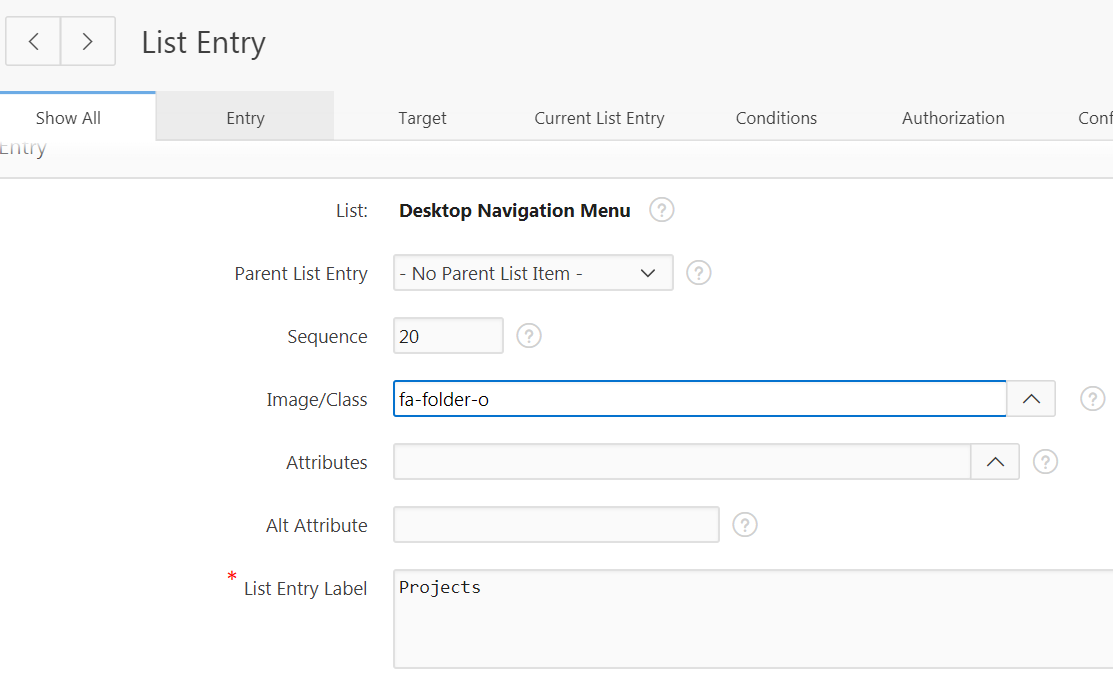
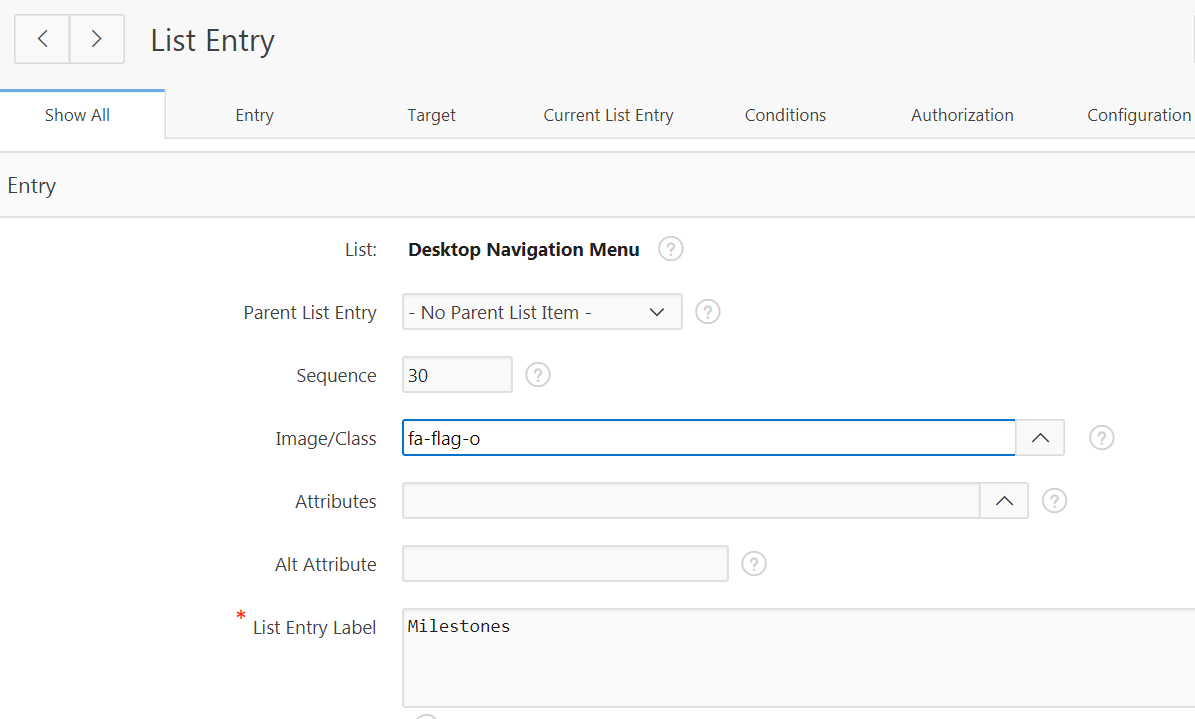
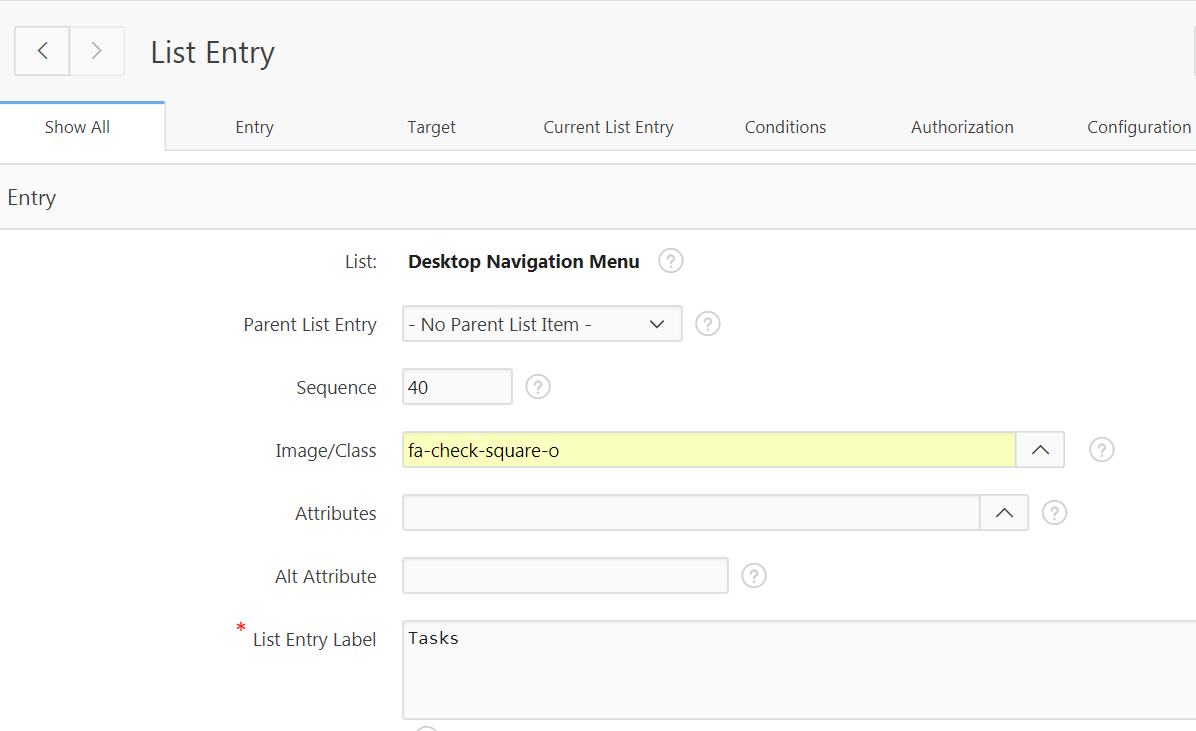
 Add
Images to the Navigation Menu
Add
Images to the Navigation Menu 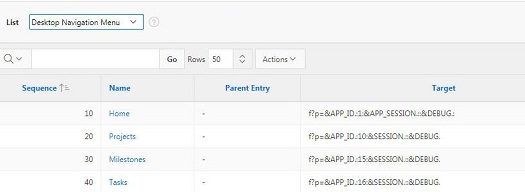
 Want to Learn More?