9 Developing the Task Overview Page

Create a Faceted Search page based on the EBA_PROJECT_TASKS table that provides a broad, easily sortable overview of all project work tracked in the app.

About This Lesson

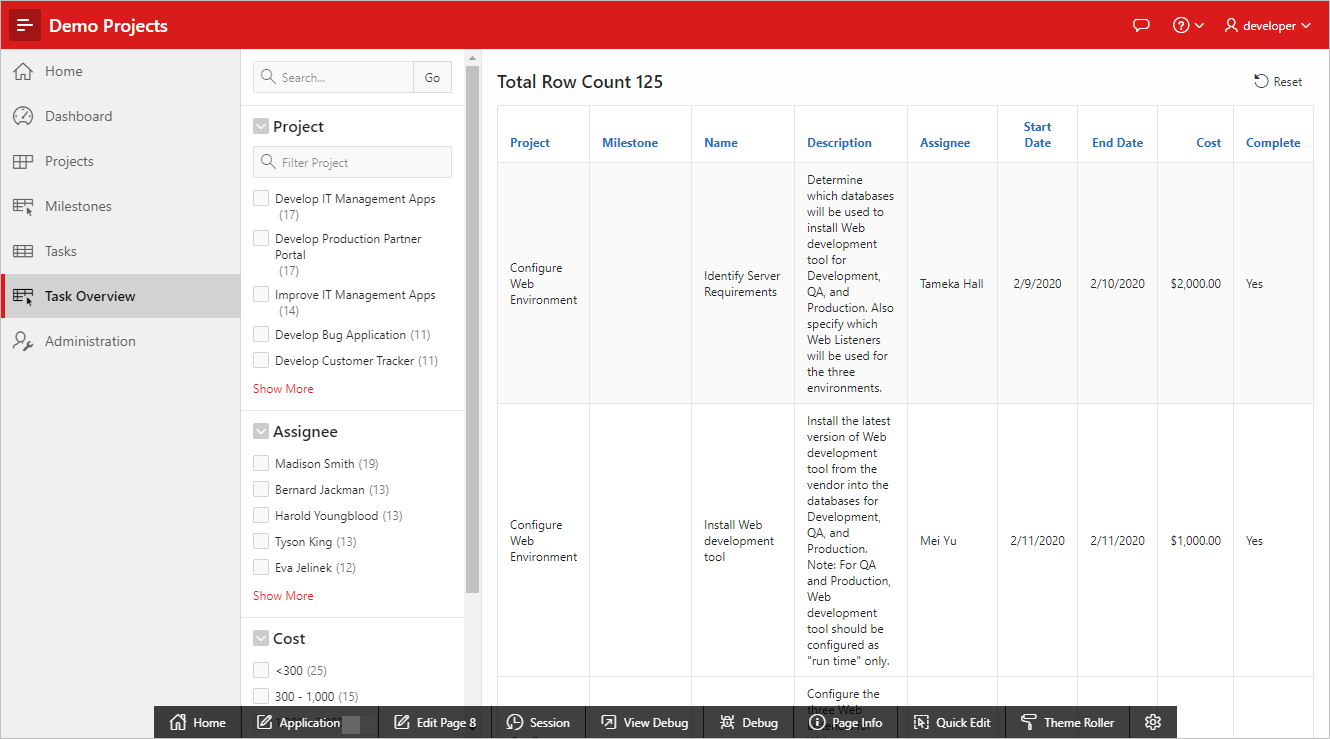
In this lesson, you add the final page to your app: a Faceted Search page. Faceted Search is a powerful tool for sorting through a large table.

You use the Create Page Wizard to add the page, then use Page Designer to update the search results region, which resembles a classic report, and the search region, which contains the facets users interact with to sort the results.

9.1 Creating a Faceted Search Page

To add a Faceted Search page to the application:

  1. In the Application home page, click Create Page.
  2. Click Report.
  3. Click Faceted Search.
  4. For Page Attributes:
    1. Report Page Number - enter 8
    2. Report Page Name - enter Task Overview
    3. Click Next.
  5. For Navigation Menu:
    1. Select Create a new navigation menu entry.
    2. Click Next.
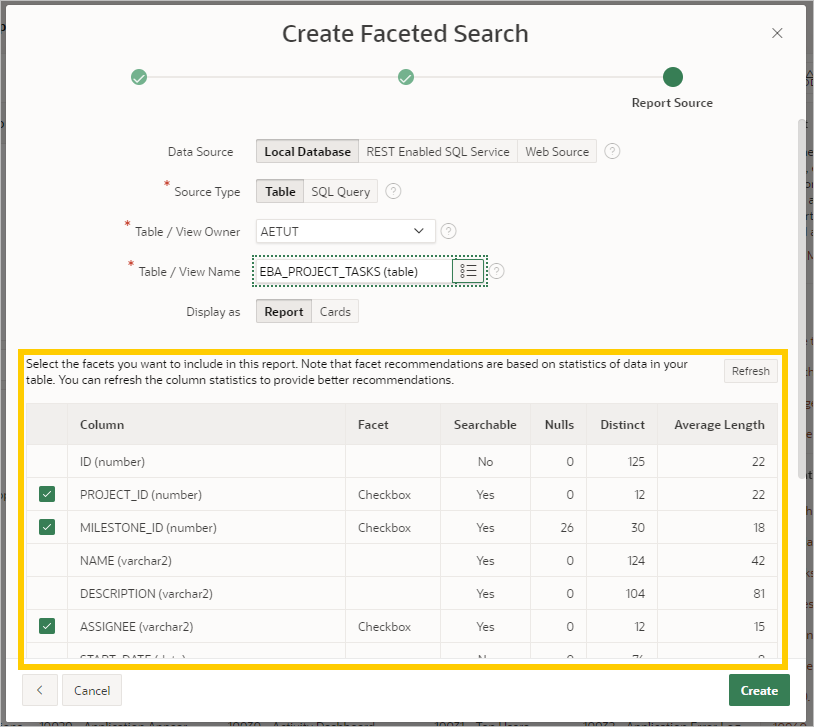
  6. For Report Source:
    1. For Table / View Name, click the LOV icon.
    2. Select EBA_PROJECT_TASKS (table).
    3. Wait for the list of facets to populate below before proceeding.

      Note:

      The Create Page Wizard uses the Data Dictionary Cache to discover valid facets. To learn more about this process, see "About Creating Facet Search Reports" in the Oracle Application Express App Builder User’s Guide.
    4. Click Create.
    When the wizard completes, Application Express loads the Task Overview page in Page Designer automatically.
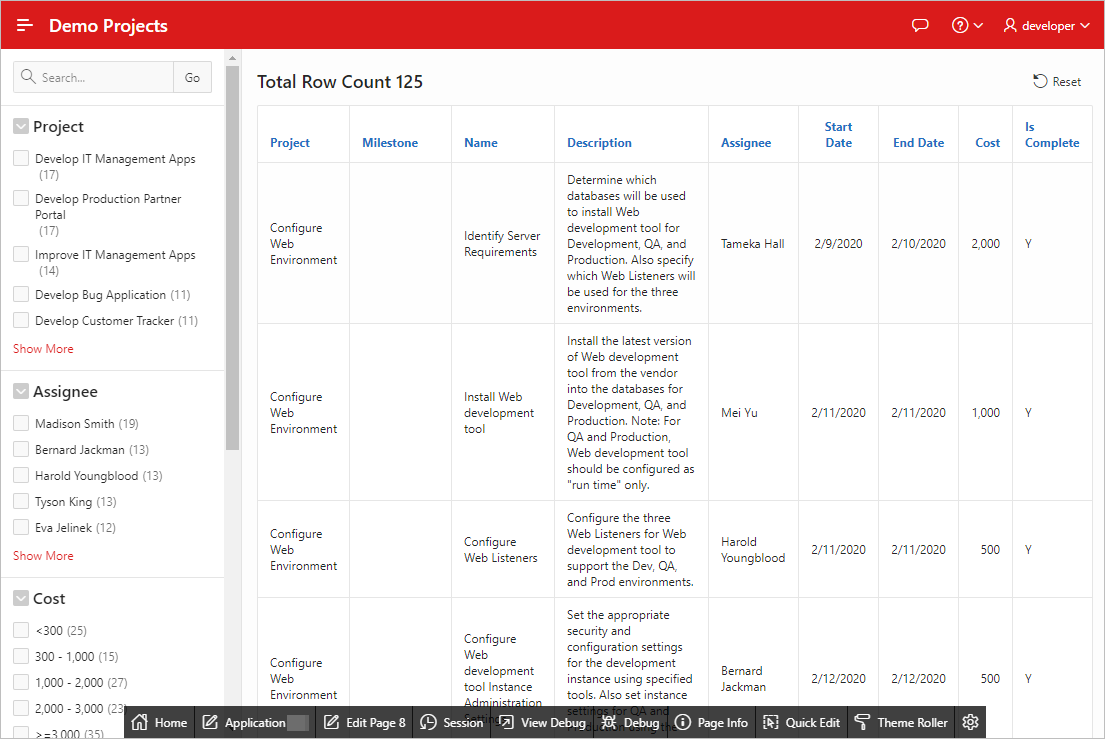
  7. Click Save and Run Page to view the page in the runtime.
  8. When finished, click Edit Page 8 on the Runtime Developer toolbar to return to Page Designer.

9.2 Updating the Task Overview Search Results

Perform some routine updates to improve the report area of the Task Overview page:

  • Update the IS_COMPLETE column.
  • Apply a format mask to the COST column.
  • Update the Navigation Menu in Shared Components.

To update the IS_COMPLETE_YN column:

  1. In the Rendering tab, locate the Search Results region (not Search).
  2. Expand Columns and select IS_COMPLETE_YN.
  3. In Property Editor:
    1. Heading: Heading - enter Complete
  4. In the Rendering tab, click Search Results.
  5. In Property Editor:
    1. Source: Type - select SQL Query.
    2. Source: SQL Query - delete the contents, then copy and paste the following code:
      select ID,
             PROJECT_ID,
             MILESTONE_ID,
             NAME,
             DESCRIPTION,
             ASSIGNEE,
             START_DATE,
             END_DATE,
             COST,
             decode(is_complete_yn, 'Y', 'Yes', 'No') IS_COMPLETE_YN,
             CREATED,
             CREATED_BY,
             UPDATED,
             UPDATED_BY
        from EBA_PROJECT_TASKS
    3. Click Save.

To apply a format mask to COST:

  1. In the Rendering tab, select the COST column.
  2. In Property Editor:
    1. Appearance: Format Mask - click the LOV icon.
    2. Scroll down and select $5,234.10.
    3. Click Save.

To update the Navigation Menu entry for the Task Overview page:

  1. Click the Shared Components icon.
  2. Under Navigation, click Navigation Menu.
  3. Click Desktop Navigation Menu.
  4. Click Task Overview.
    The List Entry screen displays.
  5. Under Entry, for Sequence enter 80
  6. For Image/Class, enter fa-table-pointer
  7. Click Apply Changes.
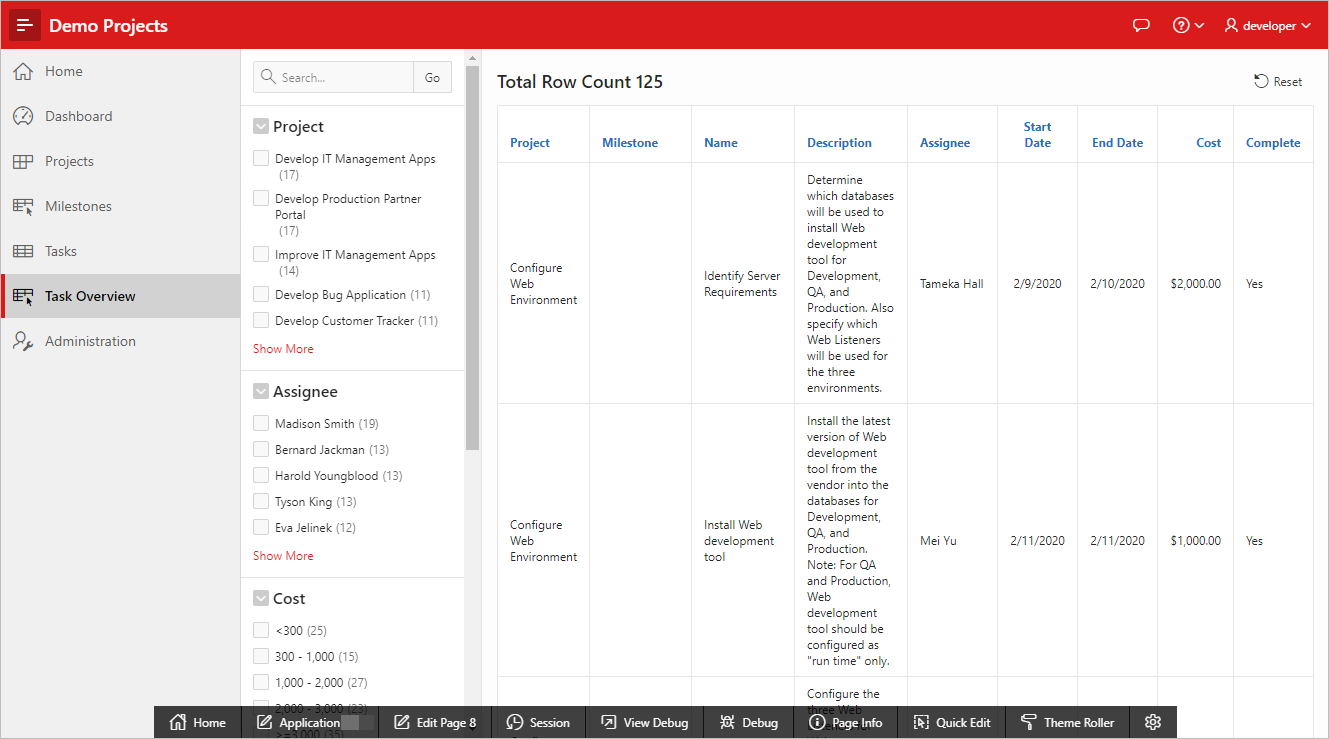
  8. Click the Run icon (top-right) to run the page.
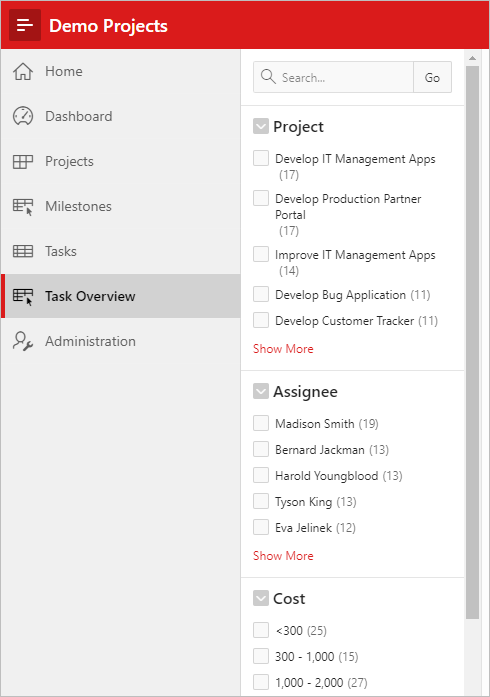
  9. In the runtime, click the menu icon (top-left) to expand the navigation menu.

    The faceted search page is useful for quickly sorting through the contents of a table. Interact with the facets to learn how they affect the results:

    • Select and deselect facets on the left to narrow the scope of the display.
    • Select multiple facets in the same category.
    • Click Clear to deselect all facets in a category.
  10. When finished, click Edit Page 8 on the Runtime Developer toolbar to return to Page Designer.

9.3 Updating the Task Overview Facets

With the results report region updated, you can improve the look and function of the search region with some basic tweaks:

  • Change the order of facet items so that Milestones appear below Projects in the Search region.
  • Apply a Cascading LOV (List of Values) to the MILESTONE_ID column. A Cascading LOV creates a dependency where the Milestone facet group only displays when a Project facet is selected. This reduces clutter in the Search region.
  • Add a search field to the Project facet group so that your users can quickly browse the Projects list with a search string.

To change the facet order in Page Designer:

  1. In the Rendering tab, under Search, click and hold P8_MILESTONE_ID facet and drag it to display after P8_PROJECT_ID.
  2. Click Save.

To apply a Cascading LOV to the Milestone facet group:

  1. With P8_MILESTONE_ID still selected, in Property Editor:
    1. List Entries: Sort by Top Counts - click to disable.
    2. Cascading List of Values: Parent Facet - enter P8_PROJECT_ID
    3. LOV Column - enter PROJECT_ID
    4. Click Save and Run Page.

    The runtime displays. Note that the Milestone group has disappeared.


  2. In the runtime, click a Project facet. The Milestone category appears.

    A Project filter displayed above the search results region.

    You can select multiple facets, and a filter displays for each one. Click the X icon to remove filters individually or click Clear All to deselect all facets.


    If you select the Configure Web Environment project, the Milestone facet group does not display because this Project does not contain any Milestones.

  3. When finished, click Edit Page 8 on the Runtime Developer toolbar.

To add a search field to the Project facet group:

  1. In the Rendering tab, under Search, select P8_PROJECT_ID.
  2. In Property Editor:
    1. List Entries: Zero Count Entries - select Show Last.
    2. List Entries: Client-Side Filtering - click to enable.
      Enabling Client-Side Filtering adds the text search field to the region. "Zero Count Entries - Show Last" moves facets with no results for the selected facets to the bottom of the list. They display as null.
    3. Click Save and Run Page.

The faceted search page Task Overview is complete.

Congratulations! Your application is complete.