11 Admin
Oracle Machine Learning is managed at the system level and at the application level by an administrator.
-
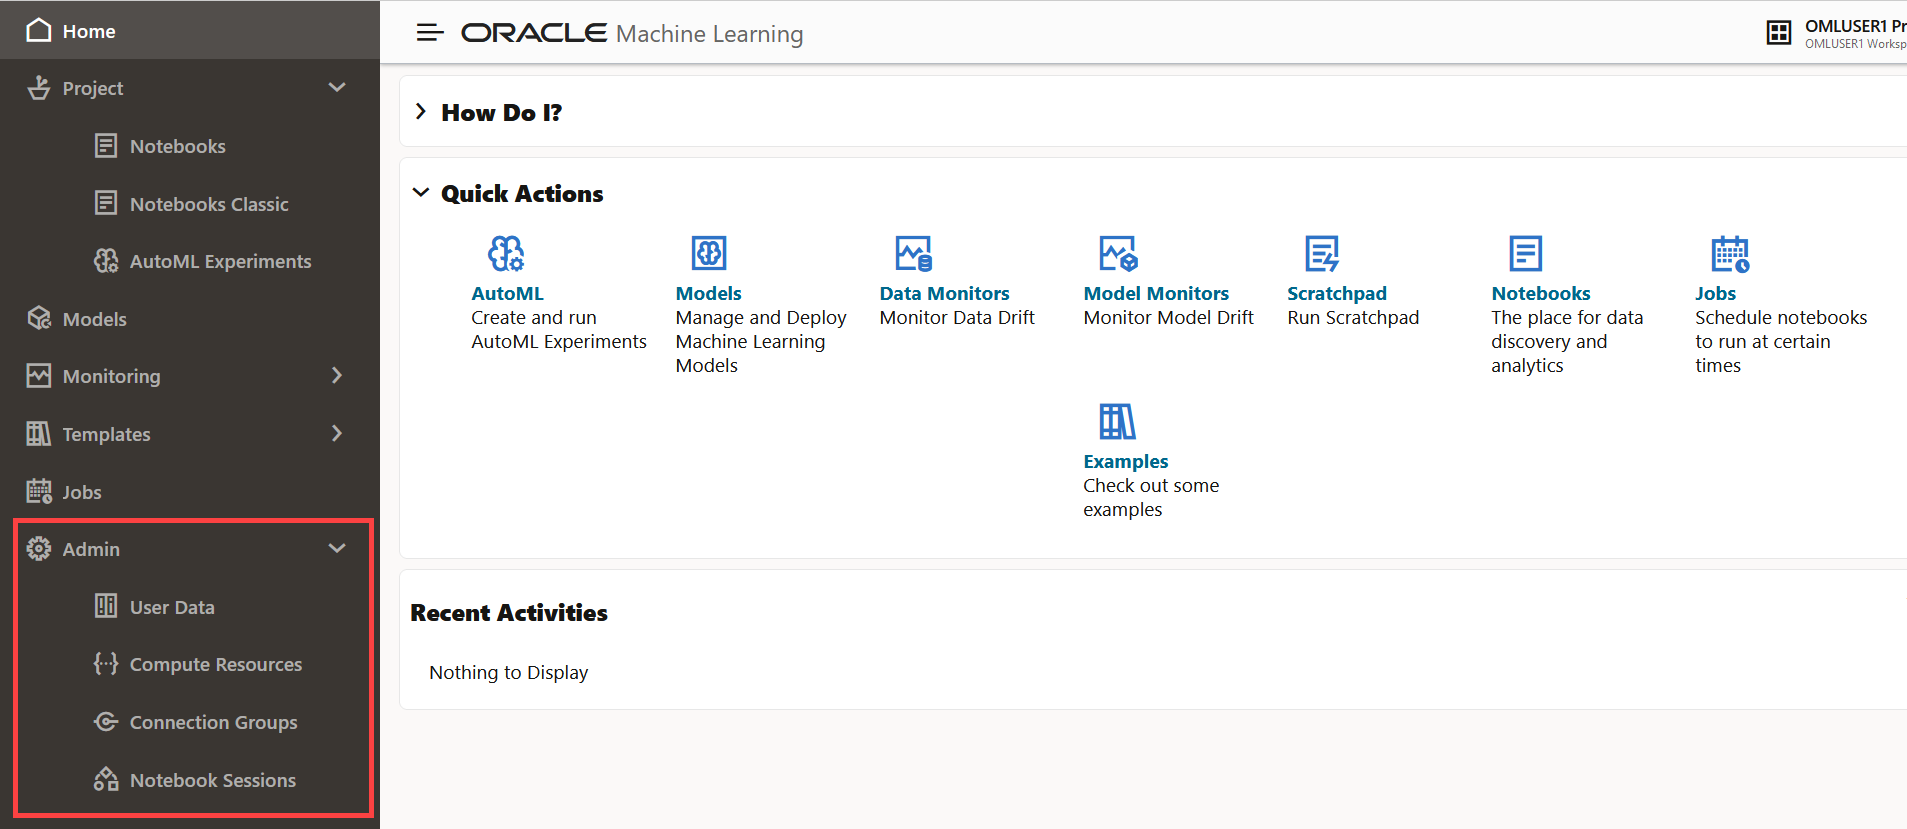
Administrator — Creates and manages Oracle Machine Learning user accounts, manages compute resourses, connection groups, and notebook sessions. The Administrator also reassigns user workspace.
Note:
The Administrator is not authorized to run notebooks. The Administrator can only read notebooks.Figure 11-1 OML UI Admin home page and left navigation menu
-
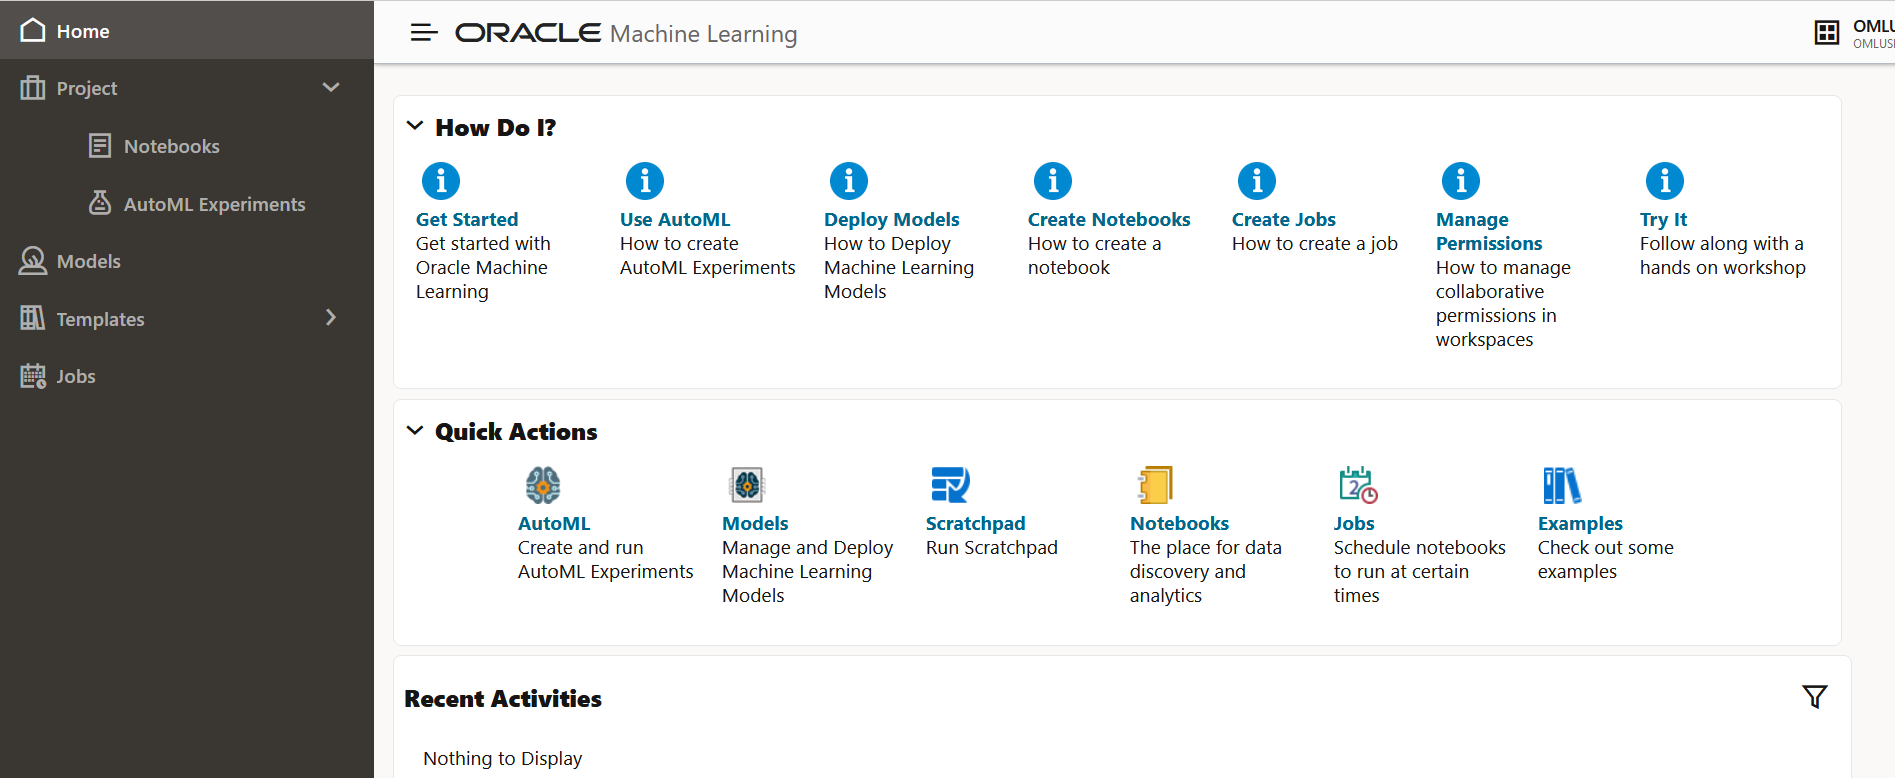
Developer — This is the default user role that allows you to create and run notebooks, run SQL Statements, create SQL scripts, run Python scripts, create jobs to schedule and run notebooks, use example template notebooks, create and run AutoML experiments, and deploy models.
Figure 11-2 OML UI Developer home page and left navigation menu
- Typical Workflow for Managing Oracle Machine Learning
To manage Oracle Machine Learning User Interface and other administrative tasks, refer to the tasks listed in the table as a guide. - Access OML User Management from Command Line
You can obtain the Oracle Machine Learning User Management URL for a specific tenancy from the Oracle Cloud Infrastructure (OCI) command line. - Manage OML Users and User Accounts
An administrator manages new user account and user credentials creation for Oracle Machine Learning. - About User Data
On the User Data page in Oracle Machine Learning, you can view existing user data, reassign, and delete it. - About Compute Resource
The term Compute Resource refers to services such as a database, or any other backend service to which an interpreter connects. - Get Started with Connection Groups
A connection group, also known as a Zeppelin interpreter set, is a collection of database connections. - Get Started with Notebook Sessions
The Notebook Sessions page provides you an overview of your notebooks, and allows you to manage notebook sessions from your workspace or in workspaces where you have collaboration rights.
11.1 Typical Workflow for Managing Oracle Machine Learning
To manage Oracle Machine Learning User Interface and other administrative tasks, refer to the tasks listed in the table as a guide.
| Tasks | Oracle Machine Learning Interface/OCI CLI Interface | More Information |
|---|---|---|
| Obtain Oracle Machine Learning User Management URL from OCI command line | Oracle Cloud Infrastructure (OCI) Command Line Interface (CLI) | Access OML User Management from Command Line |
| User account and password creation | Oracle Machine Learning User Management interface | Create Users for Oracle Machine Learning |
| Connection Groups — View and Reset | Oracle Machine Learning User Interface | Work with Connection Groups |
| Compute Resource — View | Oracle Machine Learning User Interface | About Compute Resource |
| User Data administration — Delete all users, all user related objects such as workspace, projects, and notebooks, and workspace reassignment | Oracle Machine Learning User Interface | About User Data |
| Notebook session — Loading and stopping of notebook sessions | Oracle Machine Learning User Interface | Get Started with Notebook Sessions |
| Conda environment — Installation and management of the Conda environment, add and delete of packages from the environment. | Oracle Autonomous AI Database | About the Conda Environment and Conda Interpreter |
| Change the default number of email recipients for job notifications. | Create Jobs in Oracle Machine Learning User Interface | Change the variable
oml.emails.maxRecipients in the
oml.conf file. By default, a user can send
email notification to 3 email addresses.
|
Note:
The tasks listed here can be performed by an administrator only.Parent topic: Admin
11.2 Access OML User Management from Command Line
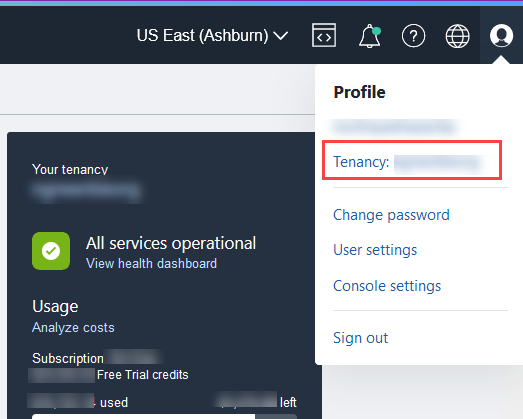
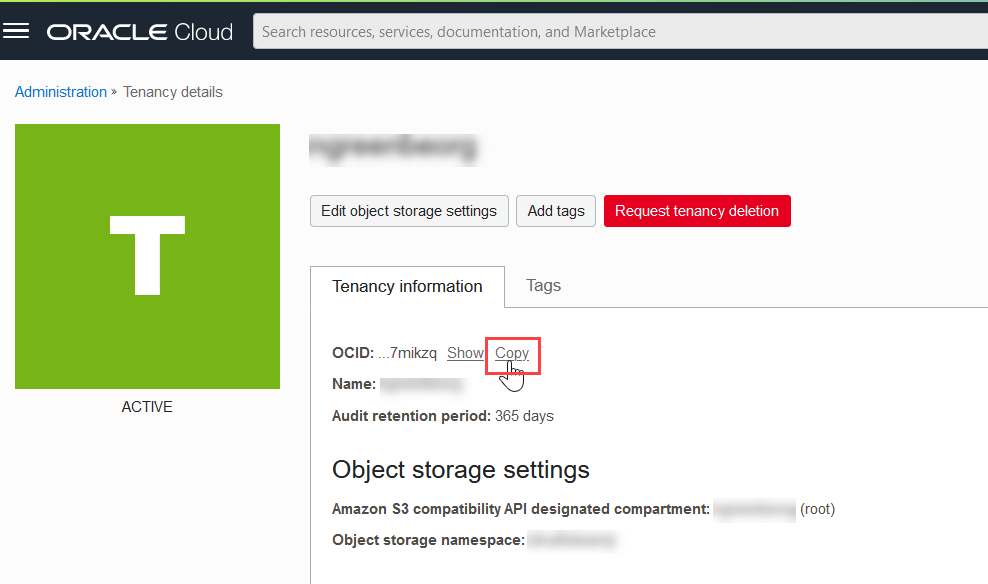
You can obtain the Oracle Machine Learning User Management URL for a specific tenancy from the Oracle Cloud Infrastructure (OCI) command line.
- Obtain URLs for OML User Management, REST API for OML Services, REST API for OML4Py and OML4R embedded execution from Command Line or the Autonomous AI Database
You can obtain the URLs for OML User Management, REST API for OML Services, REST API for OML4Py and OML4R embedded execution using a query. This approach is useful for automation or when you need programmatic access to the URLs.
Parent topic: Admin
11.2.1 Obtain URLs for OML User Management, REST API for OML Services, REST API for OML4Py and OML4R embedded execution from Command Line or the Autonomous AI Database
You can obtain the URLs for OML User Management, REST API for OML Services, REST API for OML4Py and OML4R embedded execution using a query. This approach is useful for automation or when you need programmatic access to the URLs.
To obtain the URLs:
Parent topic: Access OML User Management from Command Line
11.3 Manage OML Users and User Accounts
An administrator manages new user account and user credentials creation for Oracle Machine Learning.
Table 11-1 Administrative Tasks for OML Users and User Accounts
| Tasks | Links |
|---|---|
| Create User Accounts for Oracle Machine Learning Components | Creating User Accounts for Oracle Machine Components |
| Create Users on Autonomous AI Database with Database Actions | Creating Users on Autonomous AI Database with Database Actions |
| Create Users on Autonomous AI Database - Connecting with a Client Tool | Creating Users with Autonomous AI Database with Client-Side Tools |
| Create Users on Autonomous AI Database | Create Users on Autonomous AI Database |
| Add Existing Database User Account to Oracle Machine Learning Components | Add Existing Database User Account to Oracle Machine Learning Components |
| Unlock User Accounts on Autonomous AI Database | Unlock User Accounts with Autonomous AI Database |
| About User Passwords on Autonomous AI Database | About User Passwords on Autonomous AI Database |
- Add Existing Database User Account to Oracle Machine Learning Components
As the ADMIN user you can add an existing database user account to provide access to Oracle Machine Learning components.
Related Topics
Parent topic: Admin
11.3.1 Add Existing Database User Account to Oracle Machine Learning Components
As the ADMIN user you can add an existing database user account to provide access to Oracle Machine Learning components.
To add an existing database user account:
This grants the required privileges to use the Oracle Machine Learning application. In Oracle Machine Learning this user can then access any tables the user has privileges to access in the database.
Parent topic: Manage OML Users and User Accounts
11.4 About User Data
On the User Data page in Oracle Machine Learning, you can view existing user data, reassign, and delete it.
-
Delete User Data: To delete a user, select the user to delete and click Delete User Data.
-
Reassign: To reassign workspace and templates from one user to another.
- Reassign
The Reassign option allows you to reassign workspaces, along with templates, from one user to another.
Parent topic: Admin
11.4.1 Reassign
The Reassign option allows you to reassign workspaces, along with templates, from one user to another.
Parent topic: About User Data
11.5 About Compute Resource
The term Compute Resource refers to services such as a database, or any other backend service to which an interpreter connects.
Note:
You must have the Administrator role to access the Compute Resources page.The Compute Resources page displays the list of compute resources along with the name of each resource, its type, comments, and last updated details. To view details of each Compute Resource, click the Compute Resource name. The connection details are displayed on the Oracle Resources page.
- Oracle Resource
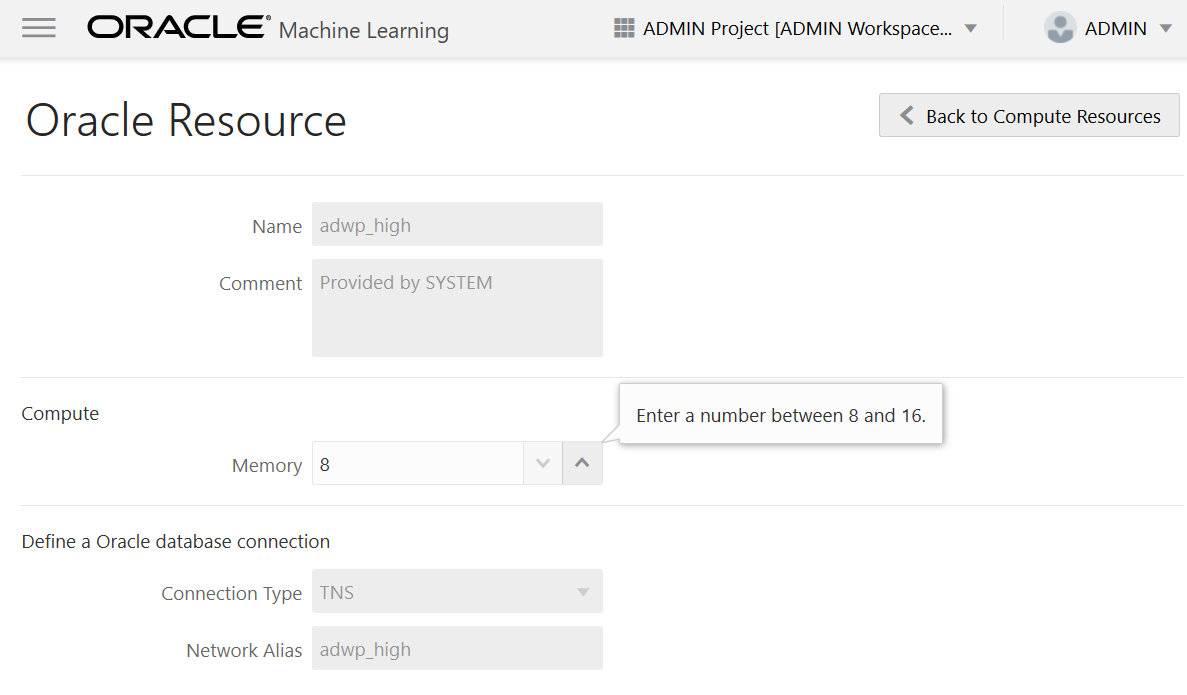
The Oracle Resource page displays the details of the selected compute resource on the Compute Resources page. You can configure the memory settings (in Gigabytes) for the Python interpreter for the selected compute resource.
Parent topic: Admin
11.5.1 Oracle Resource
The Oracle Resource page displays the details of the selected compute resource on the Compute Resources page. You can configure the memory settings (in Gigabytes) for the Python interpreter for the selected compute resource.
Note:
You must have Administrator privilege to configure the memory settings.- Resource Services and Notebooks
This topic lists the number of notebooks that you can run concurrently per Autonomous AI Database instance for each resource service.
Parent topic: About Compute Resource
11.5.1.1 Resource Services and Notebooks
This topic lists the number of notebooks that you can run concurrently per Autonomous AI Database instance for each resource service.
The Resource Services and Number of Notebooks table lists the Compute Resources assigned for running at different Resource Service levels - GPU, High, Medium and Low. The GPU compute capability applies only to the Python interpreter.
Table 11-2 Resource Services and Number of Notebooks
| Resource Service | OCPUs (Oracle CPUs), ECPUs and GPUs | Memory | Number of Concurrent Notebooks, UDFs |
|---|---|---|---|
| GPU
Note: The GPU setting includes aHIGH
setting on the database server side.
|
1 NVIDIA A10 Tensor Core | 8 GB (DDR4), by default. Extensible up to 200 GB | The number of concurrent notebooks you can run
is determined by:
If GPU resources are not available when requested, you will receive an error message. You should try again later. Note: GPU resources are available only on paid Oracle Autonomous AI Database Serverless. GPU resources are not available if less than 16 ECPUs are allocated for OML. |
| High | Up to 8 OCPUs | 8 GB (up to 16 GB) | Up to 3 |
| Medium | Up to 4 (OCPUs) | 4 GB (up to 8 GB) | Up to max (1.25 × number of OCPUs)
Note: The number of current notebooks run is calculated by the formula1.25 x (number of OCPUs) provisioned
for the corresponding Autonomous AI Database instance. OCPU stands for Oracle CPU.
For example, if a database is provisioned with 4 OCPUs, then the maximum number of notebooks run would be 5 (1.25 x 4) in Medium level. |
| Low | 1 | 2 GB (up to 4 GB) | Up to 100 |
| TP
This service is available for Oracle Autonomous Transaction Processing (ATP) database. |
User specified | 2 GB | Up to 60 |
| TPURGENT
This service is available for Oracle Autonomous Transaction Processing (ATP) database. |
User specified | 2 GB. | Up to 60 |
| ECPU setting. OML apps on ADB-Serverless have ECPU specifications separate from the database. | User specified |
This allocation is based on the assumption that one VM is allocated for the PDB. |
All processes share the CPU resources. Running of UDFs is
situation-specific.
|
For more information on Database service and concurrency, see Database Service Names for Autonomous AI Database
Parent topic: Oracle Resource
11.6 Get Started with Connection Groups
A connection group, also known as a Zeppelin interpreter set, is a collection of database connections.
- About Connection Groups
On the Connection Group page, a user with Administrator role can manage your connections that constitute the connection group. - About Global Connection Group
The Global Connection Group is created automatically when a new database is provisioned. - Edit Oracle AI Database Interpreter Connection
When defining an Oracle AI Database interpreter connection, a reference to a compute resource is created. This reference contains all connection-related information about the interpreter.
Parent topic: Admin
11.6.1 About Connection Groups
On the Connection Group page, a user with Administrator role can manage your connections that constitute the connection group.
Note:
Only an Administrator user can manage connection groups.-
Name: This is the name of the interpreter.
-
Default: A check mark indicates whether the connection is the default connection or not.
-
Scope: Indicates the scope of the connection.
-
Comment: Displays any comment related to the interpreter.
-
Owner: Displays the name of the user who created the connection.
-
Last Updated: Indicates the date and time when the connection was last updated.
-
Edit: To edit the interpreter connection, select the connection and click Edit.
-
Stop: To stop the interpreter connection, select the connection and click Stop.
- Refresh: Click the Refresh button in the following conditions:
- If you rename the Pluggable Database (PDB).
- If you do a Wallet rotation. Wallet rotation invalidates the current wallet. Hence, a new Wallet is needed for the database connection.
Parent topic: Get Started with Connection Groups
11.6.2 About Global Connection Group
The Global Connection Group is created automatically when a new database is provisioned.
-
Compute Resource definition: A Compute Resource is associated with the Pluggable Database (PDB). After a new PDB is provisioned, a Compute Resource is added for the PDB. A tenant may provision more than one PDB, and for each PDB a Compute Resource is added. The settings in the Compute Resource are relevant to its own PDB. The Compute Resource is associated to an Oracle Wallet. The Oracle wallet contains the credentials to connect to the user PDB.
Note:
The Compute Resource definition can be edited by the Administrator only. -
Connection Group definition: The Global Connection Group comprises a single connection of type
Global.Only one Global Connection Group for each Compute Resource is allowed per PDB. No password is required for this connection as it uses the Wallet containing the credentials for the PDB. The Wallet is associated to the Compute Resource.Note:
A Global Connection Group can be edited by the Administrator only.Reset: To reset the interpreter connection, click the connection group name. The connection group opens on a separate page, listing all the interpreter connections in the group. Select the connection you want to reset and click Reset. When you click Reset, then all connections supported by the interpreter are closed, and all notebooks using that connection are canceled.
Note:
The Reset option is available only to the Administrator.
Parent topic: Get Started with Connection Groups
11.6.3 Edit Oracle AI Database Interpreter Connection
When defining an Oracle AI Database interpreter connection, a reference to a compute resource is created. This reference contains all connection-related information about the interpreter.
Note:
You must have the Administrator role to edit these fields.Parent topic: Get Started with Connection Groups
11.7 Get Started with Notebook Sessions
The Notebook Sessions page provides you an overview of your notebooks, and allows you to manage notebook sessions from your workspace or in workspaces where you have collaboration rights.
-
Stop: Select the notebook that is running, and click Stop. This stops the selected notebook in the server.
-
Unload: Select the notebook that is loaded, and click Unload. This removes the selected notebook from memory on the server.
-
Notebook: The name of the notebook.
-
Project: The project in which the notebook resides.
-
Workspace: The workspace in which the project is available.
-
Connection: The connection name.
-
Owner: The owner of the notebook.
-
Status: The statuses of a notebook are:
-
Loaded: Indicates that the notebook is loaded but not tied to the websocket or running.
-
Active: Indicates that the notebook is tied to the websocket but is not running.
-
Running: Indicates that the notebook paragraph is queued to run or is running.
-
Parent topic: Admin
