10 Jobs
Jobs allow you to schedule the running of notebooks. On the Jobs page, you can create jobs, duplicate jobs, start and stop jobs, delete jobs, and monitor job status by viewing job logs, which are read-only notebooks.
- About Jobs
The Jobs page lists all the jobs created, along with the job name, notebook, owner of the job, last start date, next run date, status, and schedule. - Create Jobs to Schedule Notebooks
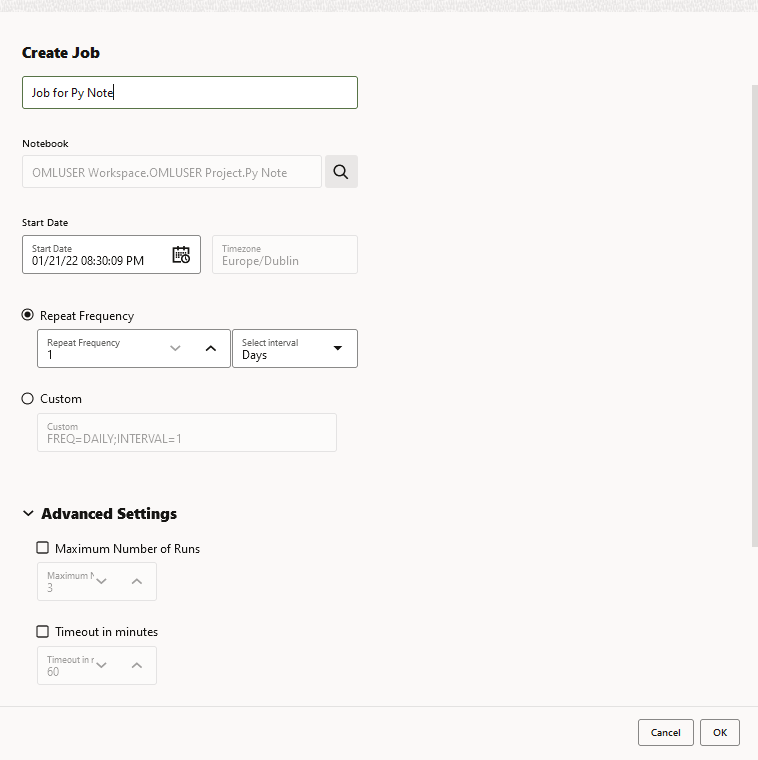
You can create jobs to schedule your notebook with the notebook scheduling settings. - View Job Logs
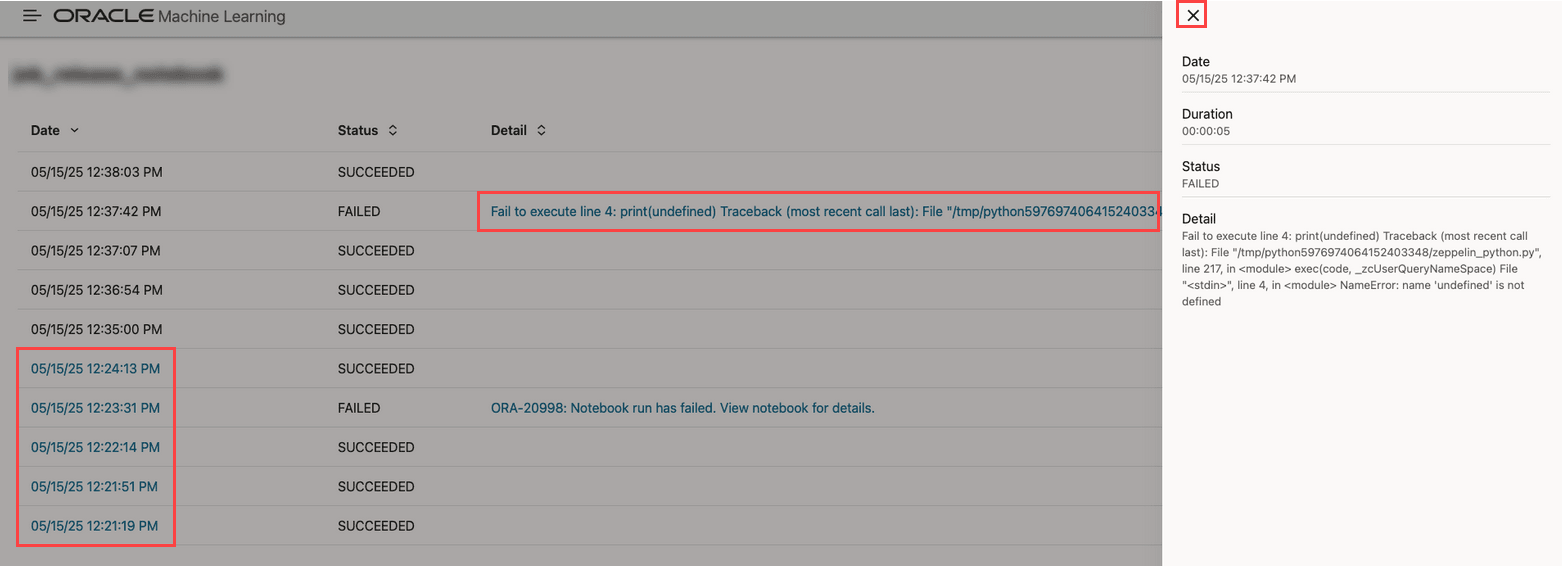
You can view the historical logs of any particular job in the Job Log interface.
10.1 About Jobs
The Jobs page lists all the jobs created, along with the job name, notebook, owner of the job, last start date, next run date, status, and schedule.
Note:
You can run multiple jobs at the same time, but you must start them individually, and not in bulk.Note:
You can perform these actions only on jobs created by you. For jobs created by another user, these options are disabled. You must have theOML_SYS_ADMIN role to perform these
actions—Delete, Enable, Disable on jobs created by another
user.
-
Create: Click Create to create a new job to schedule your notebook.
-
Edit: You can edit the metadata of any job listed on the Jobs page. Select the job you want to edit and then click Edit.
-
Delete: Select the job you want to delete and click Delete. You must have the
OML_SYS_ADMINto delete a job created by another user. -
Duplicate: You can create a copy of an existing job listed on the Jobs page. Click Duplicate to make a copy of the selected job.
-
Stop: Click Stop to end a job that is currently running.
- Start: The Start
button is enabled only for jobs that are in Scheduled
status. Click Start to start a scheduled job. You can
start multiple jobs at the same time, but you must start them individually, and
not in bulk. The Start option is not applicable for the
following conditions:
- Jobs that have already completed its scheduled run cannot be re-started.
- Jobs that have failed more than the allowed number of times, and are currently in Broken status, cannot be re-started.
- More: Under More, you
have the options to enable or disable a job.
- Enable: Select a job that you want to
enable, click More and then click
Enable. You must have the
OML_SYS_ADMINto enable a job created by another user. - Disable: Select a job that you want
to disable, click More and then click
Disable. You must have the
OML_SYS_ADMINto disable a job created by another user.
- Enable: Select a job that you want to
enable, click More and then click
Enable. You must have the
Parent topic: Jobs
10.2 Create Jobs to Schedule Notebooks
You can create jobs to schedule your notebook with the notebook scheduling settings.
Parent topic: Jobs
10.3 View Job Logs
You can view the historical logs of any particular job in the Job Log interface.
Parent topic: Jobs


