14.3.1.3 Creating an Oracle Wallet Data Source
To create a wallet data source in the Query UI application, you must have a wallet zip file. It can be a simple wallet zip file created with Oracle orapki utility, or a wallet downloaded from Oracle Autonomous Database.
In general, wallets are obtained from the Autonomous Database. See Download Client Credentials (Wallets) for more information to download a wallet from Oracle Autonomous Database.
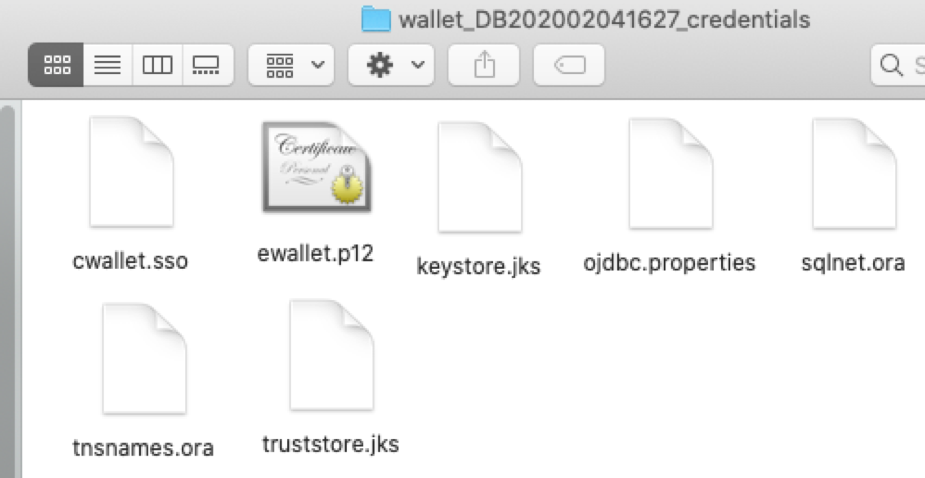
The following figure displays the contents of the wallet zip file:
Note that the tnsnames.ora file in the wallet zip file contains the wallet service alias names, and TCPS information. It does not contain the user credentials for each service.
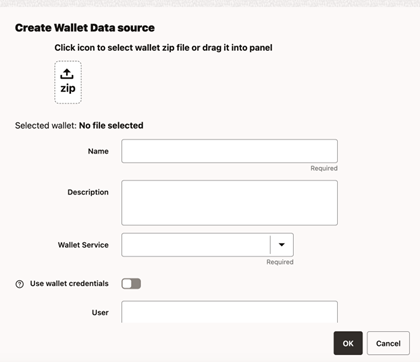
Using this wallet zip file, you can define an RDF wallet data source in the Query UI web application by directly entering the user credentials. Optionally, you can also have the user credentials stored inside the wallet for each desired service. If you choose to store the user credentials in the wallet, then see Storing User Credentials in a Wallet for more information.
The following describes the steps to create a wallet data source:
Parent topic: Data Sources Page

