This 10-minute tutorial shows you how to use Enterprise Manager
Express to administer database user accounts and security.
Select the Oracle Database release:
Background
When you create a user account, you must assign a user name, a
password, and default tablespaces for the account. You must also
grant the appropriate system privileges, object privileges, and
roles to the user account. If the user will create database
objects, assign a space usage quota for each affected
tablespace.
What Do You Need?
Oracle Database 18c19c
View
User Accounts
Enter the URL for the Enterprise Manager Database Express
for PDB in your browser and log in as the SYSTEM user.
Description of the illustration a1
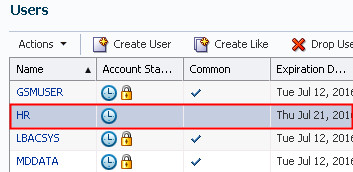
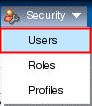
Select Users in the Security
menu.
Description of the
illustration a2
Note: If you log in as the Enterprise Manager Database Express
for CDB, you will not see Profiles in the Security menu.
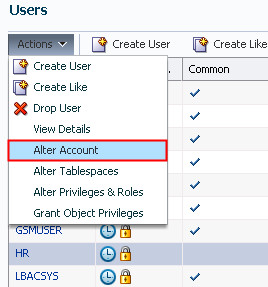
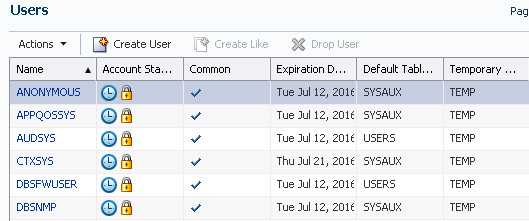
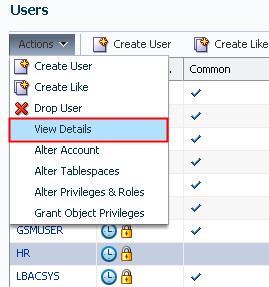
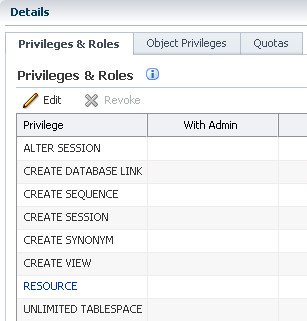
To view additional information about the user, select the
user. Expand the Actions
menu and select View Details.
In this example, the HR user is selected.
Description of the illustration a4
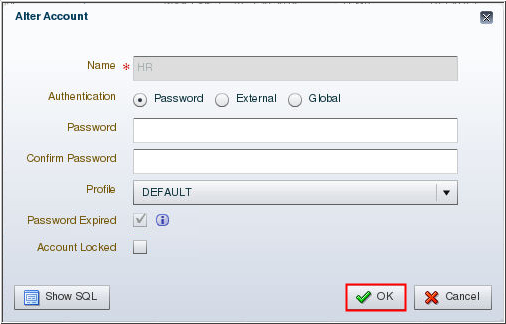
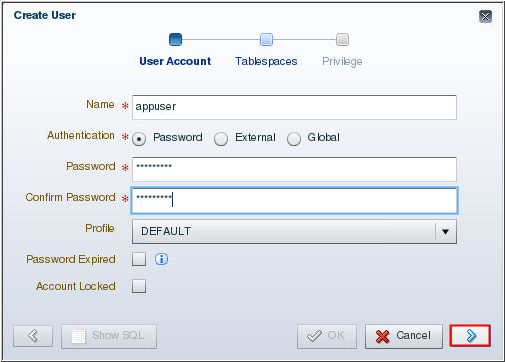
Enter a user name such as appuser
in the Name field. Enter a password in the
Password field and in the Confirm Password field. Accept the
Profile default value of DEFAULT. Click the rightarrow.Description of the illustration b3
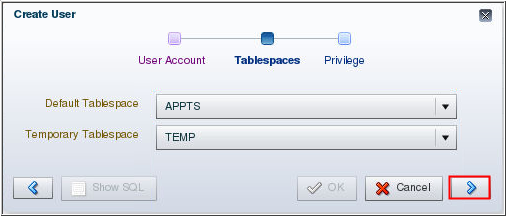
Select the APPTS
tablespace or another tablespace of your choice. Accept the
default TEMP temporary tablespace. Click the right
arrow.
Description of the illustration b4
 Administer
Database User Accounts and Security
Administer
Database User Accounts and Security  Before You Begin
 View
User Accounts
View
User Accounts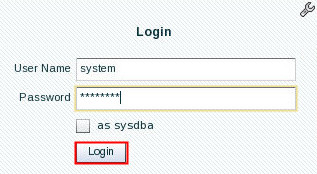
 Create
a User Account
Create
a User Account

 Unlock a User Account