2.3 Using the SQL Worksheet
You can use the SQL Worksheet to enter and execute SQL, PL/SQL, and SQLcl statements. You can specify any action that can be processed by the database connection associated with the worksheet, such as creating a table, inserting data, creating and editing a trigger, selecting data from a table, and saving that data to a file.
You can display a SQL Worksheet by right-clicking a connection name in the Connections panel and selecting Open SQL Worksheet.
When SQL Worksheet is open and if you also have existing SQL files open, you can attach a connection by clicking the connection icon in the lower right corner. Once a connection is associated with your editor or file, you see the name of your connection displayed in the lower right corner.
In the editor, you can enter one or more SQL or statements that you intend to execute. For multiple statements, each non-PL/SQL statement must be terminated with either a semicolon or (on a new line) a slash (/), and each PL/SQL statement must be terminated with a slash (/) on a new line. SQL keywords are automatically highlighted.
You can drag some kinds of objects such as tables or views from the Connections navigator and drop them into the editor pane. When you do this, the following options appear: Object Name, Select, Insert, Delete, Update. If you select SELECT, a SELECT statement is constructed with all columns in the table or view. You can then edit the statement, for example, modifying the column list or adding a WHERE clause.
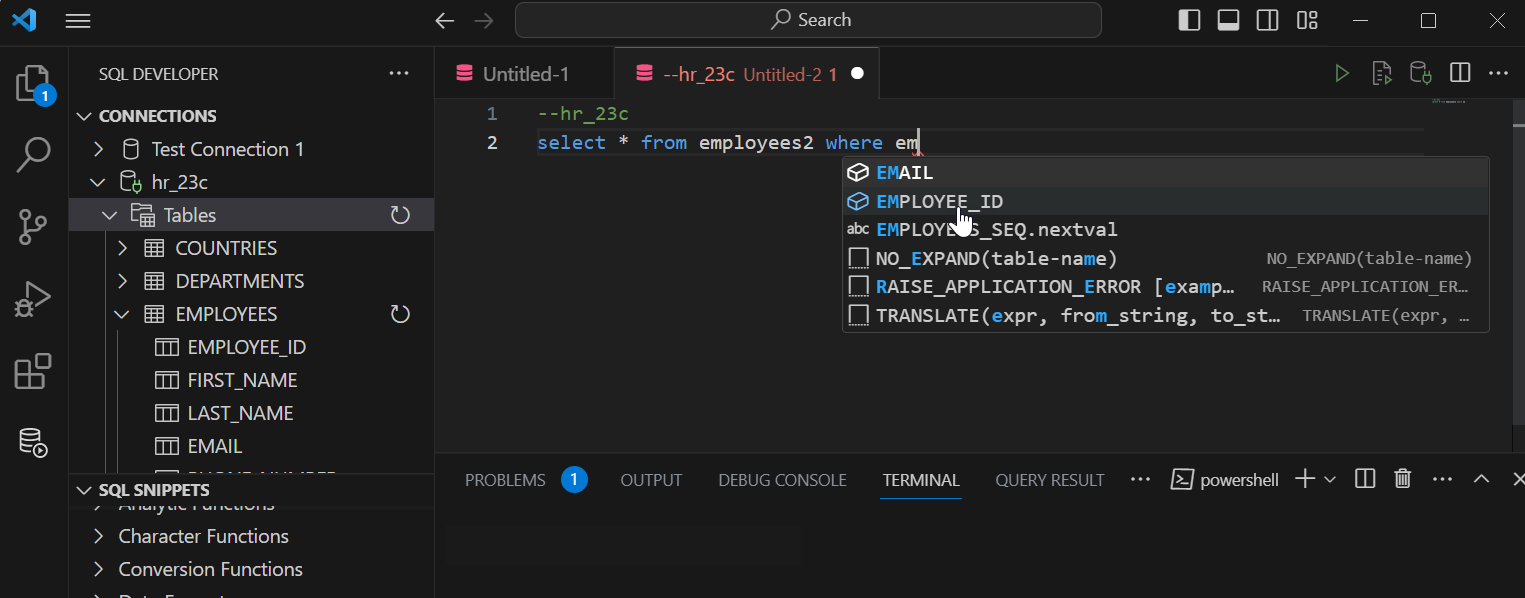
When you press Ctrl+Space, a context-sensitive popup window appears. This provides you with a list of possible completions at the insertion point that you can use to autocomplete code that you are editing. This list is based on the code context at the insertion point. To exit at any time, press Esc or continue typing.
SQL Worksheet has the following icons at the top right corner:
-
Run Statement (Ctrl+Enter) executes the statement at the mouse pointer in the SQL Worksheet. The SQL statements can include bind variables and substitution variables of type VARCHAR2. A pop-up box is displayed for entering variable values. The output is displayed under the Query Result tab in the lower pane.
-
Run Script (F5) executes all statements in the SQL Worksheet using the Script Runner. The SQL statements can include substitution variables (but not bind variables) of type VARCHAR2. A pop-up box is displayed for entering substitution variable values. The output is displayed under the Script Output tab in the lower pane.
-
Run in SQLcl (Ctrl+Shift+Enter) executes the statement or script by opening a SQLcl command line session and displaying the output.
-
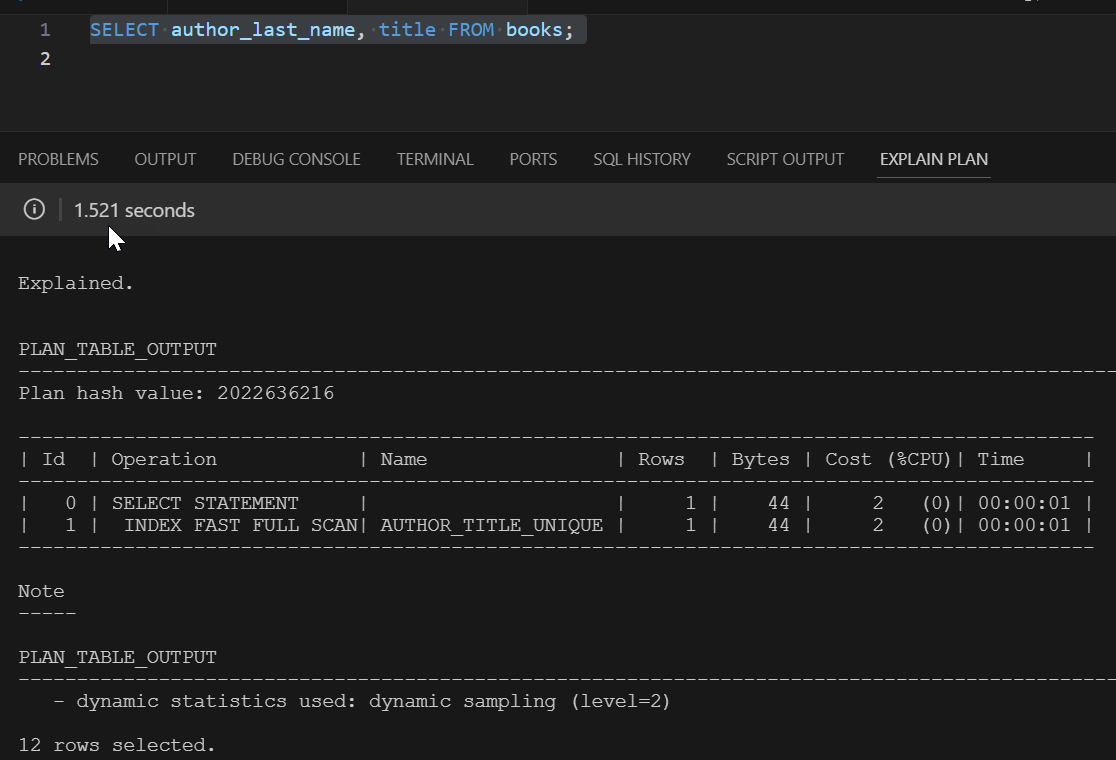
Explain Plan (F10) generates the execution plan for the statement (internally executing the EXPLAIN PLAN statement). The results appear under the Explain tab in the lower pane.
2.3.1 SQLcl Commands Supported in the SQL Worksheet
The SQL Worksheet supports SQLcl commands. SQLcl commands must be interpreted by the SQL Worksheet before being passed to the database. Any commands that are not supported by the SQL Worksheet are ignored and not passed to the database.
For information about SQLcl commands, you can enter the help command. For information about a specific command or topic, include it as the parameter (for example, help @, help exit, or help reserved words). If the command is not supported, or if there are restrictions or usage notes, the help display includes this information.
2.3.2 Script Runner
With Script Runner, you have access to commands such as @, @@, CONNECT, EXIT, QUIT, UNDEFINE, WHENEVER, and substitution variables. For example, to run a script named c:\myscripts\mytest.sql, type @c:\myscripts\mytest in the editor, and select the Run Script icon.
The following considerations apply to using the script runner:
-
You cannot use bind variables. (However, you can use bind variables of type VARCHAR2, NUMBER, and DATE.)
-
For substitution variables, the syntax &&variable assigns a permanent variable value, and the syntax &variable assigns a temporary (not stored) variable value.
-
For EXIT and QUIT, commit is the default behavior, but you can specify rollback. In either case, the context is reset, for example, WHENEVER command information and substitution variable values are cleared.
-
DESCRIBE works for most, but not all object types.
2.3.3 Explain Plan
The Execute Explain Plan icon generates the execution plan, which you can see by clicking the Explain Plan tab. The execution plan is the sequence of operations that will be performed to execute the statement. To select the level of details displayed in explain plan, select the appropriate option in Using Preferences.
An execution plan shows a row source tree with the hierarchy of operations that make up the statement. For each operation, it shows the ordering of the tables referenced by the statement, access method for each table mentioned in the statement, join method for tables affected by join operations in the statement, and data operations such as filter, sort, or aggregation.
In addition to the row source tree, the plan table displays information about optimization (such as the cost and cardinality of each operation), partitioning (such as the set of accessed partitions), and parallel execution (such as the distribution method of join inputs).
2.3.4 SQL History
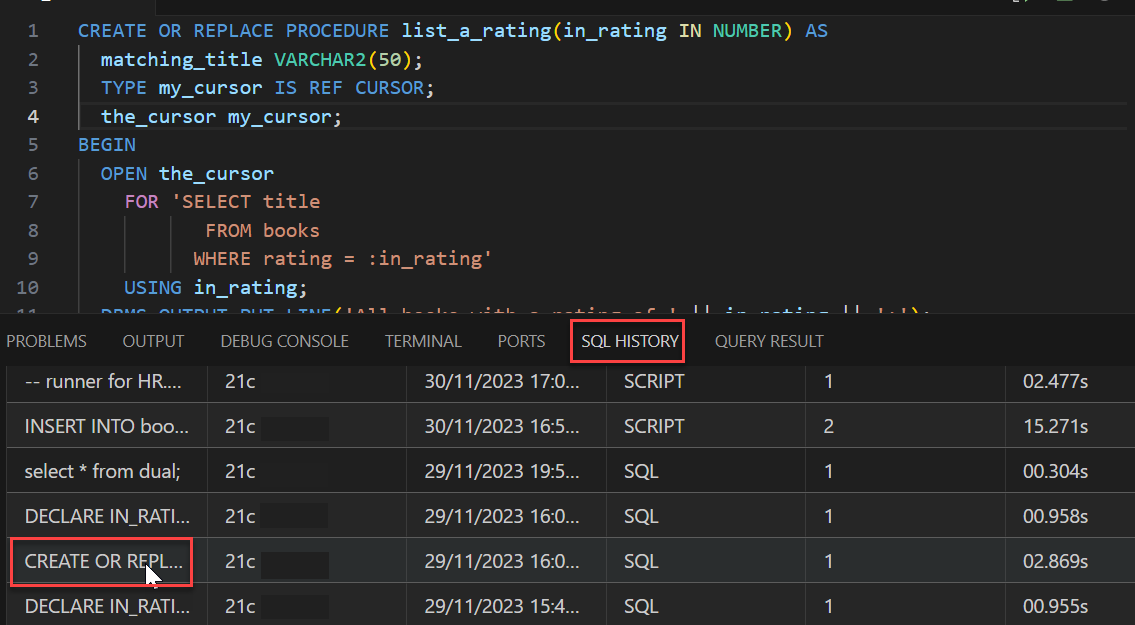
You can click the SQL History tab in the lower right pane to view a list of SQL statements and scripts that you have executed, and optionally select one or more statements to have them either replace the statements currently on the SQL Worksheet or be added to the statements currently on the SQL Worksheet. The list is organized by connection name.
The SQL history list will not contain any statement that can include a password. Such statements include (but are not necessarily limited to) CONNECT, ALTER USER, and CREATE DATABASE LINK.
You can control the maximum number of statements in the history by setting the SQL History Limit in Preferences.
In the following figure, a SQL statement in the SQL History list is selected, which automatically opens the PL/SQL subprogram in the SQL Worksheet pane.
2.3.5 Using Snippets to Insert Code Fragments
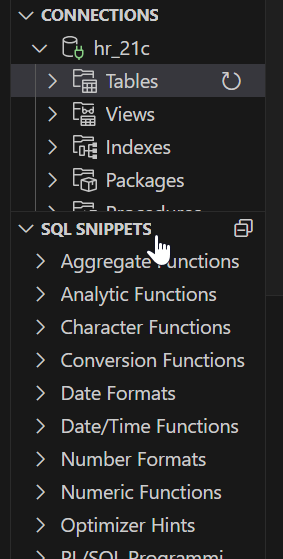
Snippets are code fragments, such as SQL functions, Optimizer hints, and miscellaneous PL/SQL programming techniques. Some snippets are just syntax, and others are examples. You can insert and edit snippets when you are using the SQL Worksheet or creating or editing a PL/SQL function or procedure.
Snippets are displayed in the lower part of the Connections panel. Click the Expand icon to view all the available sinppets in each group (such as Aggregate Functions or Character Functions). In most cases, the fragments in each group do not represent all available objects in that logical grouping, or all formats and options of each fragment shown. For complete and detailed information, see the Oracle Database documentation.

To insert a snippet into your code in a SQL Worksheet or in a PL/SQL function or procedure, drag the snippet from the left bottom pane and drop it into the desired place in your code. Edit the syntax so that the SQL function is valid in the current context.
For example, you could type SELECT and then drag CONCAT(char1, char2) from the Character Functions group. Then, edit the CONCAT function syntax and type the rest of the statement, such as in the following:
SELECT CONCAT(title, ' is a book in the library.') FROM books;


