Creating or Editing a View
Use the View Editor to create or modify a database view using a form-based UI. The editor helps you define the view query and columns, specify keys and relationships, set properties, and review the generated DDL before applying changes.
-
In the left navigator, expand Connections, expand your connection, and then expand Views.
-
Do one of the following:
-
Create a new view: Right-click the Views node and select Create View or click the + (Add) icon next to Views.
-
Edit an existing view: Right-click a view and select Edit.
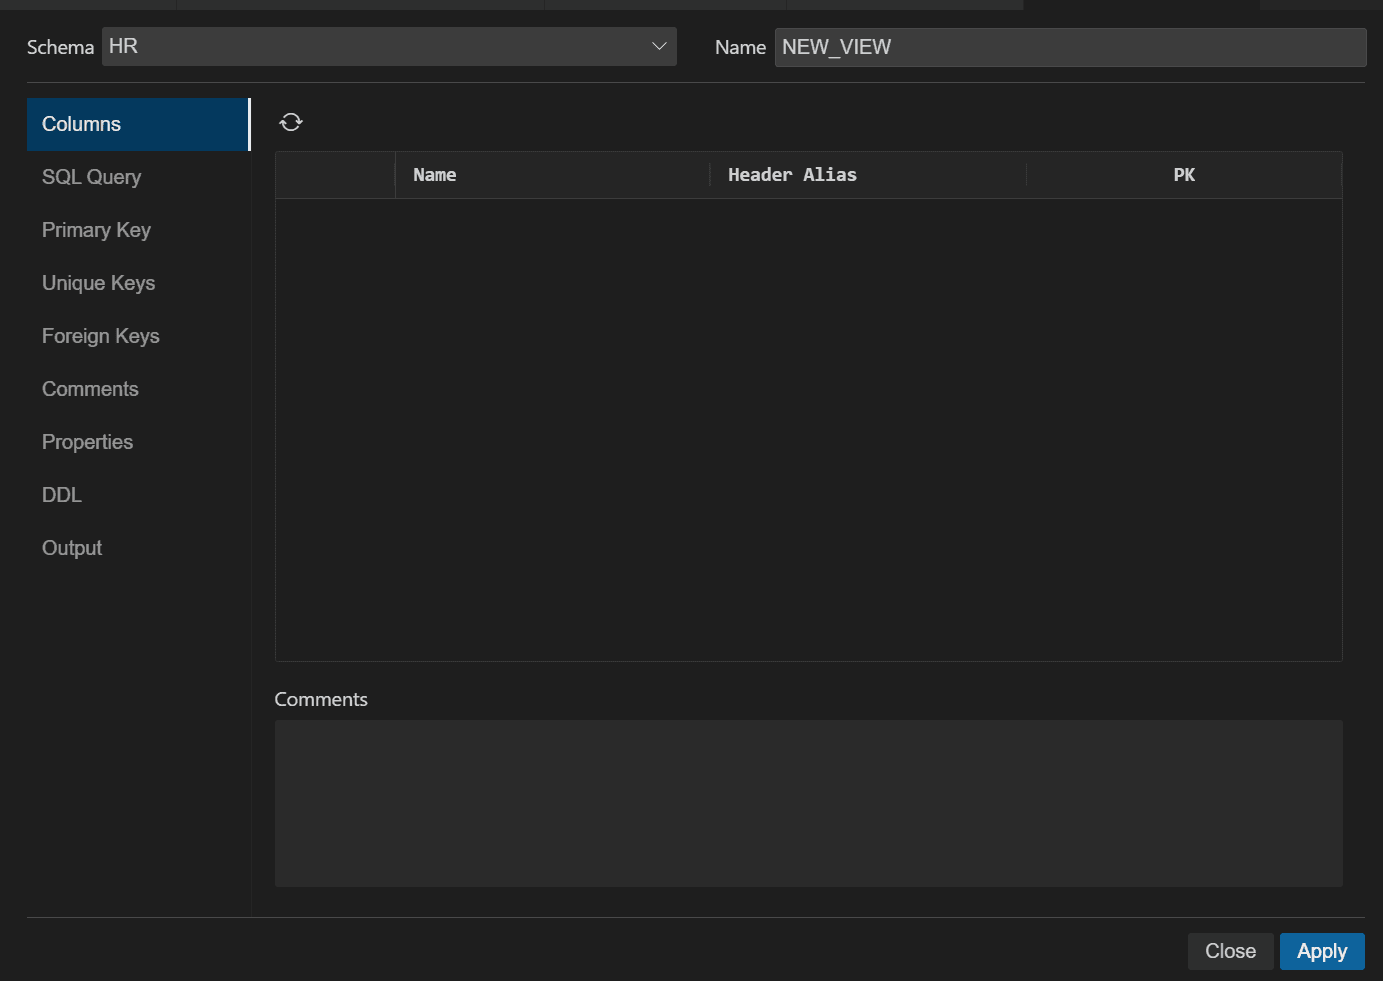
The View Editor opens in the right pane where you can enter or edit details.
-
-
At the top of the editor, select the target Schema and enter the view name.
-
Select the SQL Query tab, and then enter or paste the
SELECTstatement that defines the view.Note: When creating a view, enter the SQL query first, and then go to the Columns tab and refresh the column list to populate columns from the query. When editing a view, you can update column details directly in the Columns tab without going to SQL Query, unless you need to change the view definition.
-
Select the Columns tab and review the column list. Update the following values as needed: Header Alias, PK, and Comment.
-
Select the Primary Key tab to define the key for the view.
-
Enter a key name in the Name field.
-
From Available Columns, select the column(s) and move them to Selected Columns using the arrow buttons.
-
-
Select the Unique Keys tab to define one or more unique key definitions for the view.
-
Click + Add to create a unique key entry. A new unique key is automatically created and added to the list.
-
Click the generated unique key name and rename it as needed
-
Select one or more columns from Available Columns and move them to Selected Columns.
-
Click Delete Selected to remove a unique key entry (if required).
-
-
Select the Foreign Keys tab to define reference relationships for the view.
-
Click + Add to create a foreign key entry. A new foreign key is automatically created and added to the list.
-
Under Referenced Constraint, select Schema (referenced schema), Table (referenced table), Constraint (referenced PK/UK constraint), and On Delete action, for example, NO ACTION, CASCADE, SET NULL.
-
Under Associations, map Local Column to Referenced Column.
-
-
Select the Comments tab and enter a description for the view.
-
Select the Properties tab to set view-level options.
-
Enable or disable the Force On Create option to force view creation.
-
Select the Query Restriction option for the view. For example, NO RESTRICTION, READ ONLY, CHECK OPTION
-
-
Select the DDL tab to review the generated DDL. Use Create or Update secondary tabs to view the statements.
-
Click Apply to save your changes. You are automatically navigated to the Output tab, where you can review success messages or error details.