- Using Guide for Oracle Cloud
- Administration
- The Data Pump Page
- Importing Data using Oracle Data Pump
- Importing Data
Importing Data
This section provides the steps for importing data using Oracle Data Pump in Database Actions.
- In the Data Pump page, on the top right, click
Import.
The Import wizard appears.
- In the Source step:
Bucket Name Source:
-
Bucket List: Allows you to select the bucket based on a bucket list after selecting a credential and the desired compartment.
- Manual Search: After selecting a valid credential, you must enter the exact name of a bucket to list its files.
After selecting the mode, enter the following fields:
-
Credential Name: Select a valid credential to access the information in the Object Storage Buckets.
- Compartment Name: Select a compartment at any level within the tenancy (only available for Bucket List).
- Bucket Name: Select the bucket that contains the dump files from the drop-down list. Selecting a bucket automatically prefills the associated dump files in the Bucket Objects field.
- Bucket Objects: Select a dump file from the list.
- Import Pattern: When you select a dump file, it is automatically entered in the Import Pattern field. You can modify the pattern, if needed. The dump files that match are displayed in the Dump Files field.
- Dump Files: Select the dump files to import.
Click Next.
-
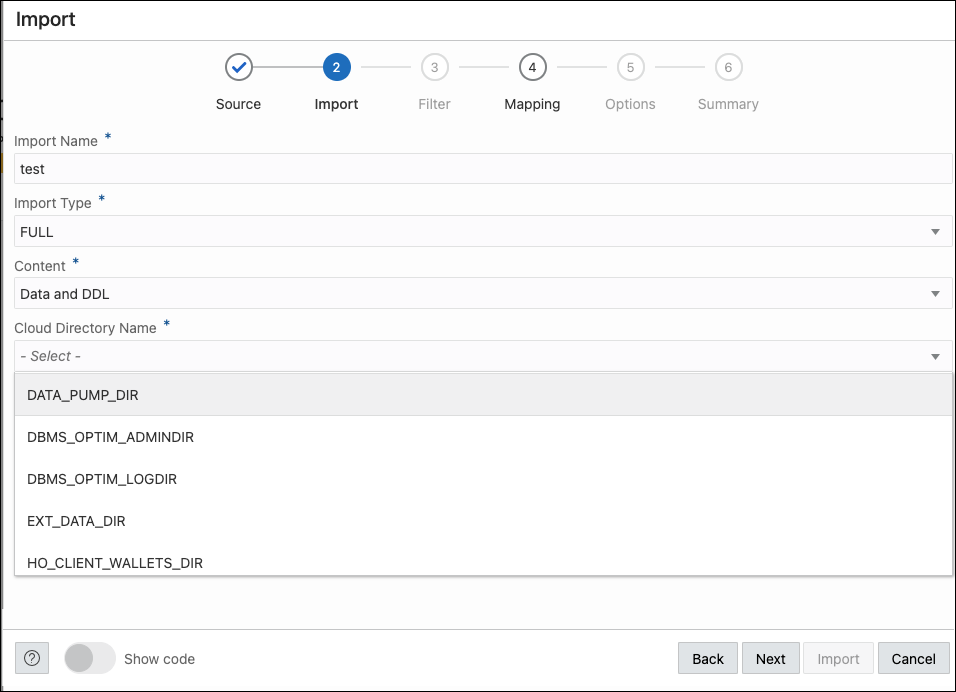
- In the Import step, enter the following fields:
- Import Name: Enter a name for the import job.
- Import Type: Select the type of
import. The options are Full, Tables, Schemas, and Tablespaces.
Note:
If you select Full, you skip the Filter step in the wizard and directly go to the Mapping step. - Content: Select Data Only, DDL Only, or Data and DDL.
- Cloud Directory Name: Select the directory to import to.
- Encrypt: Select if encrypted and enter an encryption password.
Click Next.
- In the Filter step, depending on the import type, all the schemas, tables, or tablespaces for the import job are listed. Select the ones that apply. Click Next.
- In the Mapping step, select the source schema and enter a new name for the target schema. If needed, do the same for tablespaces. Click Next.
- In the Options step, enter the following fields:
- Threads: Specifiy the maximum number of threads of active execution operating on behalf of the import job. The default is 1.
- Action on Table if Table Exists: Specify the action needed if that table that import is trying to create already exists.
- Skip Unusable indexes: Select to specify whether the import skips loading tables that have indexes that were set to the Index Unusable state.
- Regenerate Object IDs: Select to create new object identifies for the imported database objects.
- Delete Master Table: Select to indicate whether the Data Pump control job table should be deleted or retained at the end of an Oracle Data Pump job that completes successfully.
- Overwrite Existing Datafiles: Select to indicate that if a table already exists in the destination schema, overwrite it.
- Version: Select the version of database objects to import.
- Logging: Select to create a log file. Enter the log directory and log file name.
Click Next.
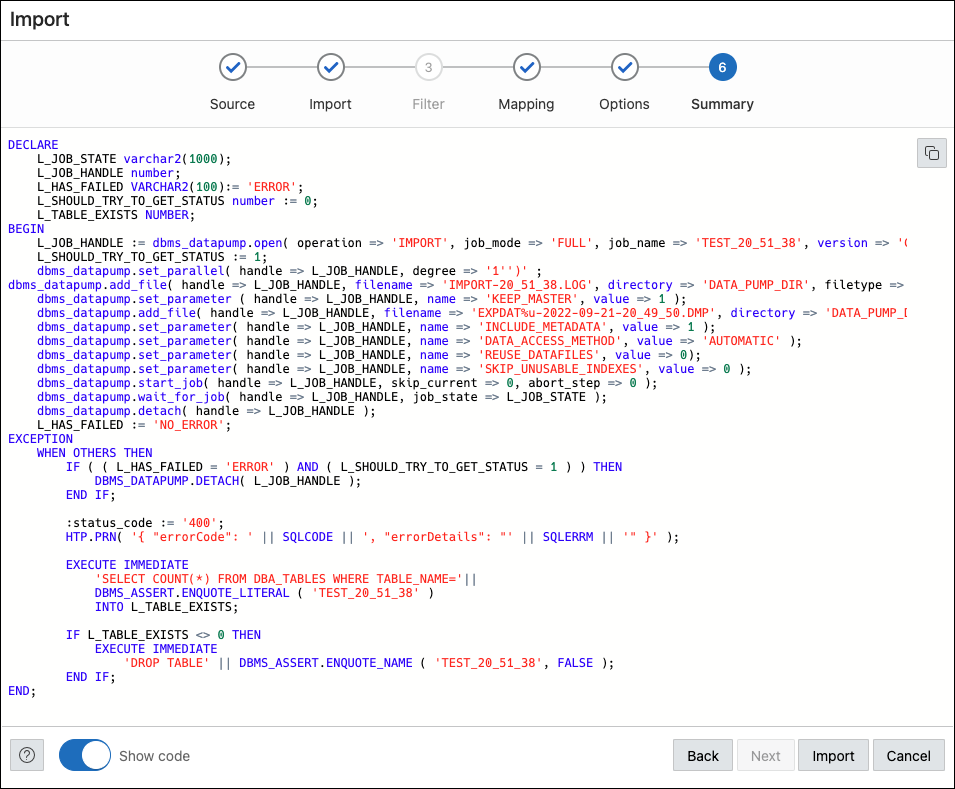
- The Summary step displays a summary of all the selections made in the previous
steps.
Select Show Code at the bottom to see the PL/SQL code equivalent of the form.
Click Import.
The start of the job execution is displayed on the Data Pump page.

