Connect to the Gateway Web Portal
Once the Gateway instance is up and running, you can see its public and private IP addresses in the OCI web console as outlined in the previous section.
Follow this procedure to obtain the IP address of the gateway and connect to the gateway web portal. The IP address you use (public/private) depends on whether you are connecting from the internet or somewhere within the customer's OCI tenant.
To connect to the gateway web portal:
- Open the navigation menu.
Under Core Infrastructure, go to Compute and click Instances.
Note:
For more information, refer to the relevant OCI documentation here. -
Select your gateway instance.
The custadmin section of the Gateway installation has already been completed.
- Connect to the gateway’s IP address via SSH to complete gateway activation and software installation.
- Log in using the default administrator account:
- Login: custadmin
- Password: install
Upon successful login, a screen displaying a message asking whether you wish to migrate an existing Gateway appears (OASG means Oracle Advanced Support Gateway).
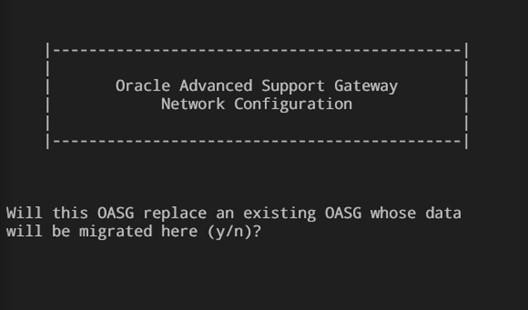
Select one of the following options:
- Enter y to use this Gateway to replace an existing Gateway and migrate its data. Refer to Replacing an Existing Gateway and Migrating Its Data
- Enter n to set up a new gateway. Continue with the next step.
- You will be presented with the following screen showing the Gateway network information.

Note:
The IP/prefix and Default gateway will be read-only since this gateway is in OCI. - You are required to select either a system proxy or a regional proxy.
Proceed to step 10 of Registering the Gateway With Oracle.