Step 4 - Deploy the Appliance
You can deploy the appliance using either the BUI or the command line. The command line is useful for scripted and silent installations. This lab uses the BUI.
After you configure the firstnet and update the repository, log into Oracle Database Appliance BUI using odaadmin and previously created password (for example, WELcome12##)
https://OCI public IP Address>:xxxx/mgmt/index.html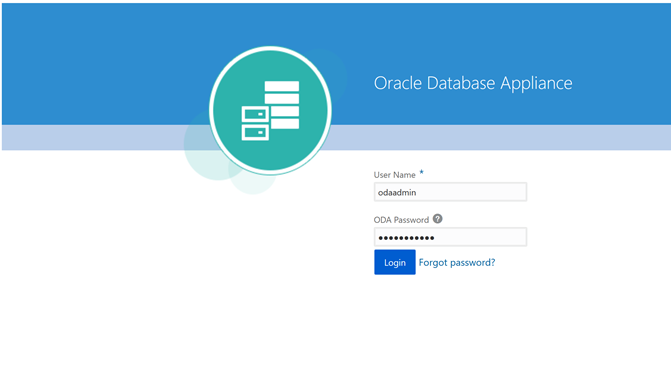
This takes you to the Appliance tab in the BUI. It should show that the appliance is not yet deployed:
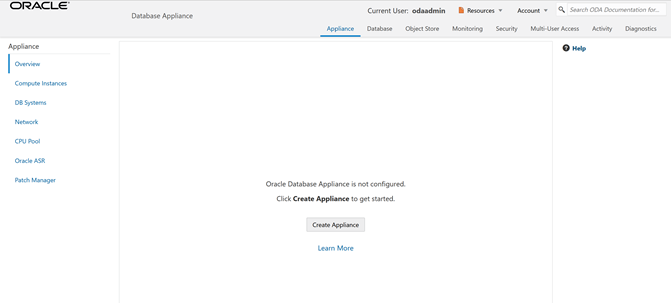
Click Create Appliance to start the deployment wizard. Fill in the first page of the form as shown below. Most fields are self-explanatory. A possible exception is the Data Storage Percentage. This will affect how much space is allocated for backups. By default, 80% is allocated for data and 20% is allocated for archive logs. You can also specify a different percentage. Select Disk Group Redundancy as Flex. You can specify individual database storage redundancy later, either Mirror (double mirroring) or High (triple mirroring). Create a password. Be aware there is a password complexity test that will reject simple passwords such as test and other common variants. However, WELcome12## will work if you want to use that password for these lab exercises.
You can also load a configuration file, for example, oda.json that was saved previously to avoid manual entries. To create a configuration file, you manually fill in all the information then click Save Configuration at the end.

Scroll down to continue. This brings up the Network screen. You can configure the network for the public Client Access network here. Since this is a single node simulator, the information is pre-populated from configure-firstnet process. You can also configure the ILOM network if you choose. Enter values for the IP Address, Subnet Mask, Gateway, and specify the interface to be used for the public network.

Scroll down to continue. This brings up the User and Group Selection screen. Enter the 19xx ID as shown below.
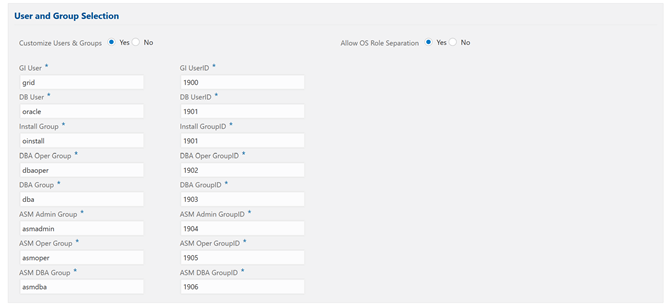
Next is the Database screen.
Specify the database name and other database related information as shown below. Select DB Version as 19.13.
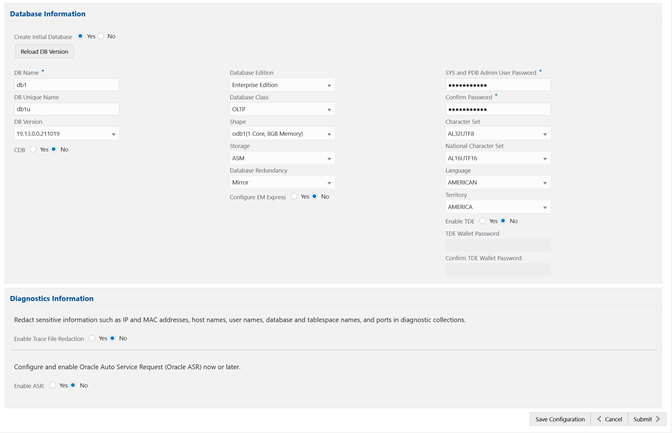
To configure Oracle ASR, specify credentials here. This is also where you can save the configuration file, for example, oda.json for later use.
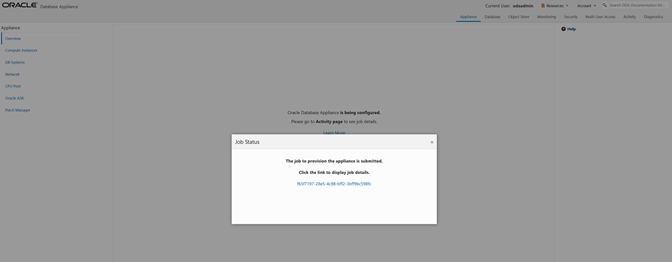
Click Submit to continue and click Yes in the confirmation box. This will bring up a link to the job status. Similar to ODACLI, operations are asynchronous, and return immediately with a job ID. That job ID can then be used to monitor progress. This allows the administrator to perform other tasks, if desired while the operations completes. Click the job ID to see the status.
In the simulation, the deployment job status will complete within 1-2 minutes. You can see the various steps running, and their status changing to Success as they complete. Click the Refresh button to more quickly refresh the screen. In an actual appliance, the deployment takes about 60-90 minutes to complete.
