Installing the SSD

The procedure in this section describes how to install the SSD into the Acme Packet 6300/6350.

Prerequisites:

  • #2 Phillips screwdriver or a bladed screwdriver
  • Place the SSD in an ESD-safe location.
  • Wear an ESD wrist strap or take similar equivalent actions to prevent static damage to the SSD or other ESD-sensitive components.

    To install an SSD:
  1. Insert the new SSD into the empty SSD slot on the top left rear of the Acme Packet 6300/6350 chassis.
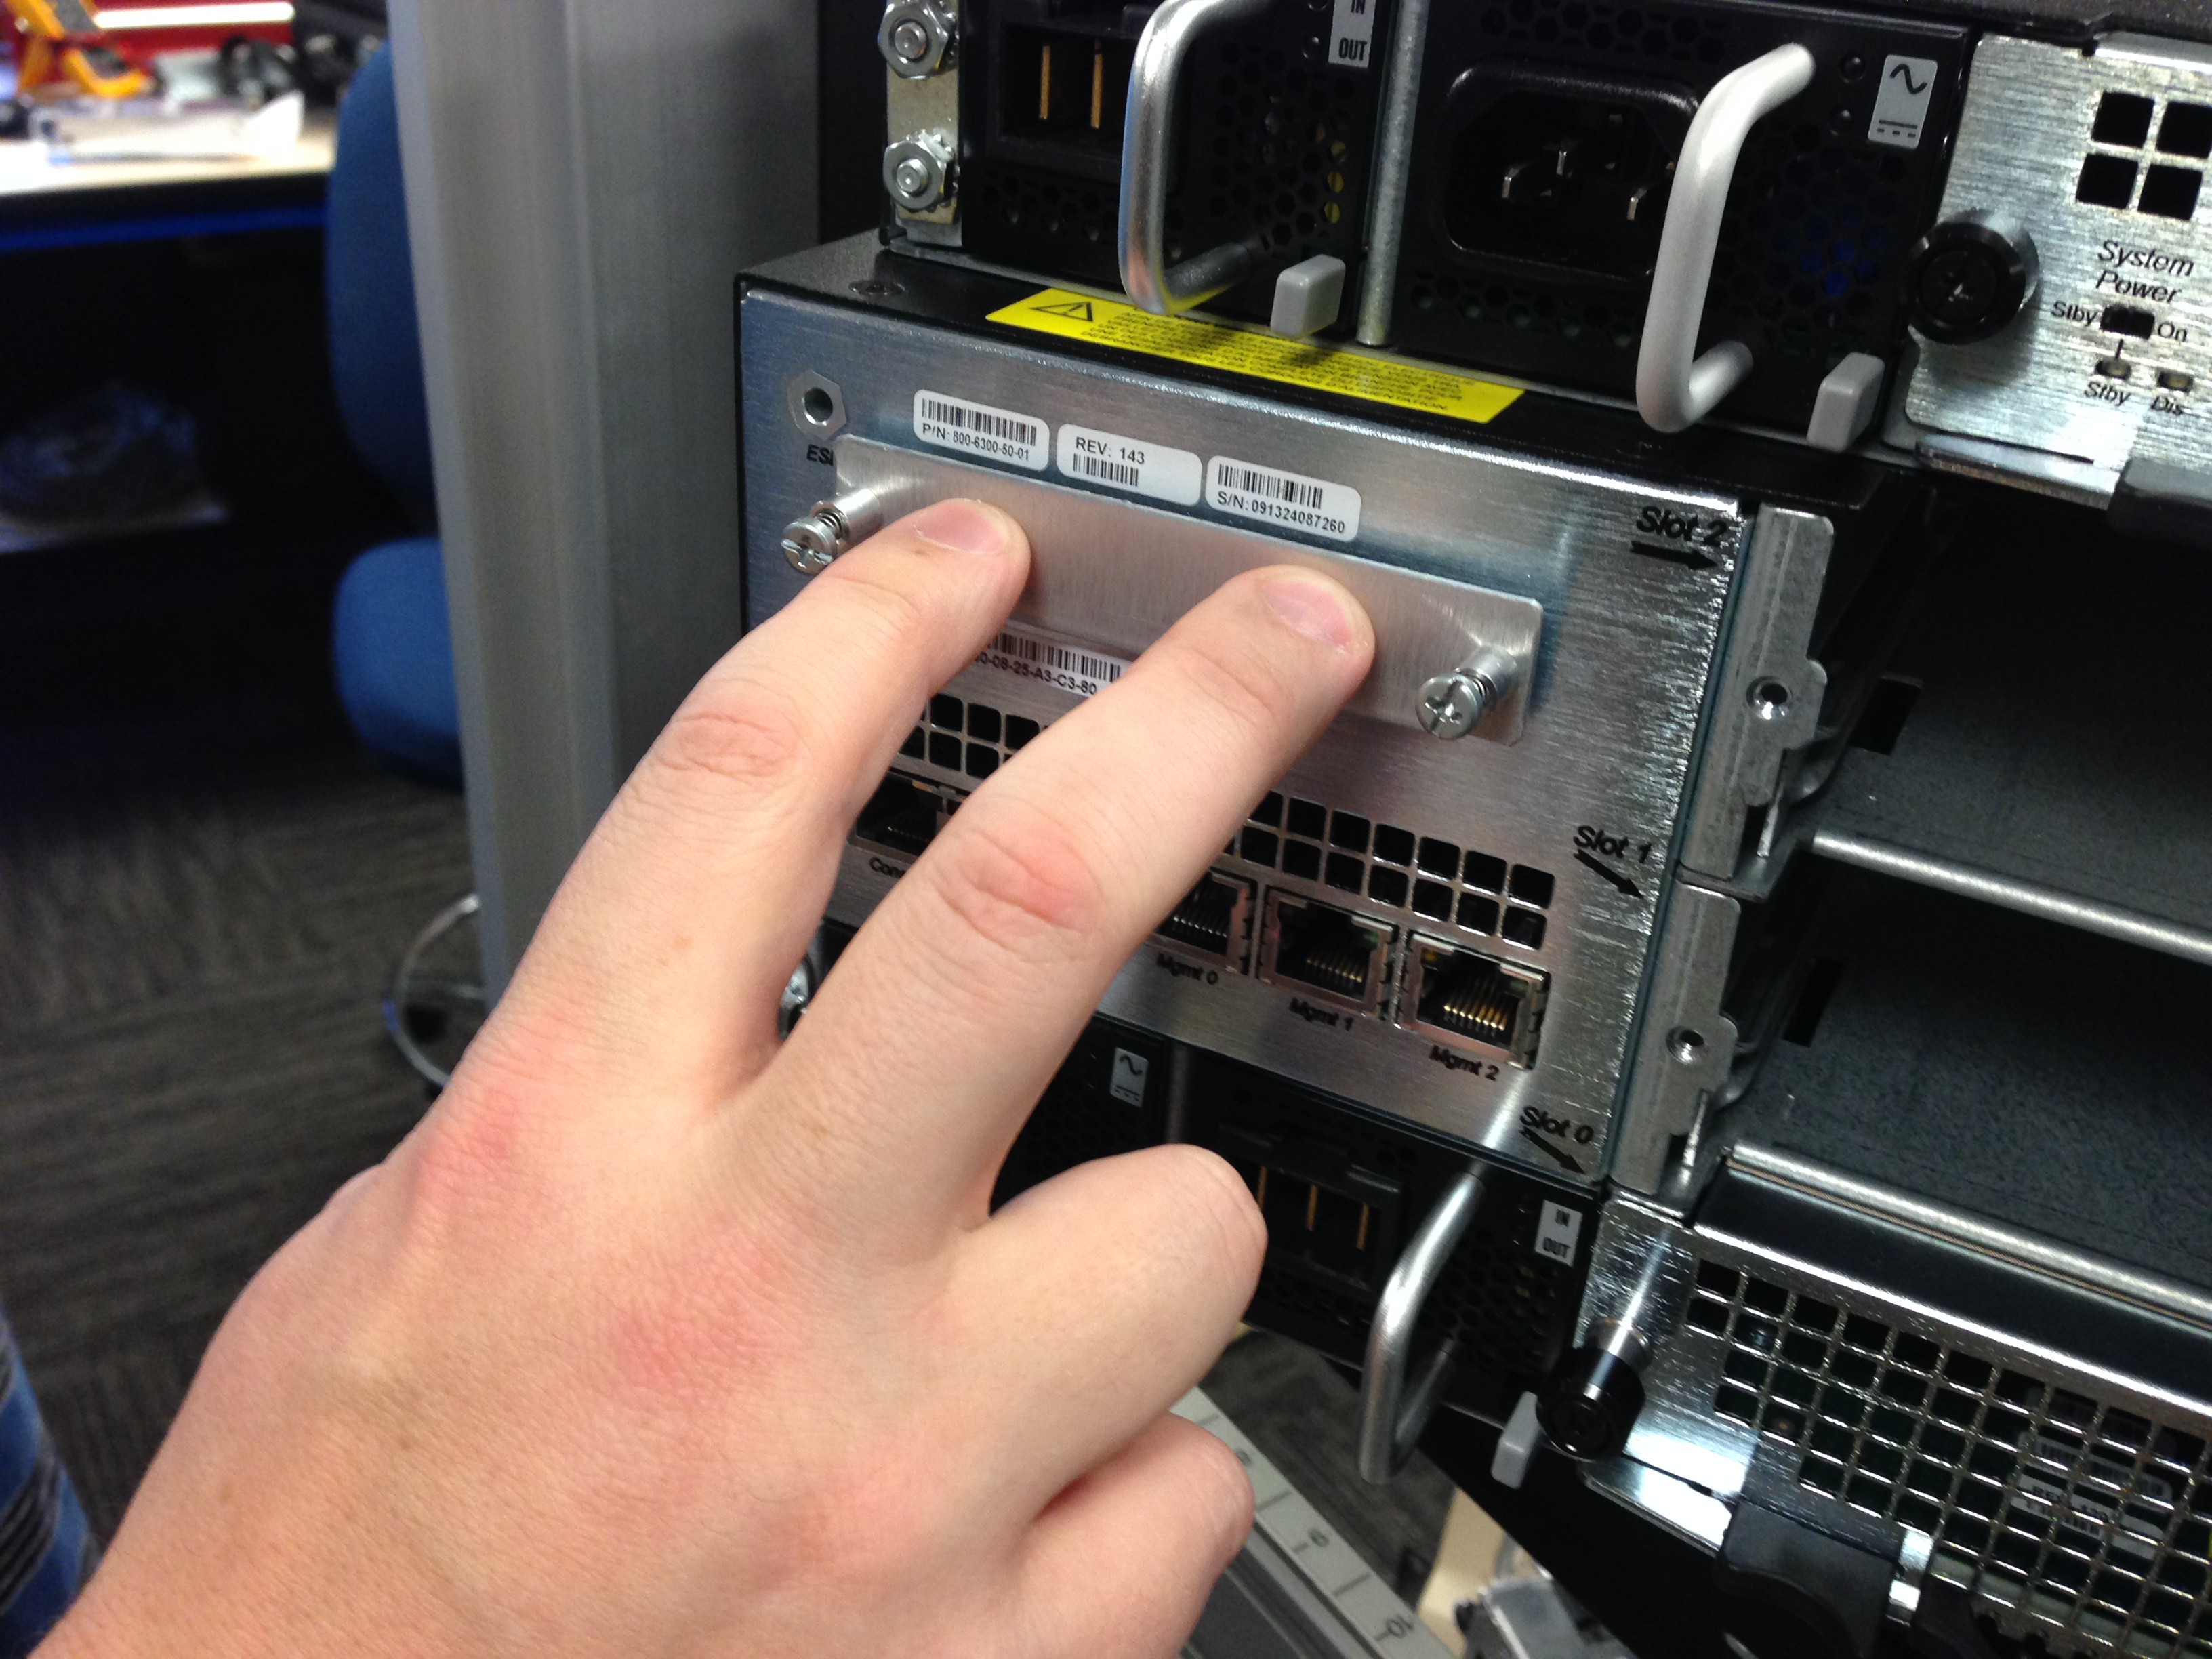
  2. Push on the face of the SSD to properly seat the connectors with the chassis as shown below. When seated properly, the face of the SSD will be flush with the exterior of the chassis.
    This picture shows someone properly seating the SSD.

    Seating the SSD

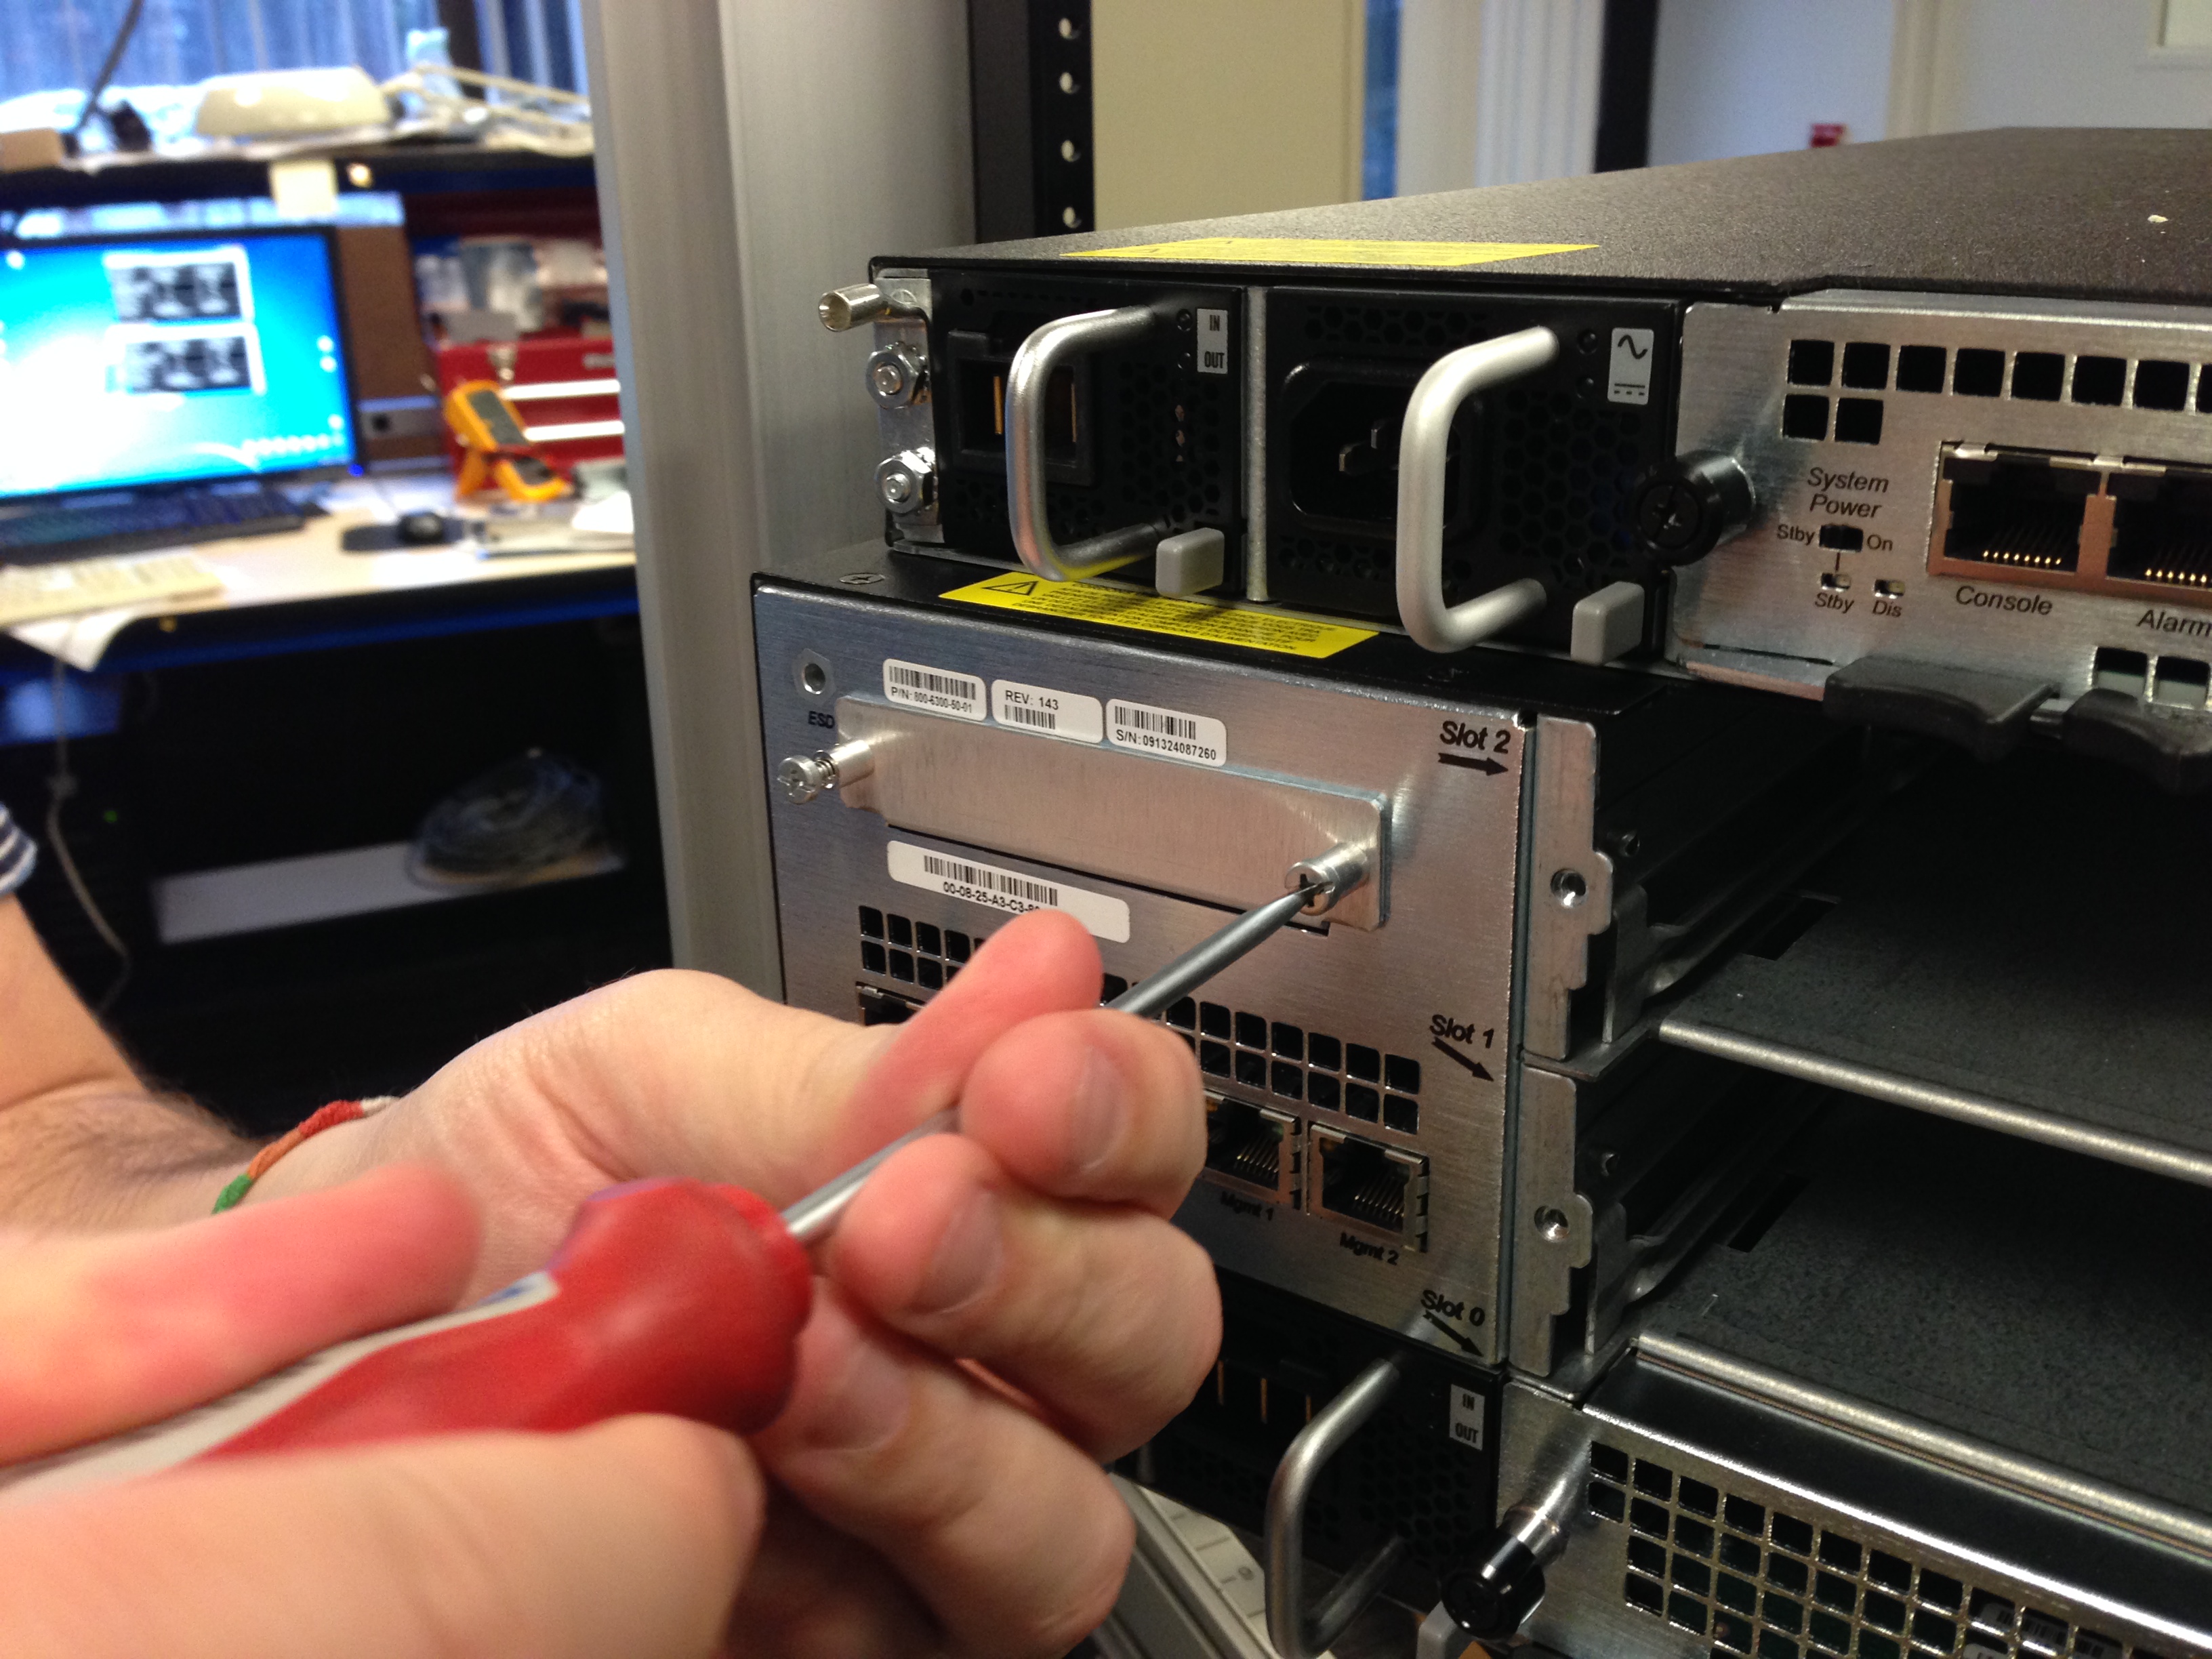
  3. Using a screwdriver, tighten the two spring-loaded captive screws located on each side of the door covering the SSD.
    This picture shows someone tightening the captive thumbscrews.

    Tightening the Captive Thumbscrews

    Note:

    After replacing the SSD, you must format it. Details on file system designs and the formatting procedure may be found in Chapter 9, File System Maintenance of the Maintenance and Troubleshooting Guide for your software release.