7 Post Installation Steps for CNC Console IAM
Prerequisites
The CNC Console IAM and CNCC Core must be deployed.
Setting up the cncc redirection URL, Create user and Assign the roles
Once CNCC IAM is deployed admin must do the following:
- Set the cncc redirection URL.
- Create the user and assign the roles (only applicable if not integrated with LDAP).
Steps for the setting up the cncc redirection URL, Create user and Assign the roles:
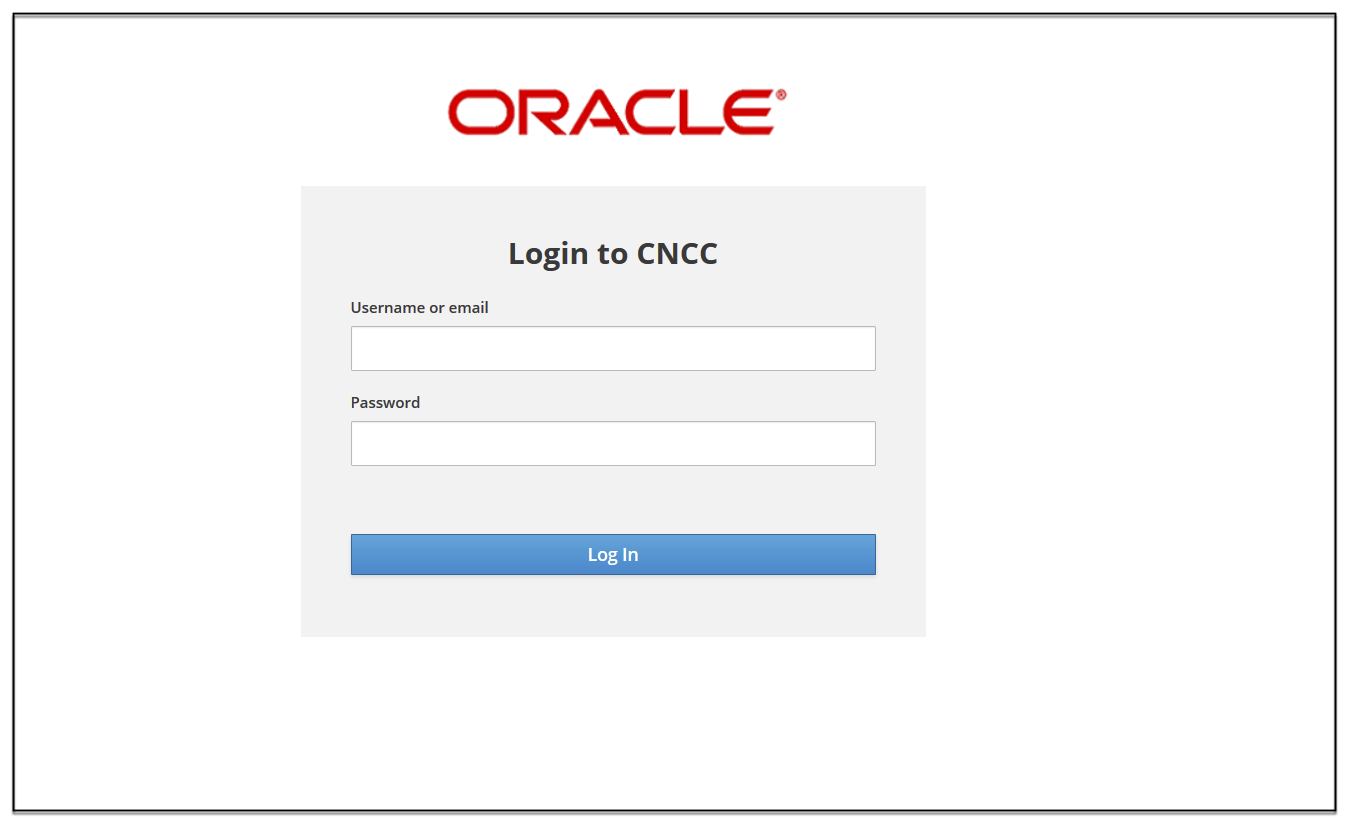
- Login to CNCC IAM Console using admin credentials provided during installation
of CNCC IAM.
 <scheme>://<cncc-iam-ingress IP/FQDN>:<cncc-iam-ingress Port>

# Ways to access CNCC IAM GUI
# 1] Node-IP and NodePort
http://10.75.xx.xx:30085/*
# 2] DNS Resolvable FQDN and NodePort
http://cncc-iam-ingress-gateway.cncc.svc.cluster.local:30085/*
# 3] External LB-IP and ServicePort
http://10.75.xx.xx:8080/*
# 4] DNS Resolvable FQDN and ServicePort
http://cncc-iam-ingress-gateway.cncc.svc.cluster.local:8080/*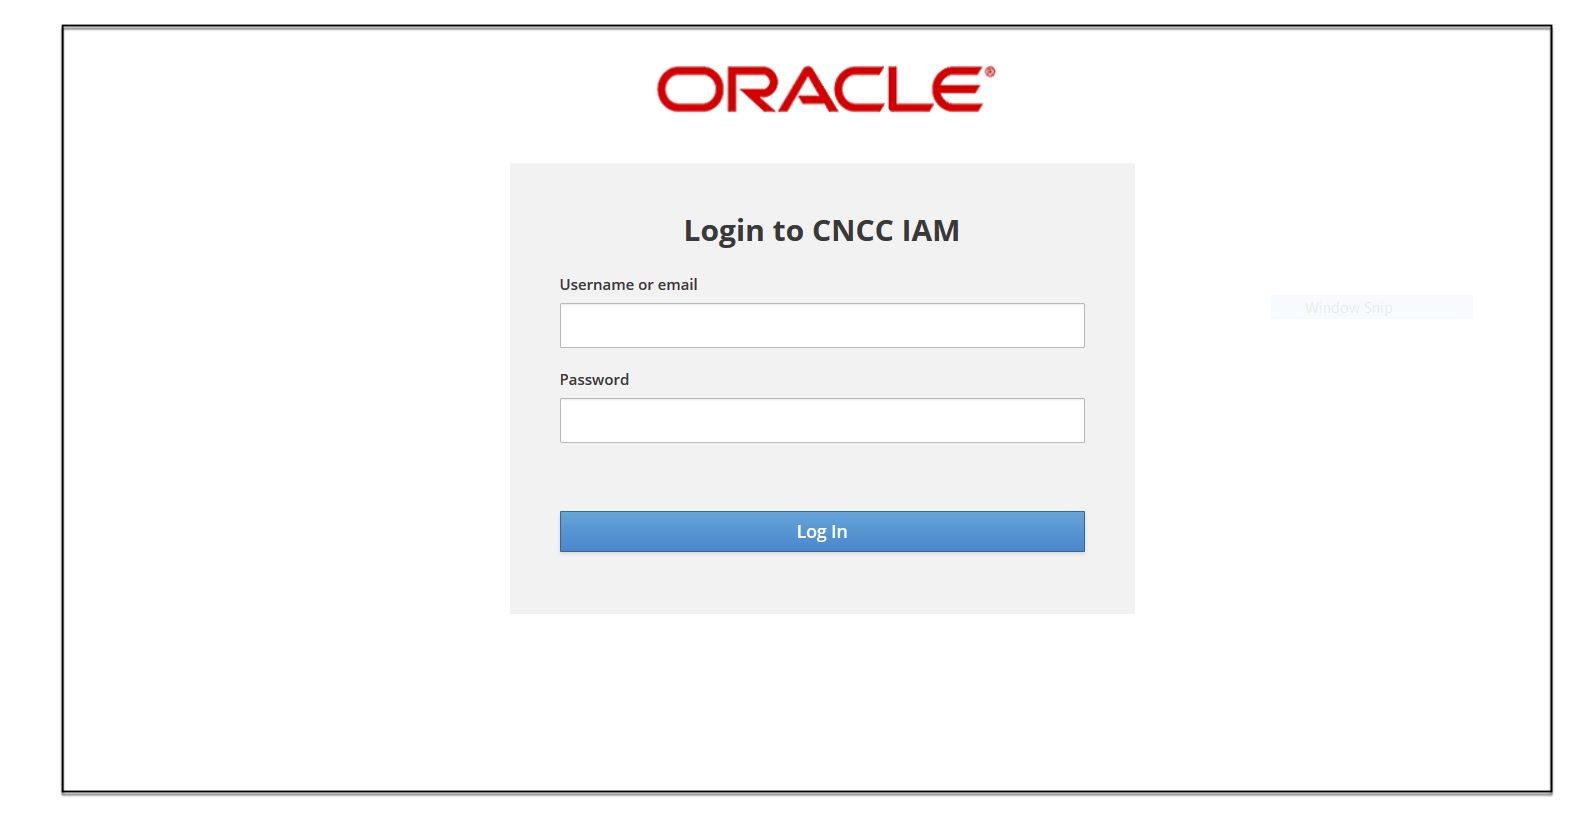
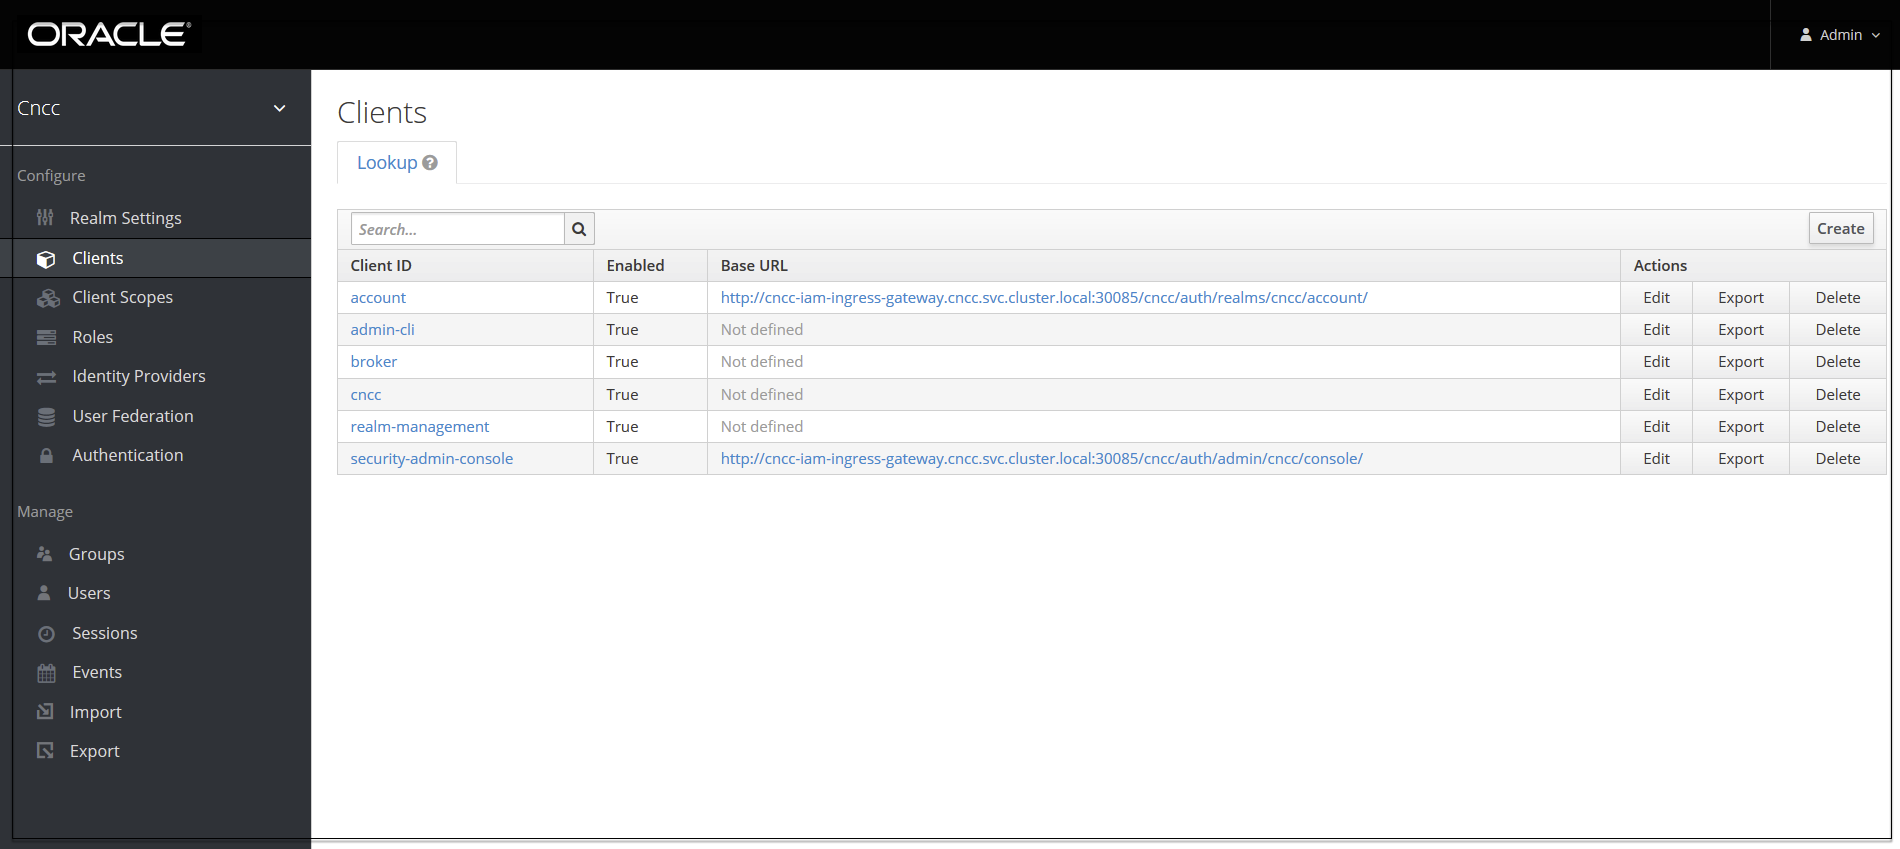
- Go to Clients and select Cncc.
- Enter CNCC Core Ingress URI in the Valid Redirect URIs field and
Save.
<scheme>://<cncc-core-ingress IP/FQDN>:<cncc-core-ingress Port>

# Possible ways to provide CNCC Core GUI URI
# 1] Node-IP and NodePort
http://10.75.xx.xx:30075/*
# 2] DNS Resolvable FQDN and NodePort
http://cncc-iam-ingress-gateway.cncc.svc.cluster.local:30075/*
# 3] External LB-IP and ServicePort
http://10.75.xx.xx:8080/*
# 4] DNS Resolvable FQDN and ServicePort
http://cncc-iam-ingress-gateway.cncc.svc.cluster.local:8080/*
Note:
RedirectUri and Uri to access CNCC Core GUI must be same. The valid_redirect_uri provided in CNCC IAM and uri by which you access the CNCC Core GUI should be same. If there is mismatch then it would result in “invalid redirect_uri” on CNCC Core GUI. Example: In CNCC IAM the valid_redirect_uri of CNCC Core is mentioned as Service FQDN, i.e http://cncc-core-ingress-gateway.cncc.svc.cluster.local:30075/* and if you are accessing the CNCC Core GUI with IP and NodePort, i.e http://10.75.xx.xx:30075/* or vice-versa you will get “invalid redirect_uri” on CNCC Core GUI.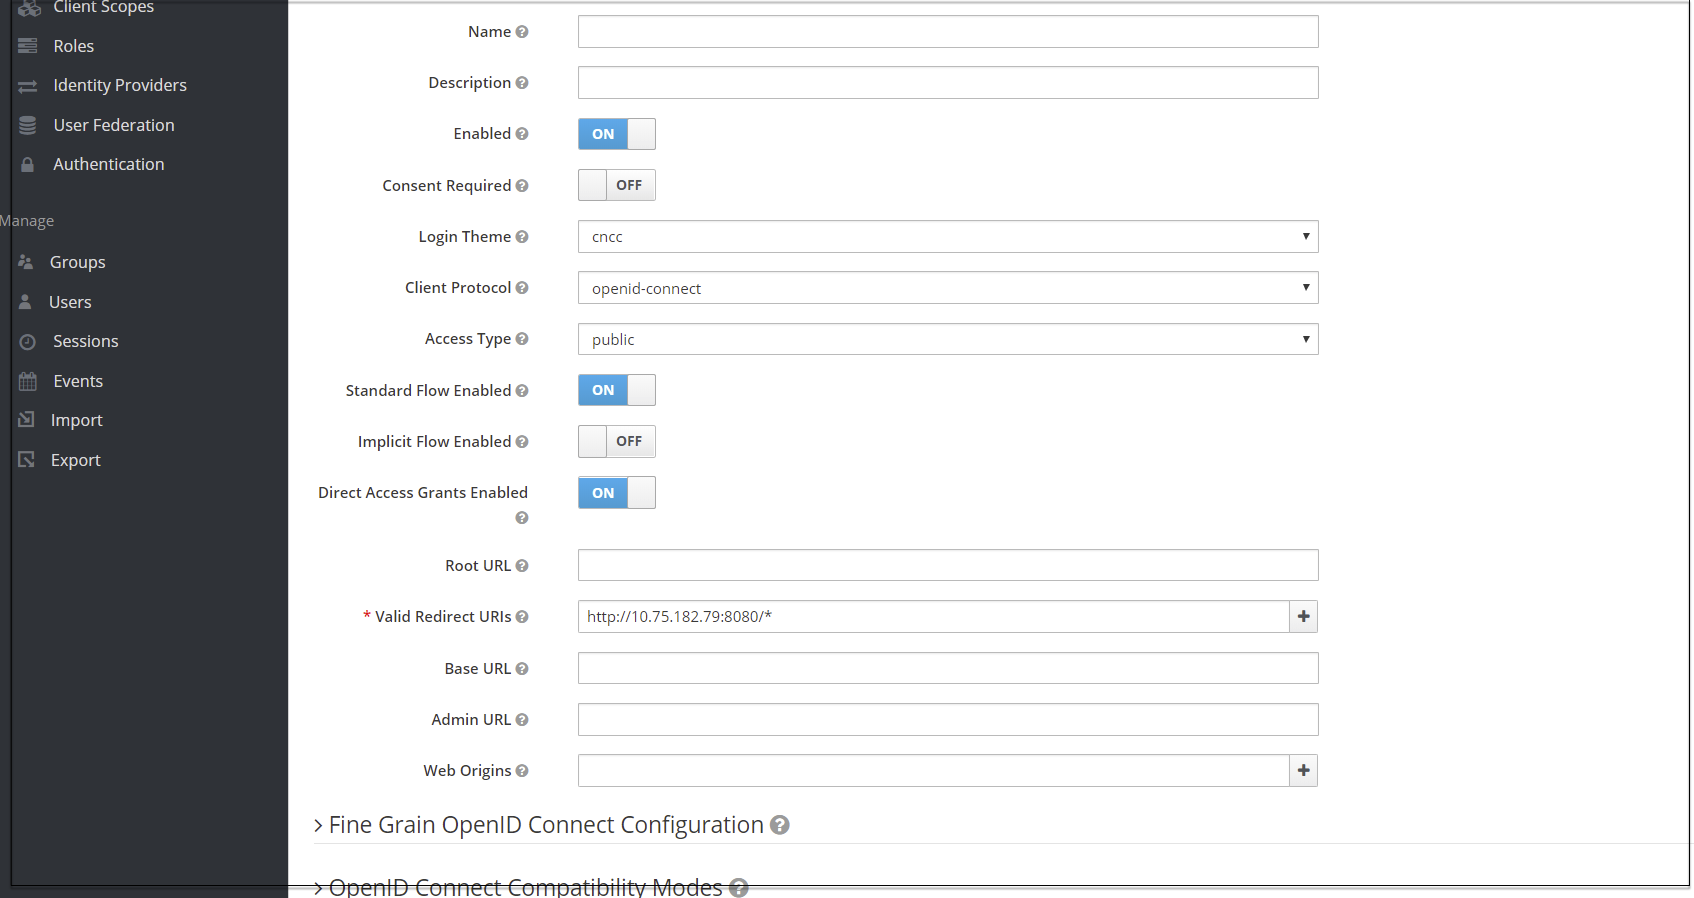
- Select Manage and click Users and select Add user in the
right pane.
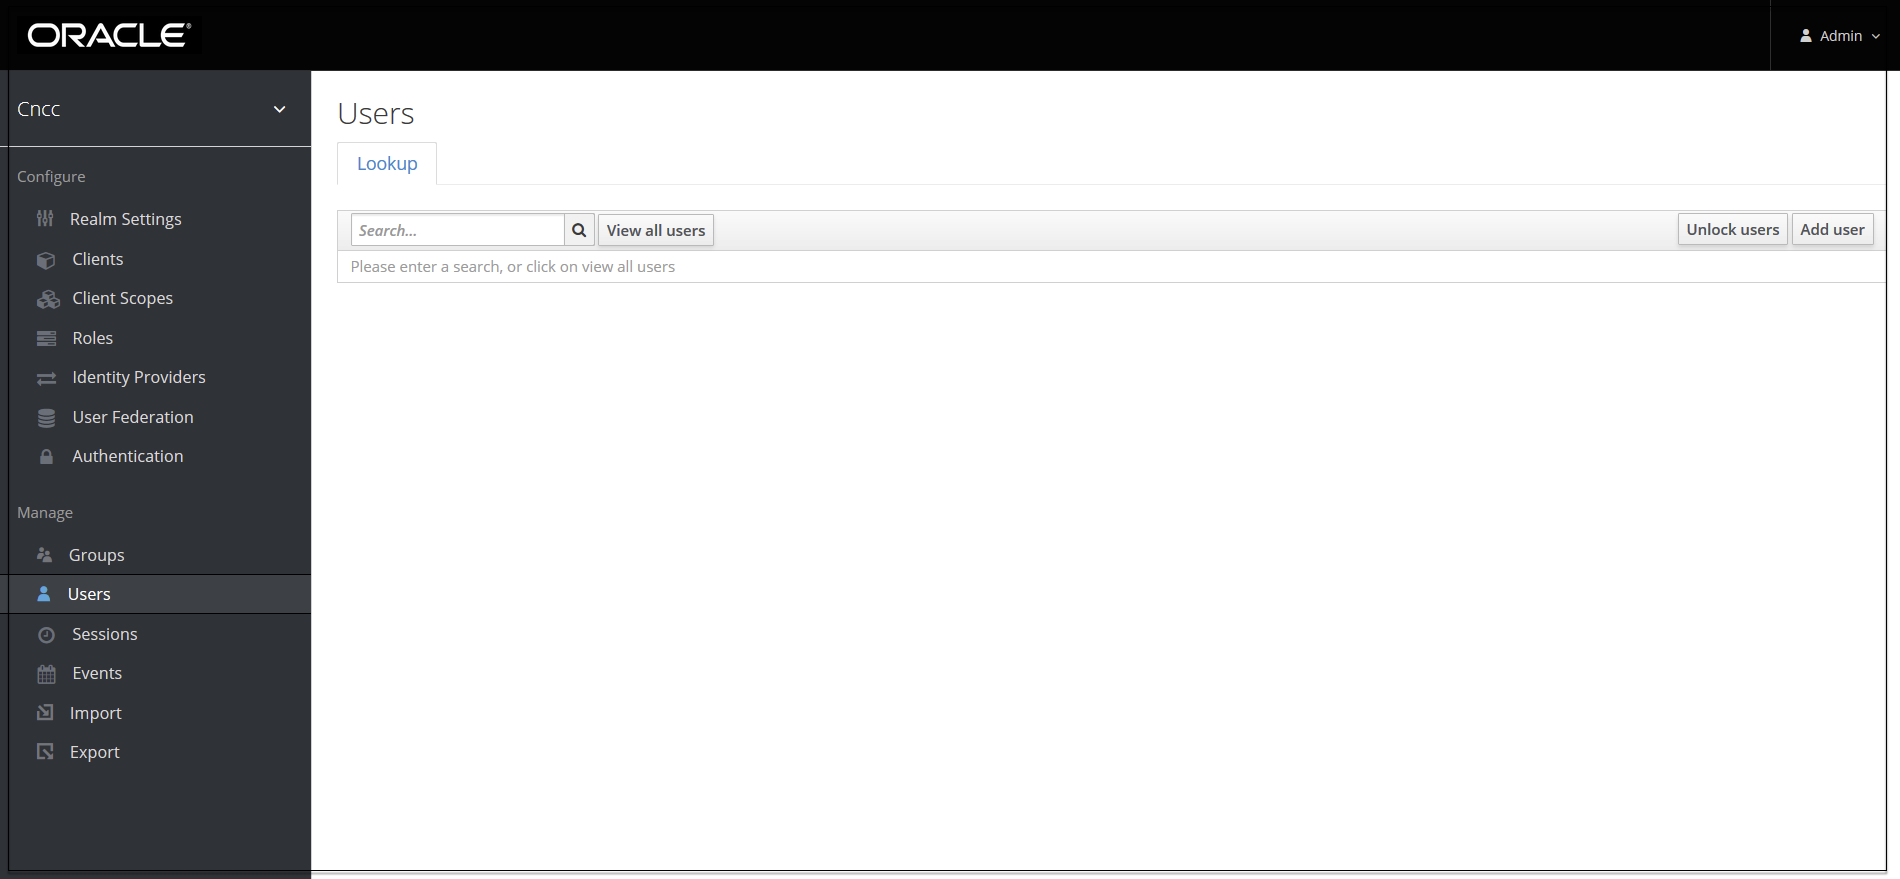
- Add user screen appears. Add the user details and click Save.
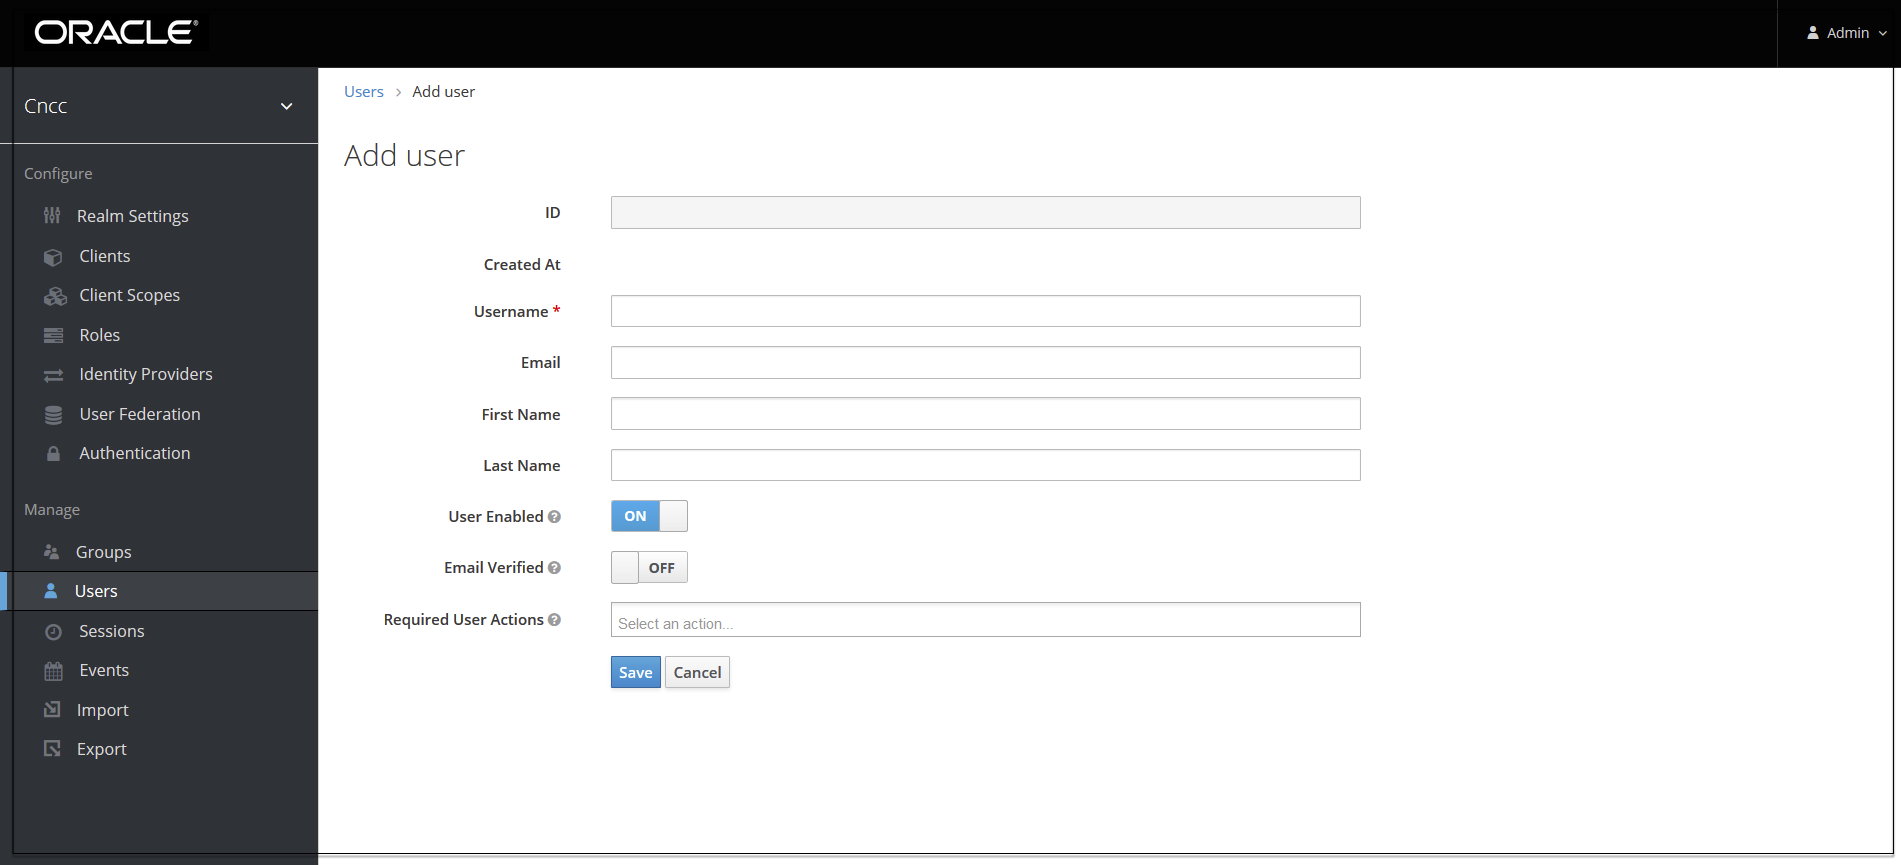
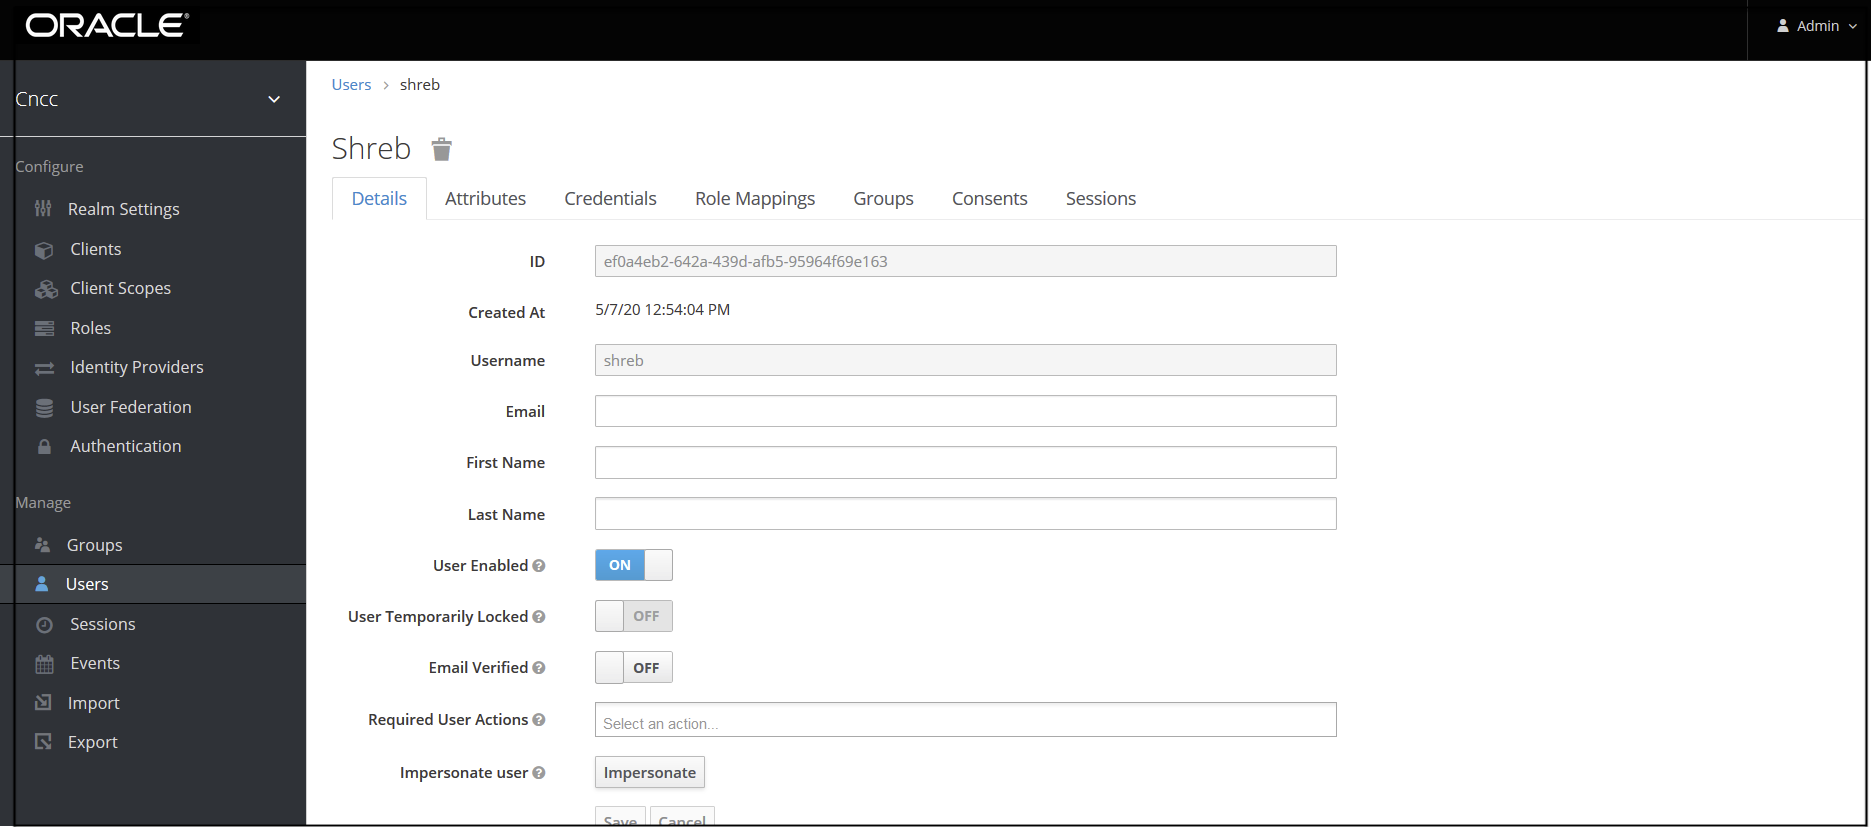
- The user has been created and the user Details screen appears.
- For setting the password for the user, select Credentials tab and set
the password for that user.
Note:
Setting Temporary flag as ON prompts the user to change the password while login for the first time to CNCC Core Interface.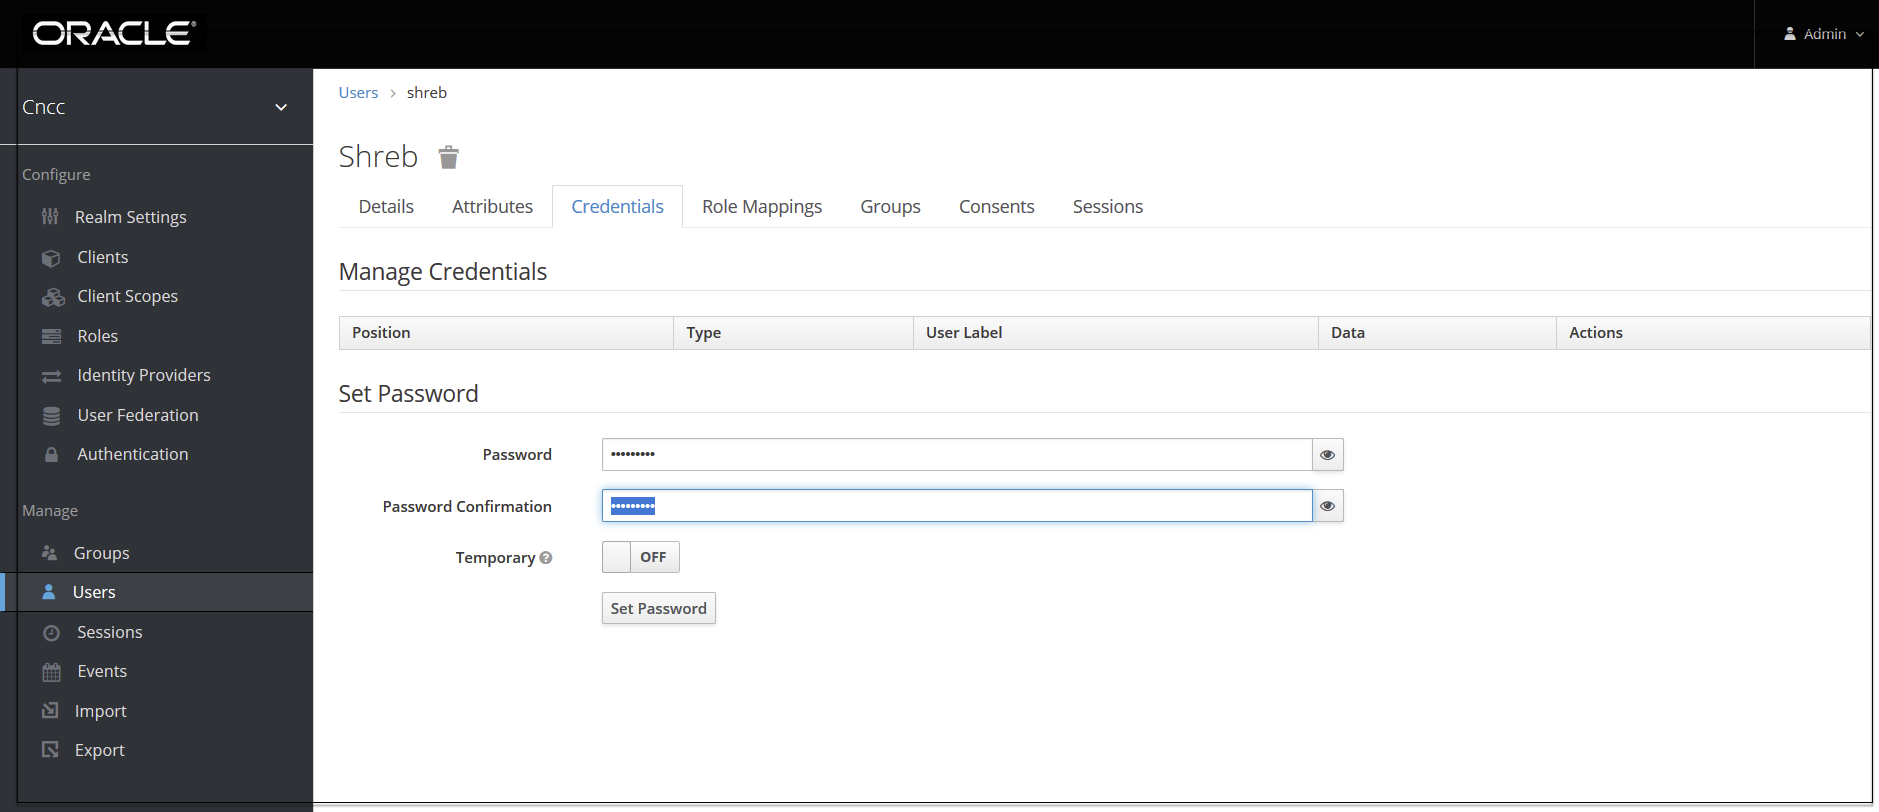
- Navigate to the Role Mappings tab and assign the user role.

- Login to CNCC Core using the credentials of the user created
earlier.