9 CNC Console IAM Postinstallation Steps
Note:
CNC Console multi cluster deployment supports cluster specific role. The user can create cluster roles in CNCC IAM and assign cluster specific role to the user similar to NF roles.
Operators must ensure that the cluster role name must matches with the role name given in helm configuration.
- For M-CNCC cluster role creation in M-CNCC IAM value of global.mCnccCores.id or global.mCnccCores.role name must be used
- For A-CNCC cluster role creation in M-CNCC IAM value of
global.aCnccs.id or global.aCnccs.role name must be used.
Note:
Cluster role names are case sensitive.
Prerequisites
The CNC Console IAM and CNC Console Core must be deployed.
Admin must perform following tasks once CNCC IAM is deployed:
- Set the cncc redirection URL.
- Create the user and assign roles (applicable if not integrated with LDAP) .
Steps for configuring CNC Console redirection URL, create user, and assign the roles:
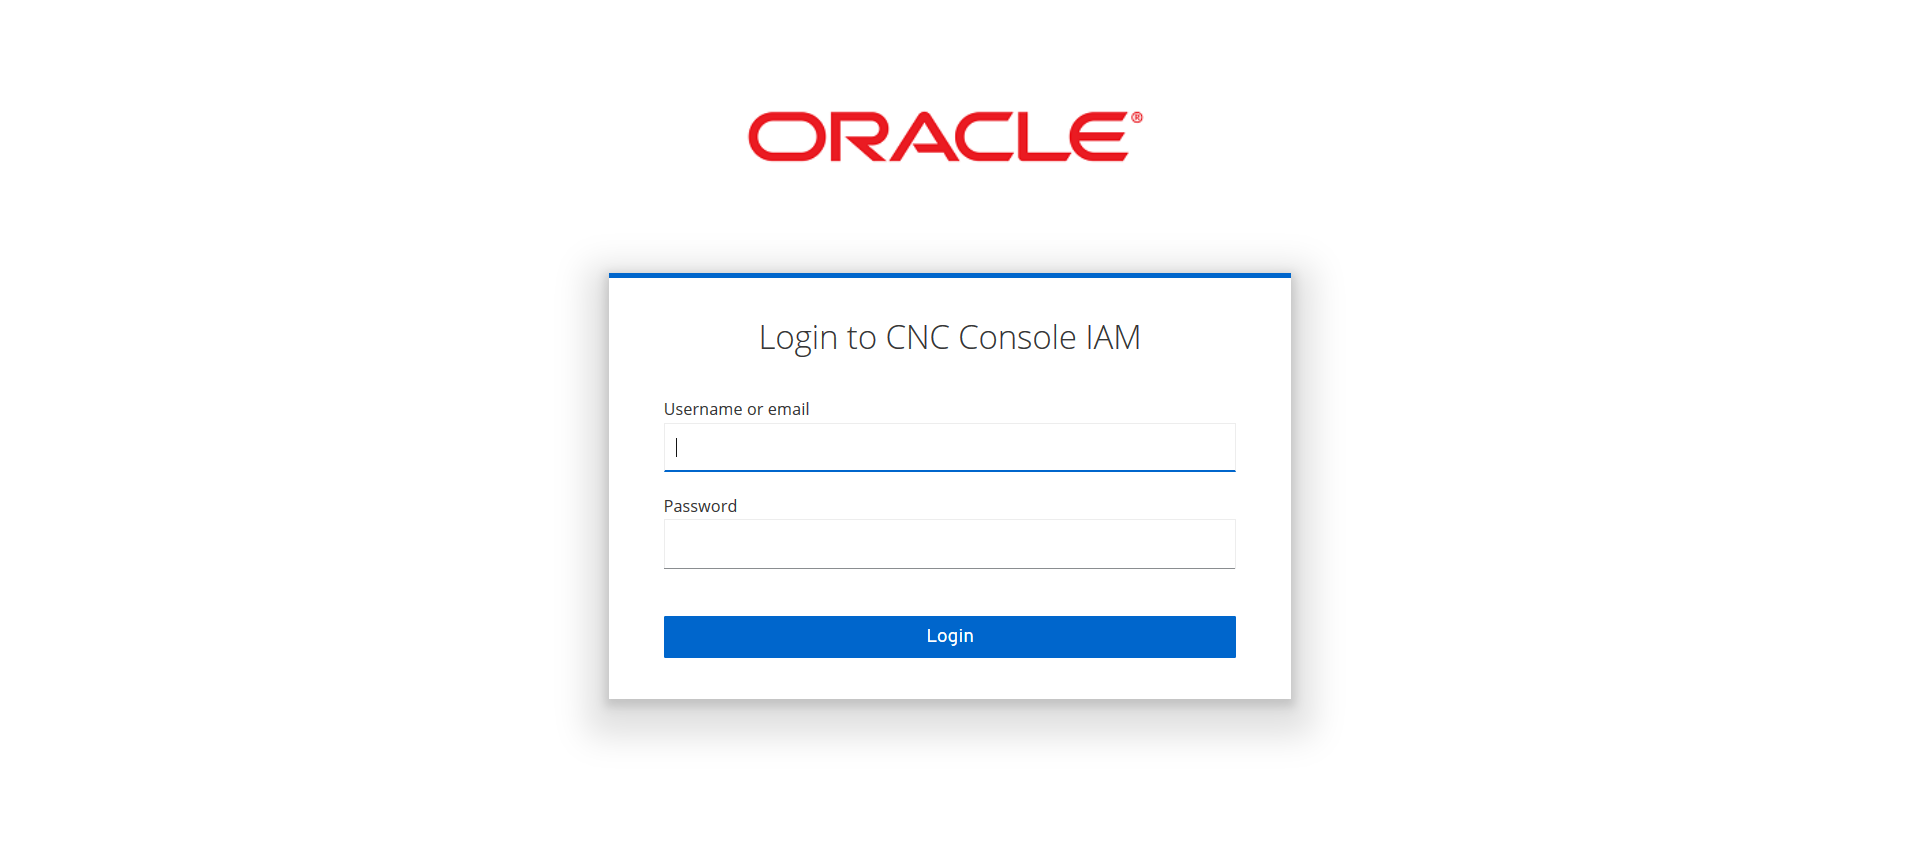
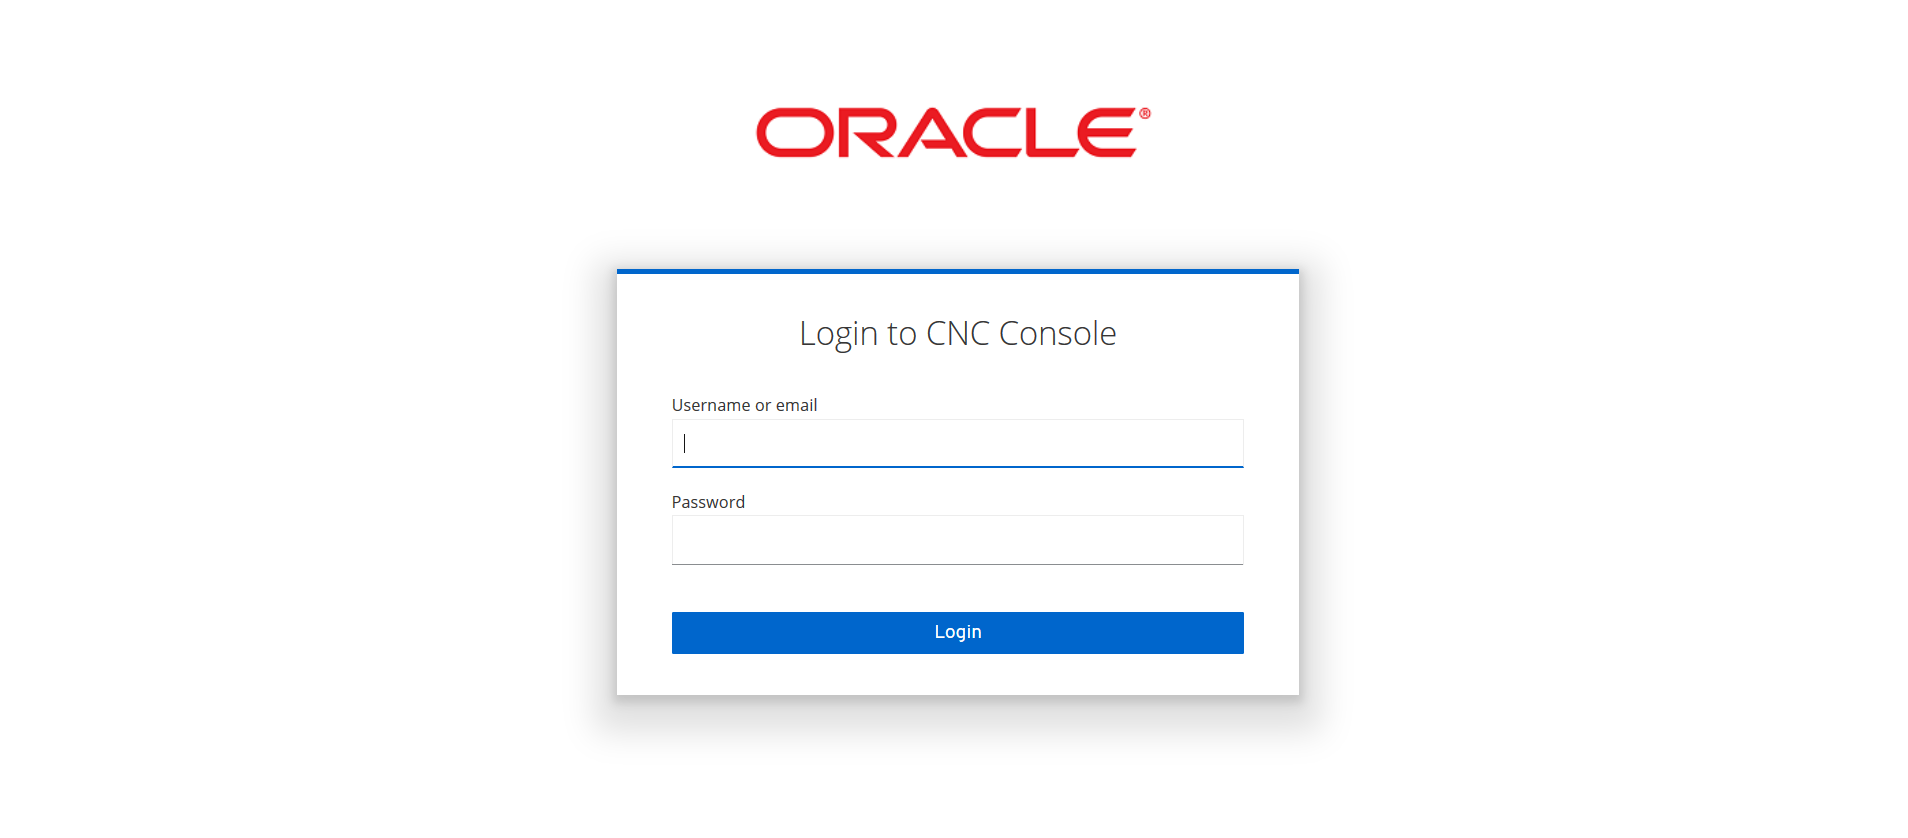
- Log into CNC Console IAM Console using admin credentials
provided during installation of CNCC
IAM.
Format:
<scheme>://<cncc-iam-ingress IP/FQDN>:<cncc-iam-ingress Port>
http://10.75.xx.xx:30085/*http://cncc-iam-ingress-gateway.cncc.svc.cluster.local:30085/*http://10.75.xx.xx:8080/*http://cncc-iam-ingress-gateway.cncc.svc.cluster.local:8080/*Figure 9-1 Login
- Go to Clients option and click Cncc.
Figure 9-2 Clients tab
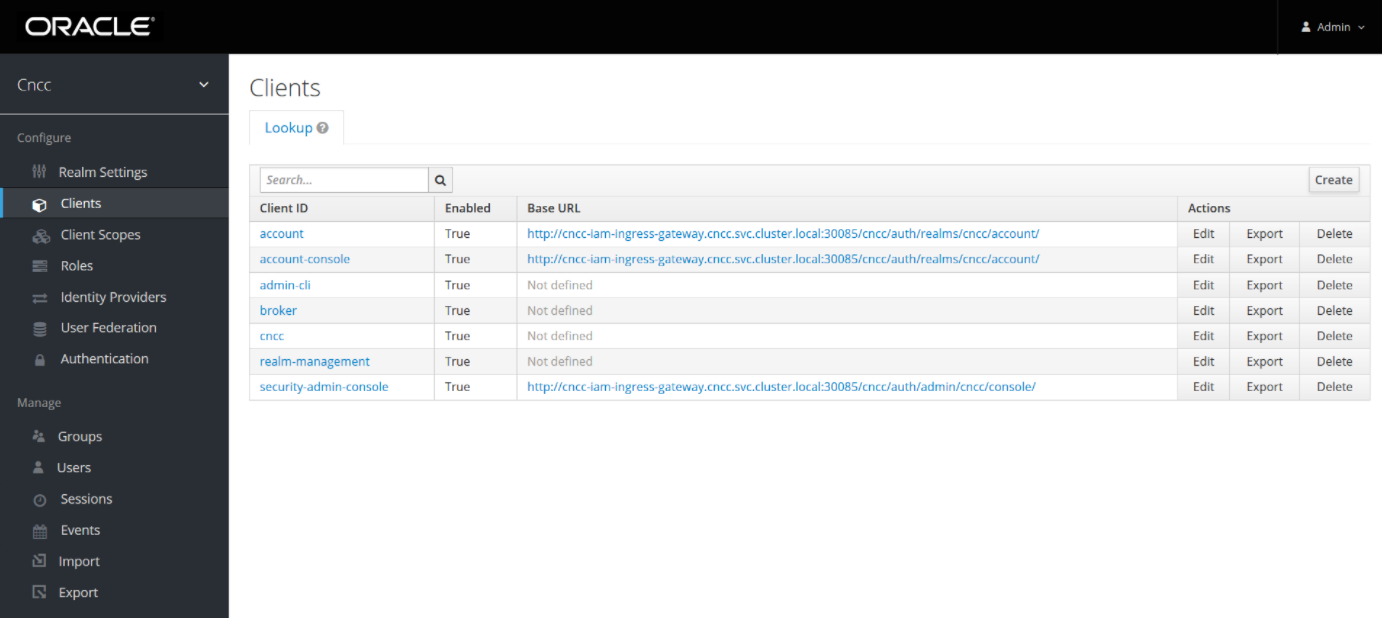
- Enter CNCC Core Ingress URI in the Root URIs field and
Save.
<scheme>://<cncc-mcore-ingress IP/FQDN>:<cncc-mcore-ingress Port>Note:
Redirection URL is pre-populated, only root url needs to be configured as part of Post-Installation procedure - Click Manage, click Users, and click Add user on the
right pane.
Figure 9-3 Add user
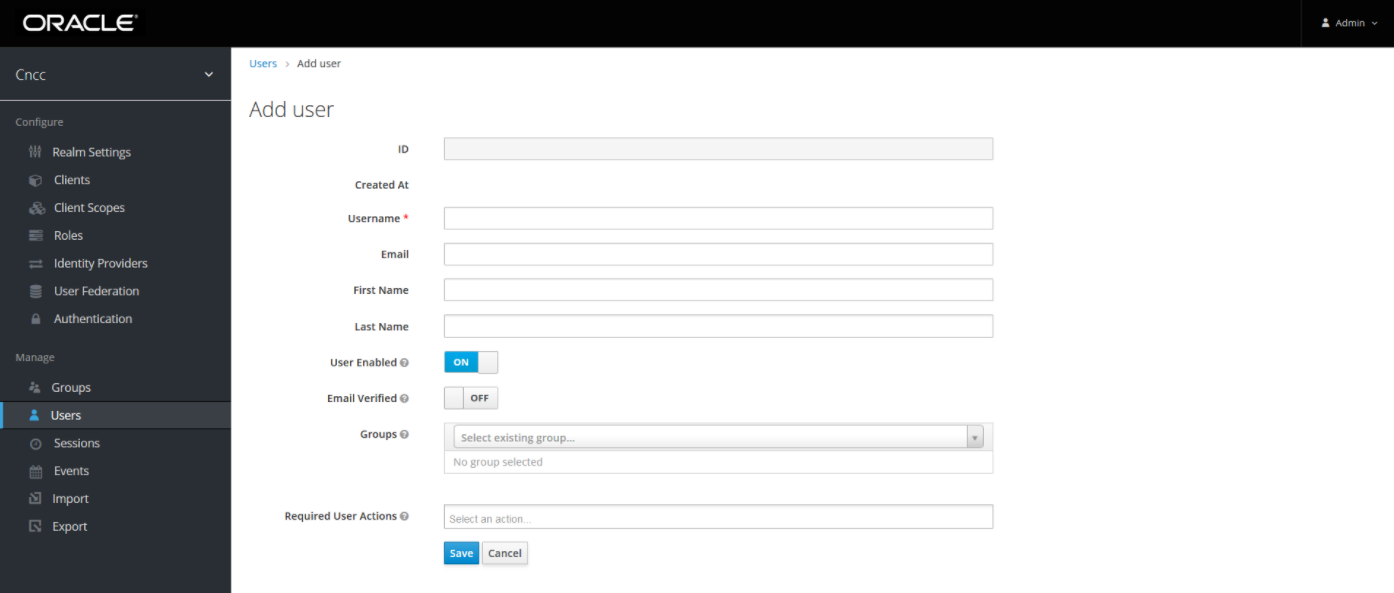
-
Add user screen appears. Add the user details and click
Save.
Figure 9-4 Add user

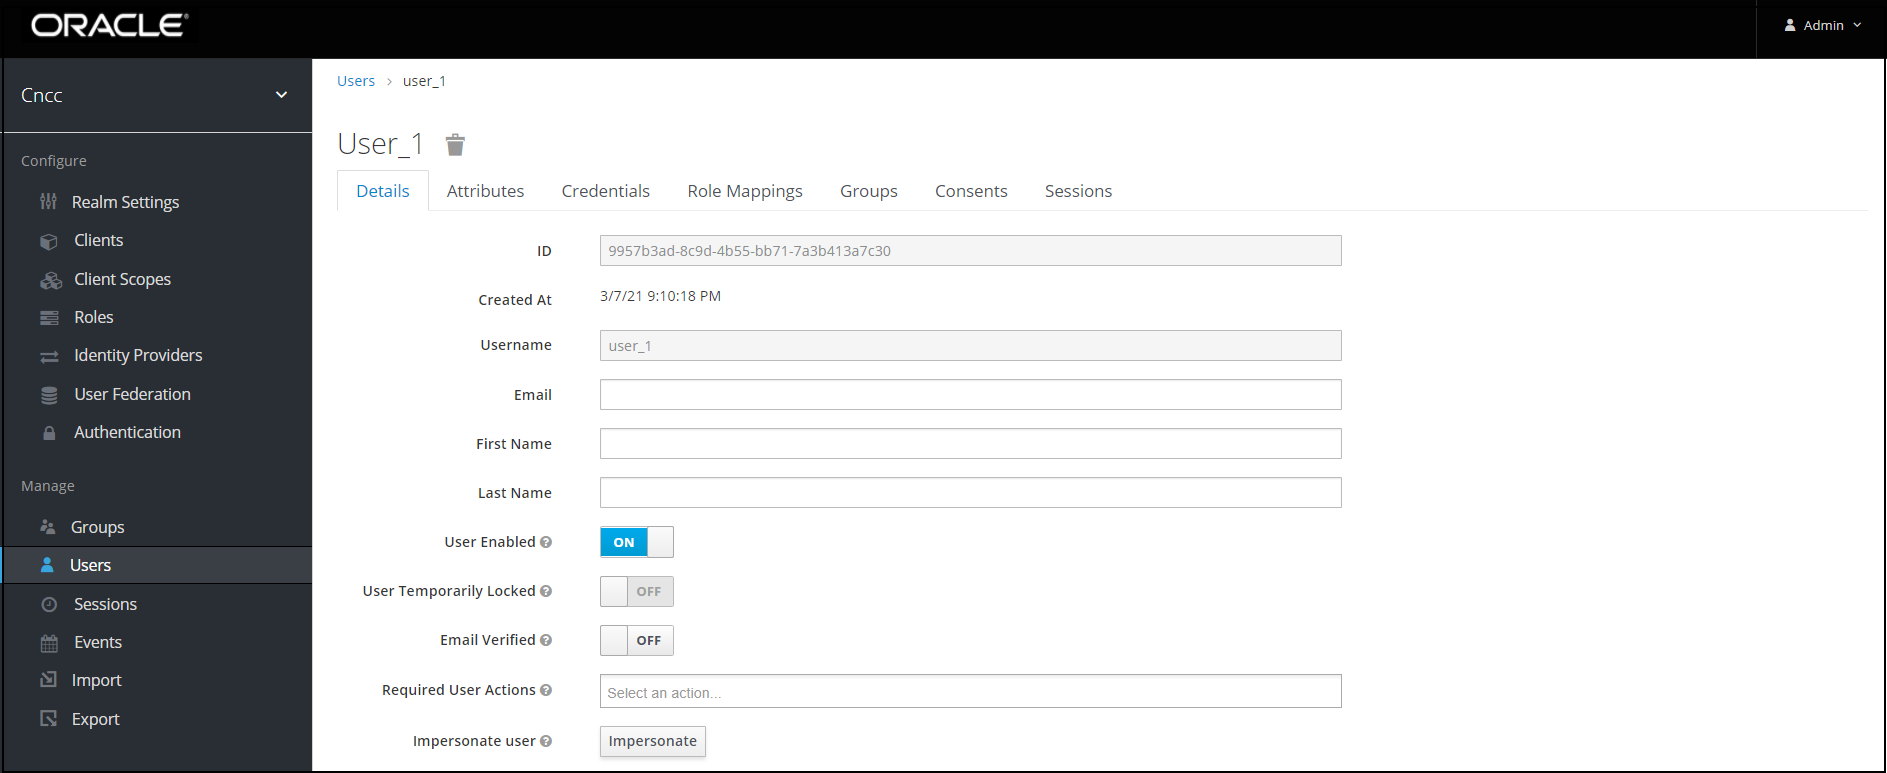
- The user has been created and the user details screen appears.
Figure 9-5 User details
- For setting the password for the user, click Credentials
tab and set the password for that user.
Note:
Setting Temporary flag as ON prompts the user to change the password when logging in to the CNCC Core GUI for the first time.Figure 9-6 Credentials tab

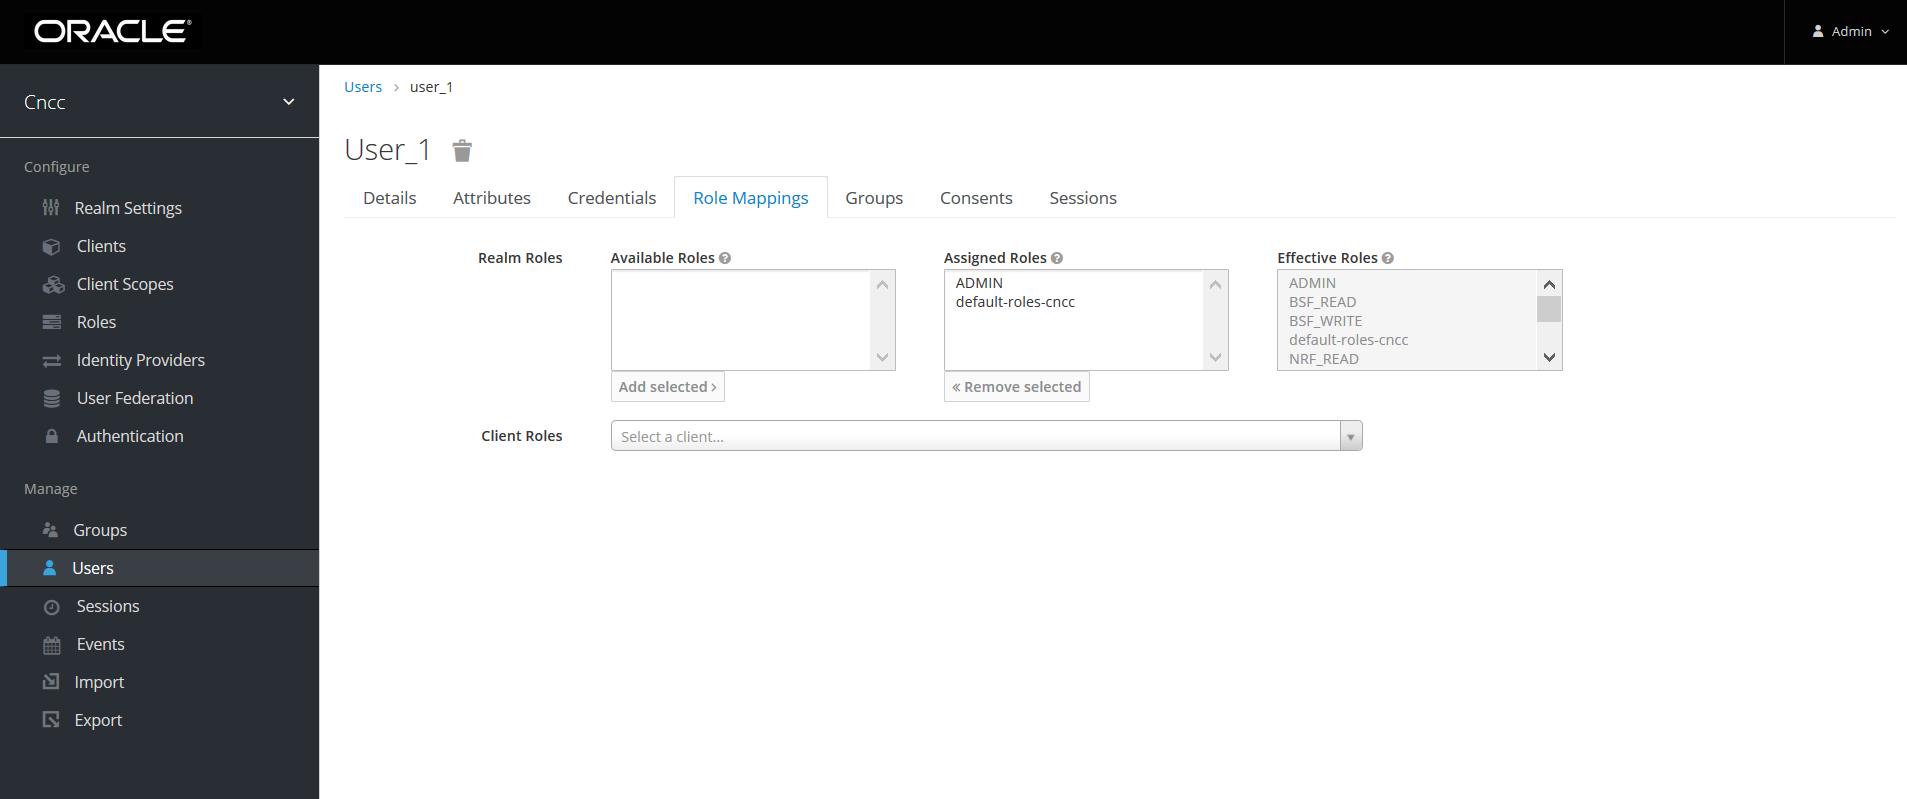
- Navigate to the Role Mappings tab and assign roles to
the user.
Figure 9-7 Role Mappings
- Log into CNCC Core using the credentials of the user created
earlier.
Figure 9-8 CNC Console Core login
CNC Console Multi Cluster Deployment Roles
CNC Console Multi Cluster feature needs additional cluster specific roles to be created in M-CNCC IAM.
This section explains the steps to create the Roles.
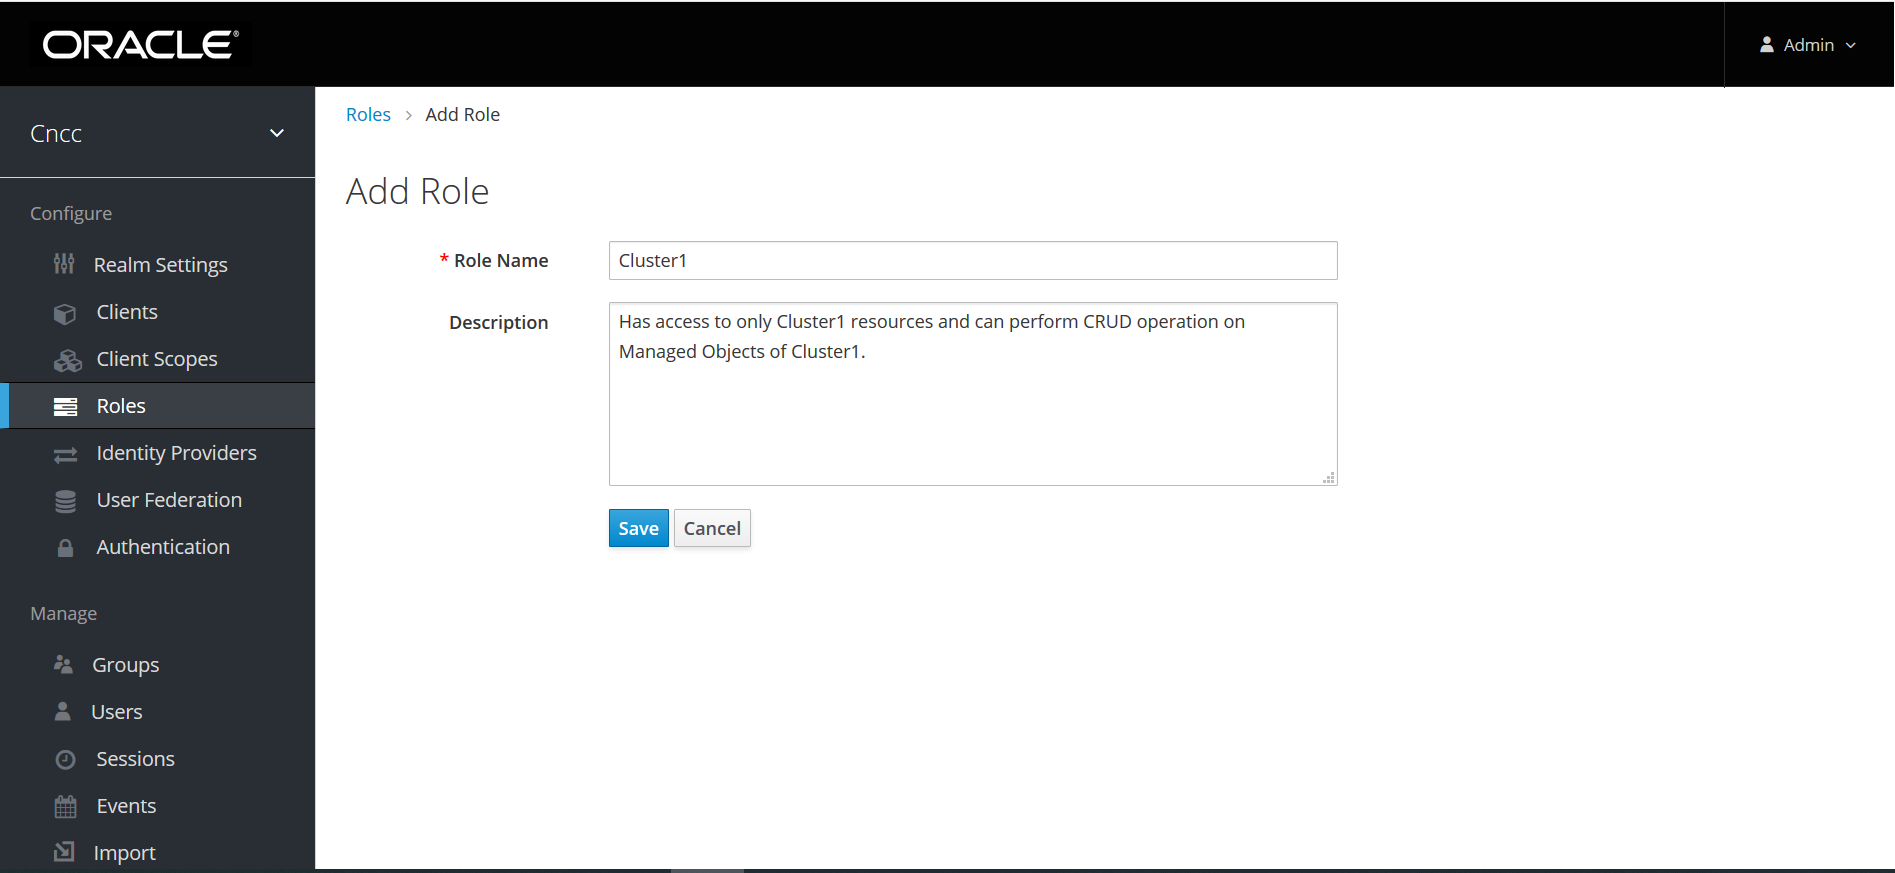
- Login to M-CNCC IAM and click the Roles present on the left pane. The roles
defined in the realm is displayed on the right pane.

- Click Add Role, the Add Role screen appears. Add the Role Name
and click Save.
Note:
The user must ensure that the cluster role name must match with role name given in helm configuration.
- For M-CNCC cluster role creation in M-CNCC IAM, the value of
global.mCnccCores.idorglobal.mCnccCores.role namemust be used - For A-CNCC cluster role creation in M-CNCC IAM, value of
global.aCnccs.idorglobal.aCnccs.role namemust be used. - Cluster roles are case sensitive.
Composite Role Creation
- Click Add Role, the Add Role screen appears. Add the Role
Name and click Save.
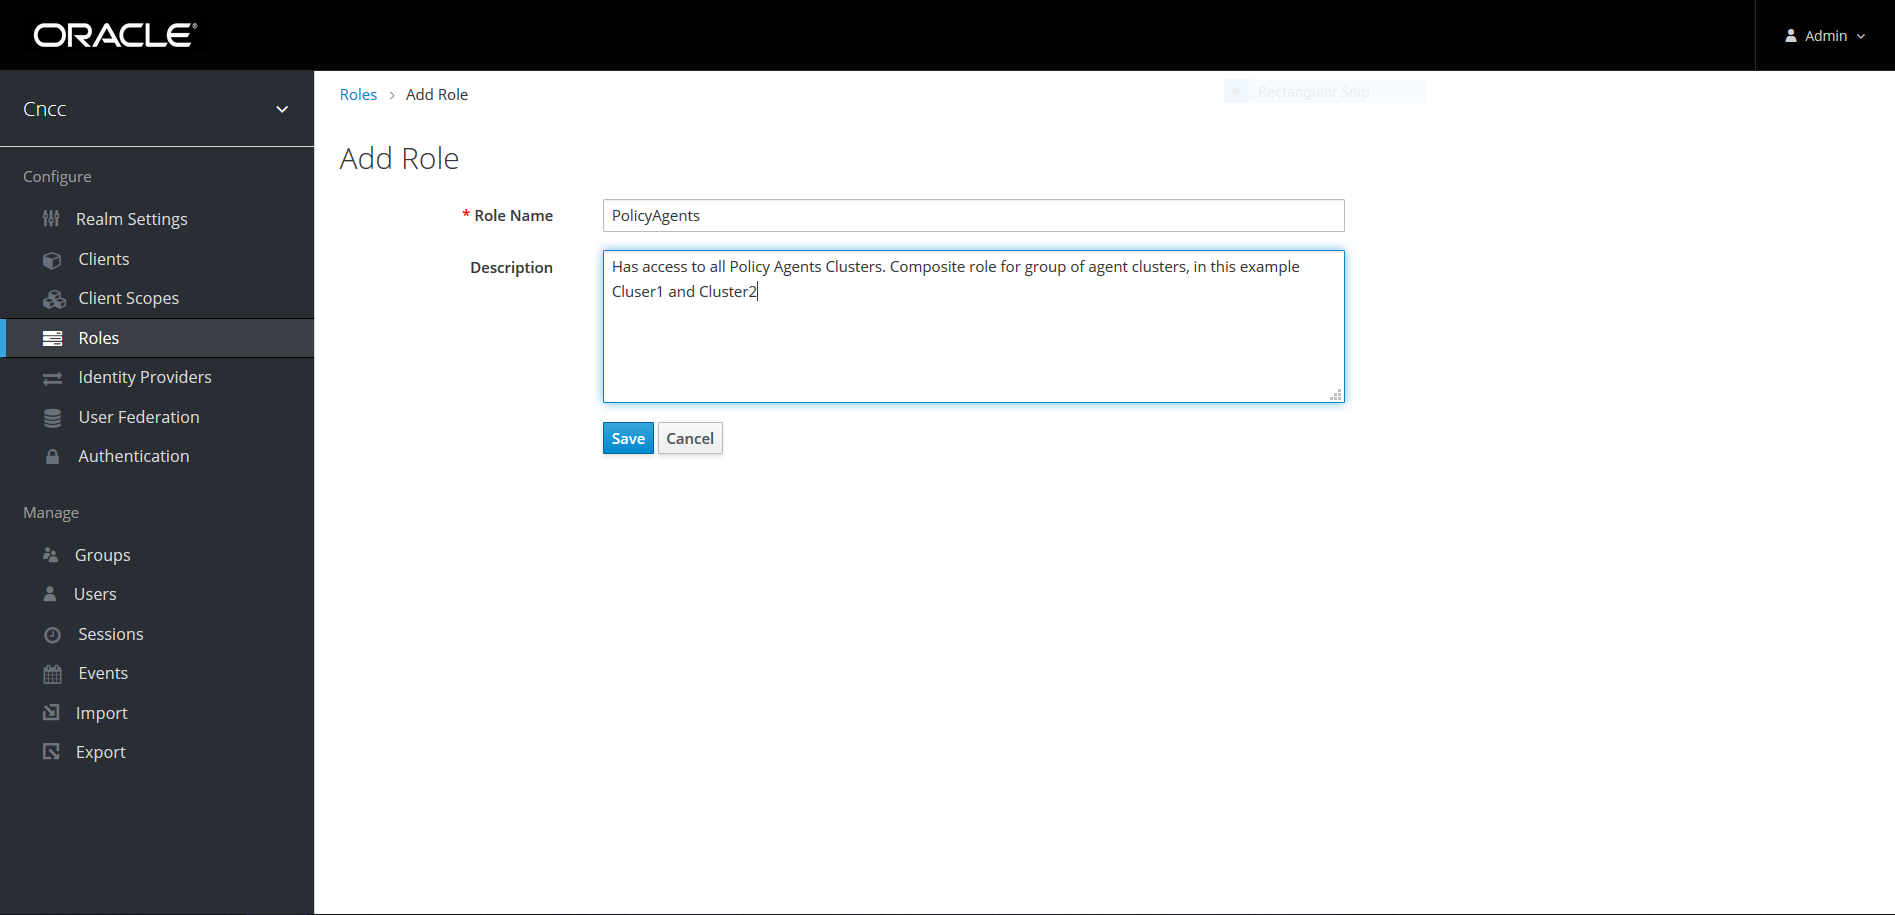
- Select the Added Role name (Example: PolicyAgents) from the Roles screen, the following screen appears.
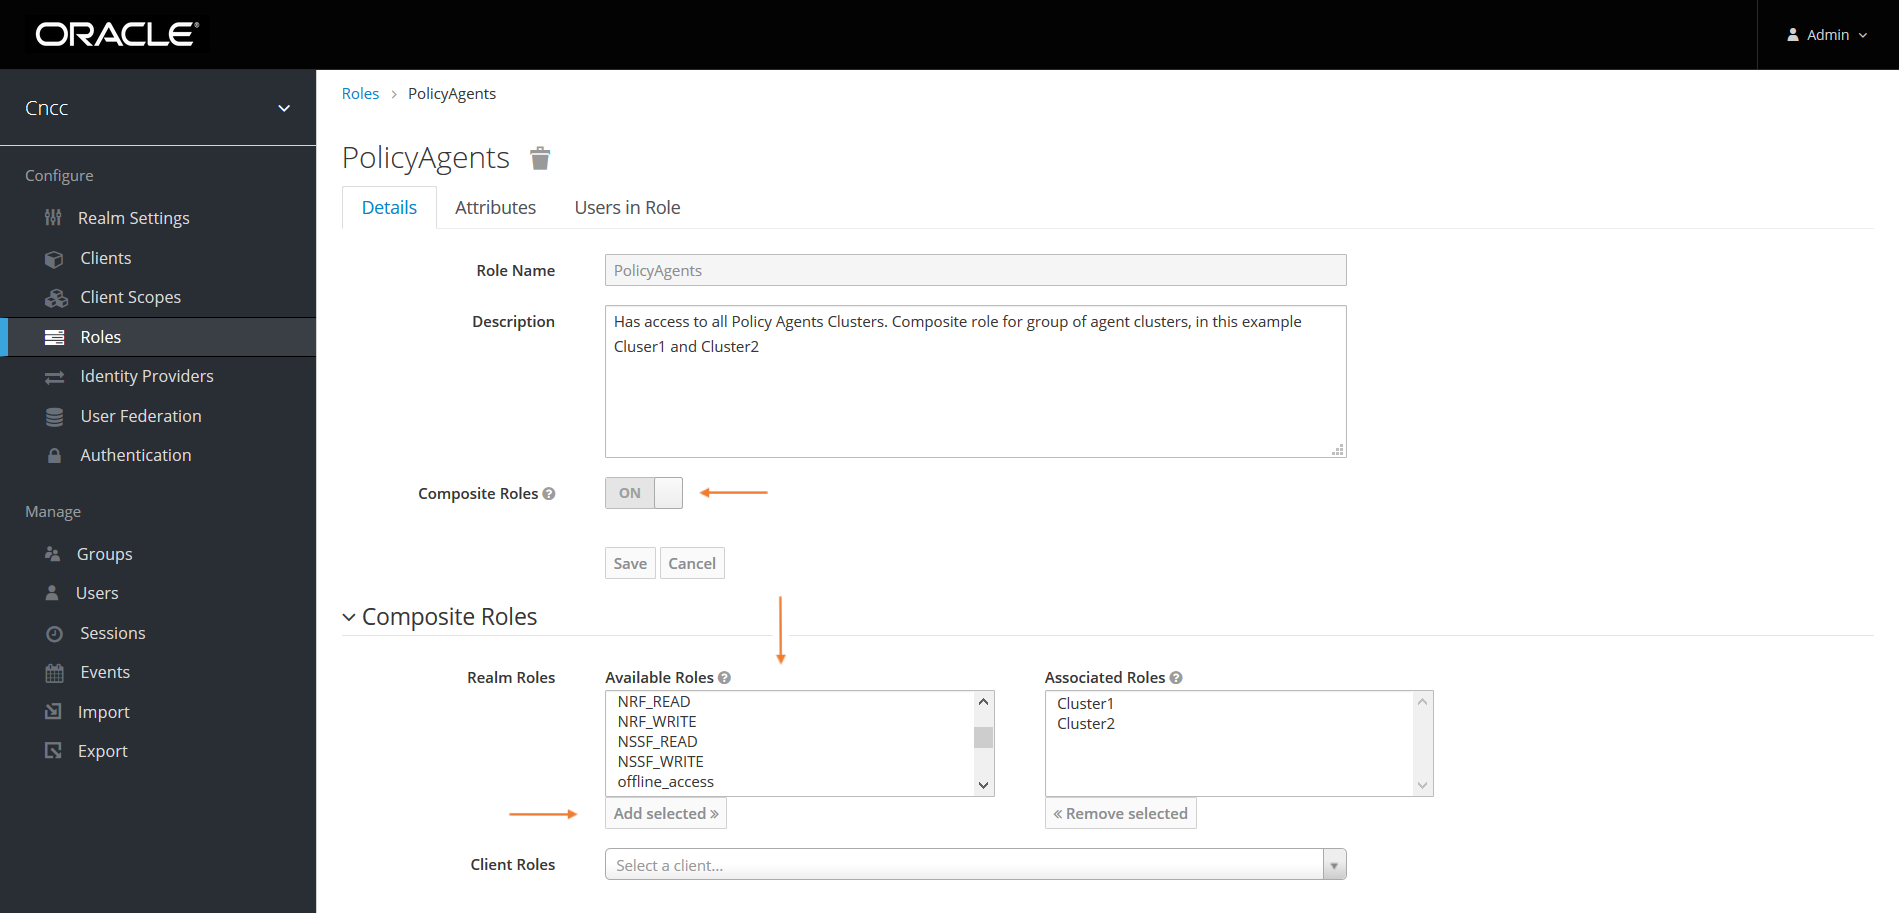
- Enable the Composite Roles button (turn it ON).
- This enables the Composite Roles section, from the Realm Roles select the required site roles and click Add Selected.
Note:
Here, the name "PolicyAgents" is used for composite role, that can be read as "PolicyAgentCnccs".Note:
For more information about the Roles, see Role Based Access Control in CNC Consolesection in Cloud Native Core Console User Guide.