4 Deploying OCI Adaptor
This section describes how to deploy the OCI Adaptor.
All OCI Adaptor components will be deployed automatically using terraform scripts.
For more information, see the Terraform Scripts for OCI Deployment.
Note:
Deployment of OCI Adaptor is restricted to the infrastructure created using Release 24.2.x and above.Following are the steps to create the components of the OCI Adaptor:
- Move all the tar files in the file's folder of
ocociAdaptor_csar_<version>.zippackage to CLI Server at/home/opc/oci_adaptor.Note:
Download package from My Oracle Support as a prerequisite. - Create the path(
/home/opc/oci_adaptor) if it does not exist.Note:
Since the CLI Server is only accessible from Bastion Service, the user needs to create a Bastion Session first, and use Bastion Session to copy the files to the CLI Server.For more information, see the "Bastion Service" section in Oracle Communications Cloud Native Core, OCI Adaptor User Guide.
- Log in to the OCI Console.
For more information, see the "Signing In to the OCI Console" section in Oracle Cloud Infrastructure Documentation.
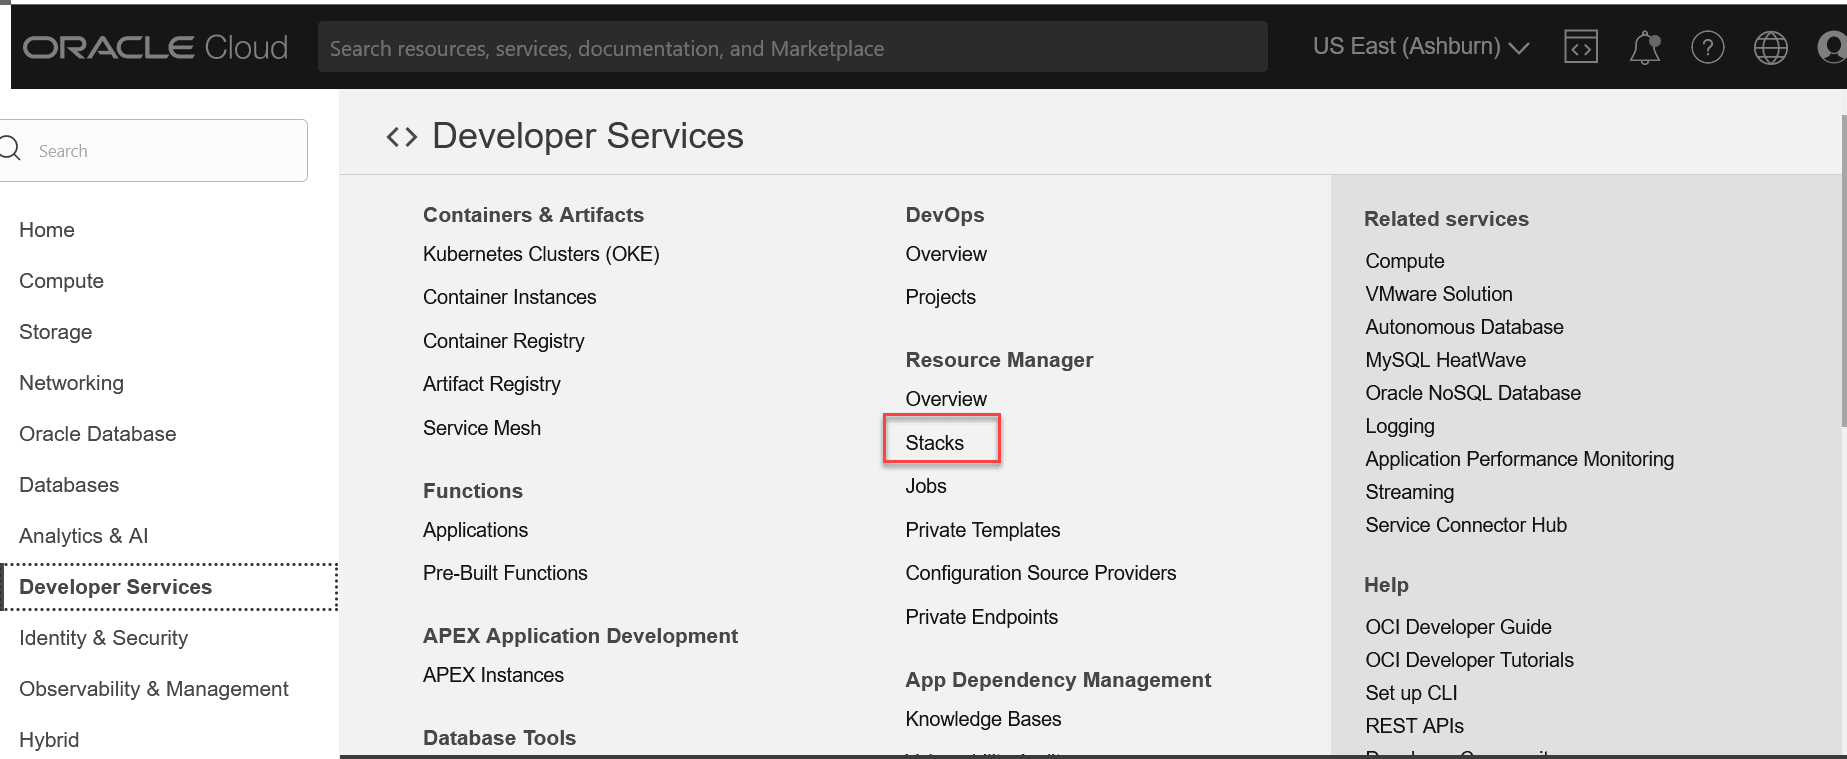
- Open the navigation menu and select Developer Services. The Developer Services window appears in the right pane.
- Under the Developer Services, select Stacks which is displayed under Resource Manager.
- Under Resource Manager, select Stacks.
Figure 4-1 Developer Services

- Click Create stack.
Figure 4-2 Create Stack

- Select the default My Configuration radio button, present inside the Scripts folder of oci-adaptor CSAR.
- Under Stack configuration, select the .zip file radio button and
upload the
oci_Adaptor_install_<version>.zipfile.Figure 4-3 Stack

- Enter the Name and Description (User-Defined Name and Description for the stack) and select the compartment.
- Select the latest terraform version from the terraform version
drop-down.
Figure 4-4 Create Stack

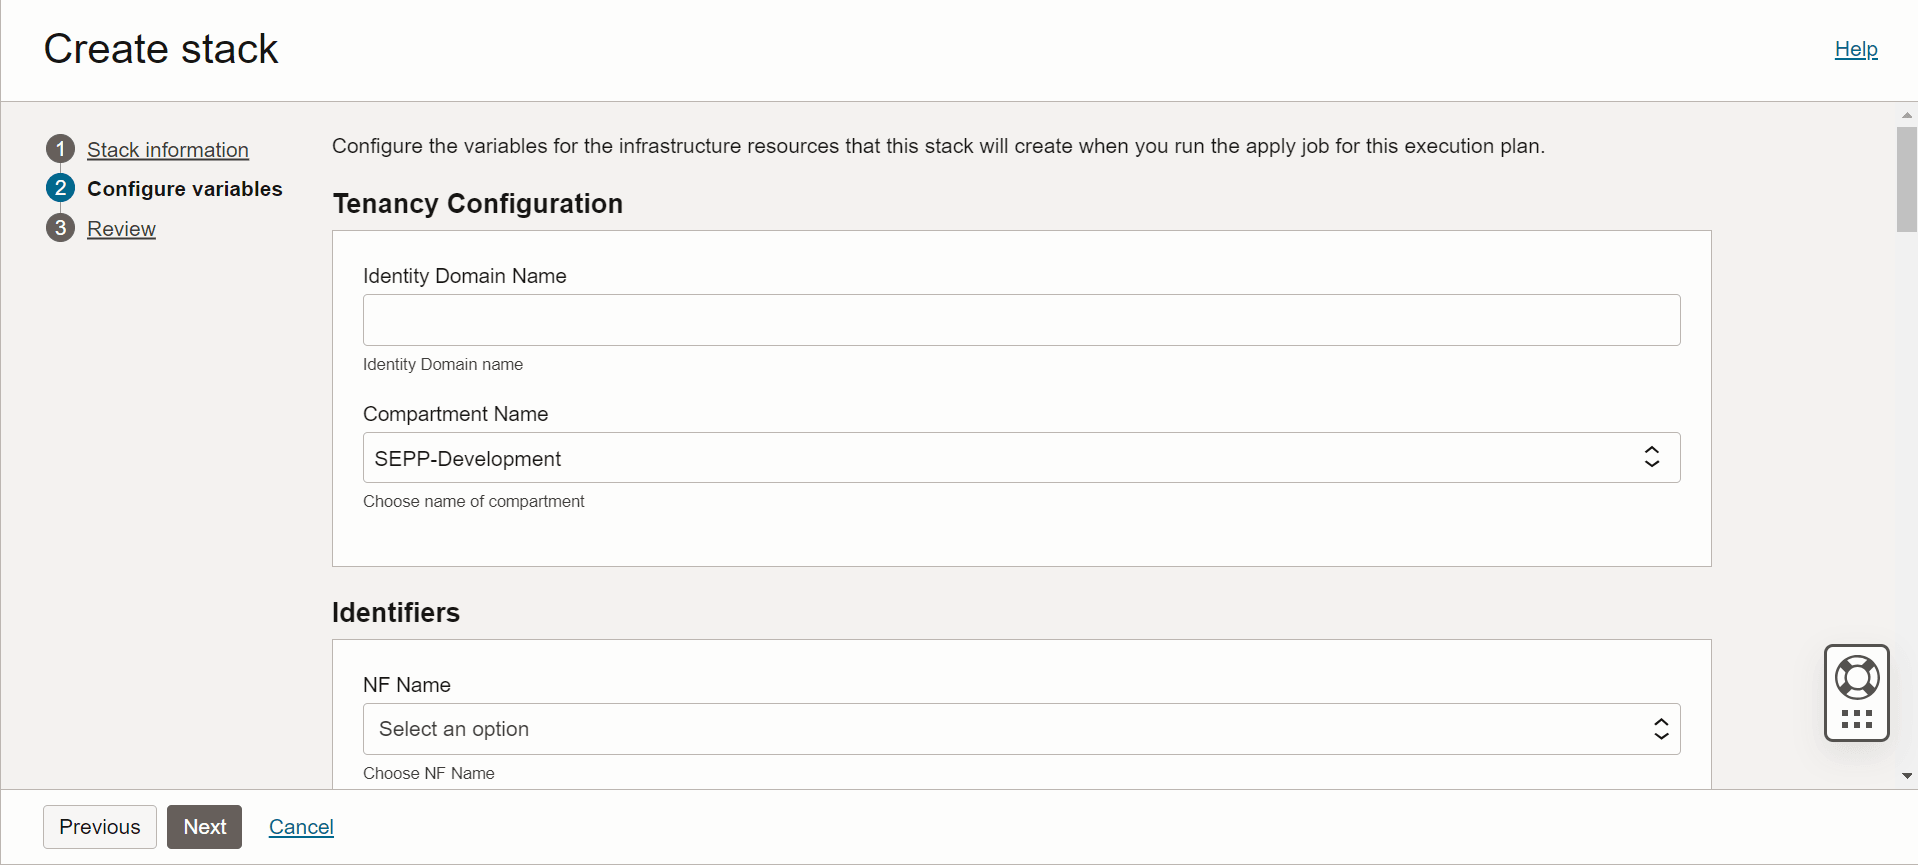
- Click Next. The Edit Stack screen appears.
- The required inputs are:
- Tenancy Configuration
- Identity Domain Name: Name of the domain.
- Compartment Name: Name of the Compartment.
- Identifiers
- NF Name: Name of the NF.
- Unique Identifier: Unique identifier for each NF in the timestamp format.
- User Groups
- Admin Group Name: The admin group name.
- Non-Admin Group Name: The non-admin group name.
- Cluster Configuration
- Cluster Name: Name of the OKE Cluster.
- Cluster OCID: All the cluster IDs in the compartment will be displayed in this drop-down.
- Baston Configuration
- CLI Server for the OKE cluster.
- Private Key: Private key to login into Bastion. Enter the Key in Base64 encoded format.
- OCIR Registry Configuration
- Registry Name: The name registry name.
- Registry Username: The name registry username.
- Registry Password: The password registry username.
- OCI Adaptor Generic Configuration
- OCI Adaptor Namespace
- Enable App Dimension: A Check-box enabling which will make an extra dimension named app getting populated in the Metrices of Applications.
- Scraping Interval: The interval at which the Management Agent will scrape Application Matrices.
- Management Agent or Metrics Configuration
- Max Management Agent Install Count: User Configurable (The upper limit is 1000).
- Management Agent Key Expire Time: The time in the specified format.
- NF Metric Path: The metric path will be populated.
- Metric Namespace: The metrics namespace.
- Tenancy Configuration
- Enter the required inputs to create the infrastructure layer components
and click Save and Run apply.
Note:
The Plan option is provided along with the Run apply. The (optional) Plan option provides a view of the steps that are to be performed while creating the stack. This is recommended.