3.6.4 Procedure 18 RE-POINT LSMS TO ELAP VIP
Table 3-22 Procedure 18 RE-POINT LSMS TO ELAP VIP
| #This procedure points the LSMS to the ELAP VIP. Note: Estimated time of completion is 15 minutes. Check off (✓) each step as it is completed. Boxes have been provided for this purpose under each step number. Should this procedure fail, Contact Oracle technical services and ask for FULL UPGRADE ASSISTANCE. | ||
|---|---|---|
|
1. ☐ |
LSMS: Log in to the LSMS GUI as a member of the permission group that is authorized to perform this operation |
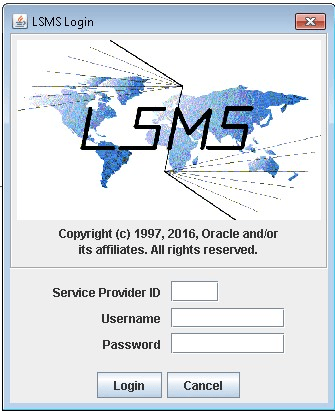 |
|
2. ☐ |
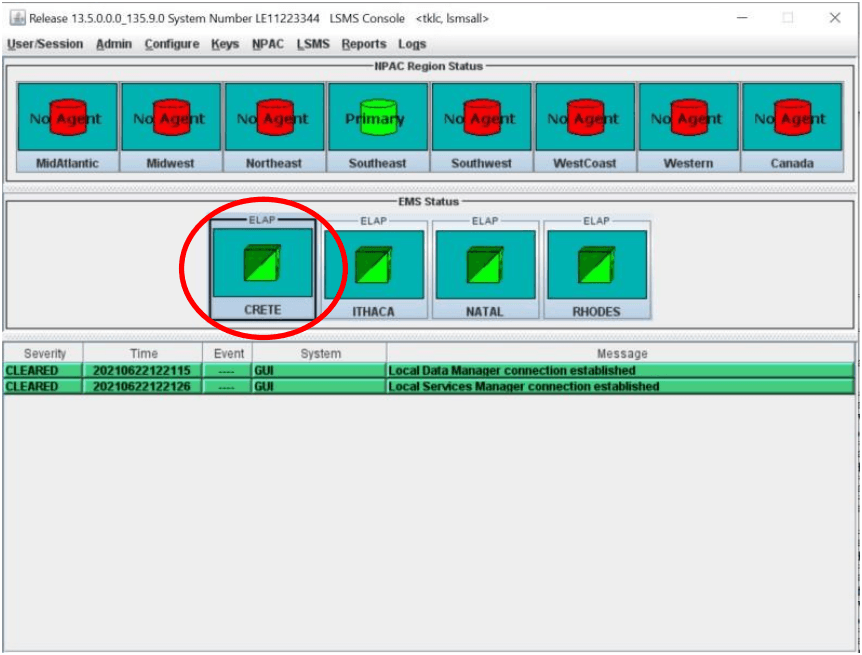
LSMS: Select the EMS being fully upgraded to 11.0. |
 |
|
3. ☐ |
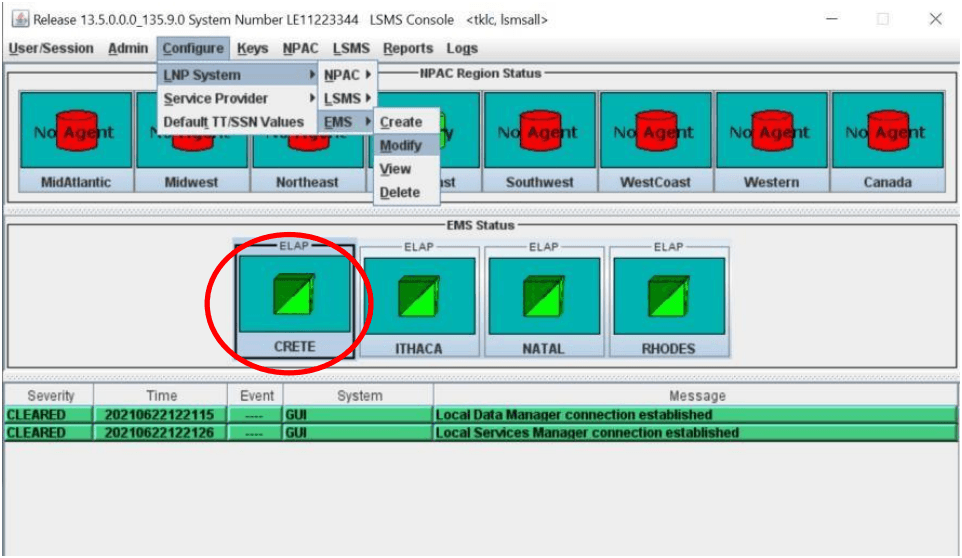
LSMS: Navigate to the following Menu selection: Configure
|
 |
|
4. ☐ |
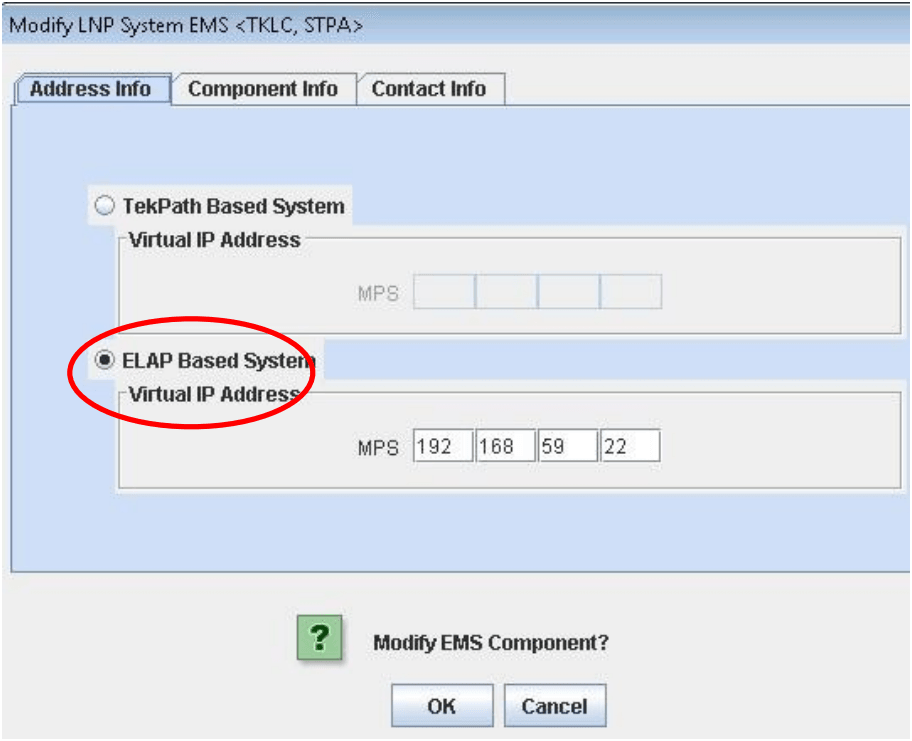
LSMS: Select the ELAP-Based System “Virtual IP Address” radio button. |
 |
|
5. ☐ |
LSMS: Enter the Virtual IP Address for the MPS as configured. |
|
|
6. ☐ |
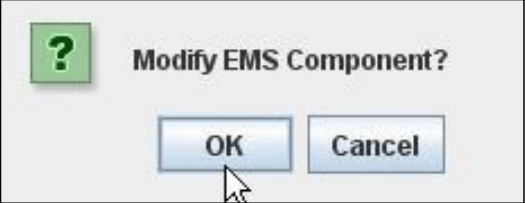
LSMS: Confirm the modification by clicking OK. |
 |
|
7. ☐ |
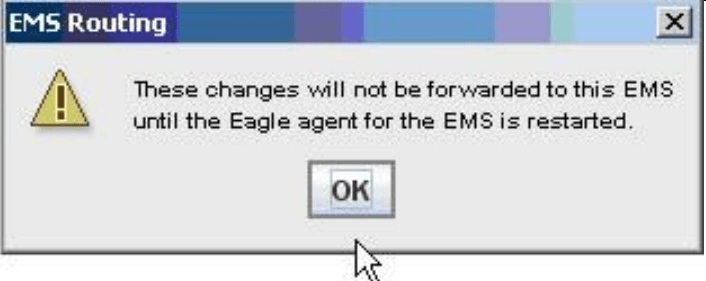
LSMS: Confirm by clicking “OK”. |
 |
|
8. ☐ |
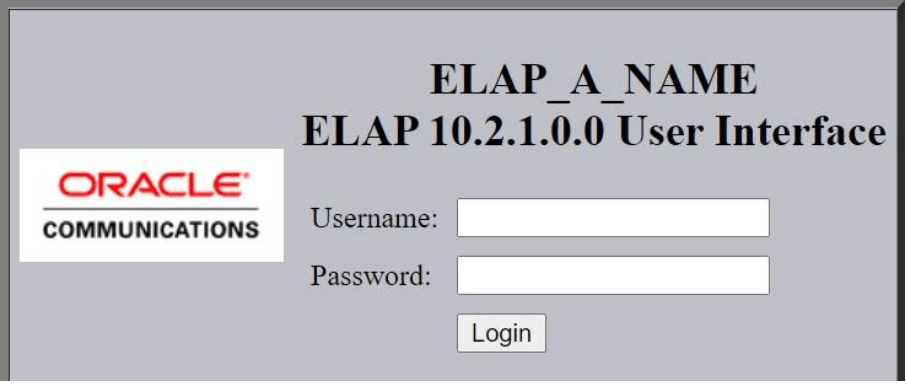
Active ELAP GUI: Using the new Virtual IP address (VIP) configured in step 5 of Procedure 12, login to Active ELAP. |
 |
|
9. ☐ |
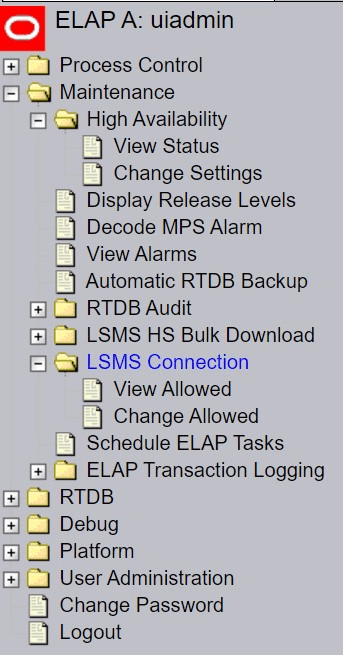
Active ELAP GUI: 1) Expand the “Maintenance LSMS Connection” folder. 2) Select the “Change Allowed” link. |
 |
|
10. ☐ |
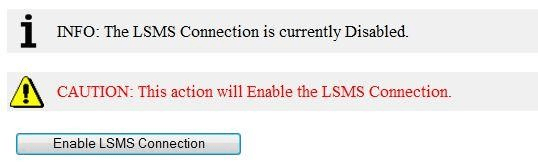
Active ELAP GUI: In the right panel, click on the “Enable LSMS Connection” button. |
 |
|
11. ☐ |
ELAP A GUI: A message indicating that the LSMS Connection is now Enabled should appear in the right panel. |
 |
|
12. ☐ |
LSMS: Note down the timestamp in log. |
Run the following command:
|
This procedure is complete!