4.6.3 Procedure 31: Back Up the RTDB
Table 4-12 Procedure 31: Back Up the RTDB
| STEP # | This procedure performs the RTDB backup. Check off (✓) each step as it is completed. Boxes have been provided for this purpose under each step number. IF THIS PROCEDURE FAILS, CONTACT ORACLE SUPPORT AND ASK FOR UPGRADE ASSISTANCE. | |
|---|---|---|
|
1. ☐ |
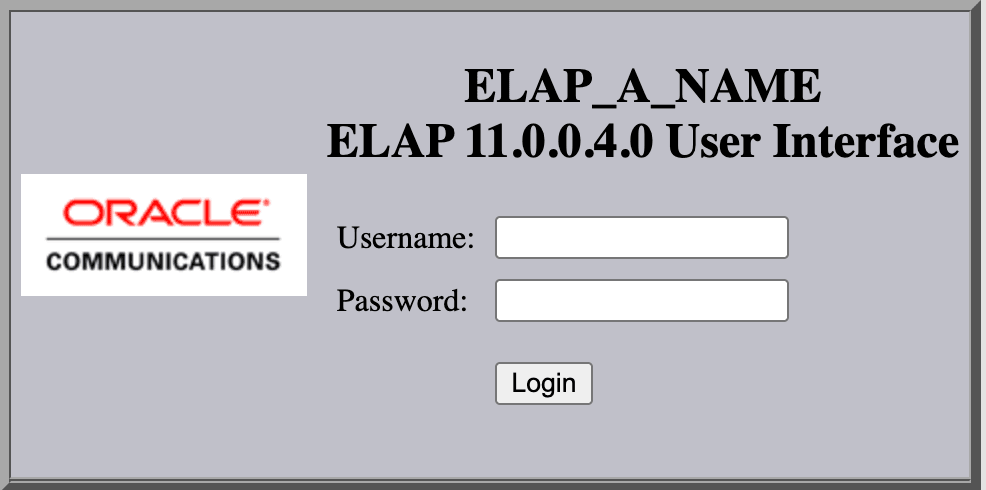
Active ELAP GUI: Using the new Virtual IP address login to Active ELAP. |
 |
|
2. ☐ |
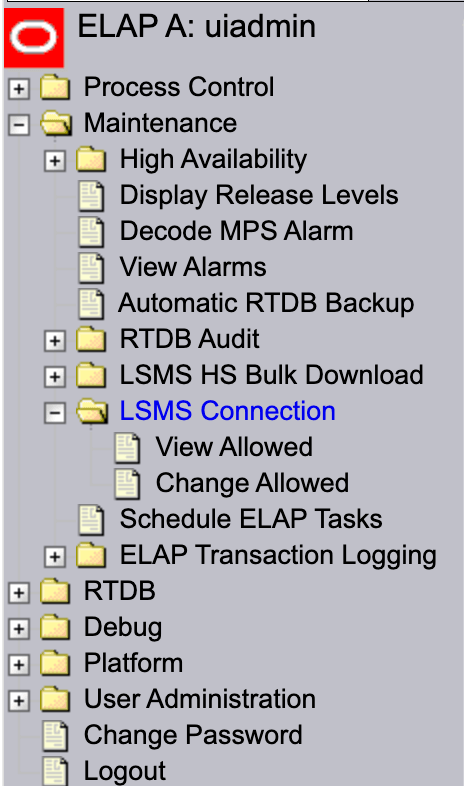
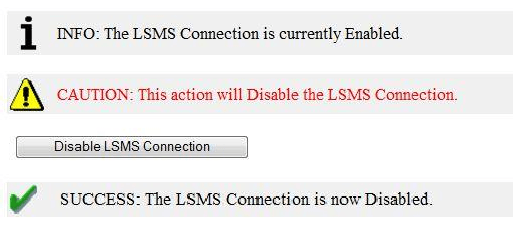
Active ELAP GUI: Disable the LSMS Connection. Expand the “Maintenance” Folder. Expand the “LSMS Connection” Folder. Select the “Change Allowed” link. Click on the “Disable LSMS Connection” button. Confirmation that the connection is disabled will appear. |
  |
|
3. ☐ |
Active ELAP: Verify RTDB status Login to ELAP GUI using VIP. Expand the “RTDB” Folder. Select the “View RTDB Status”. Ensure that the DB Status is Coherent. |
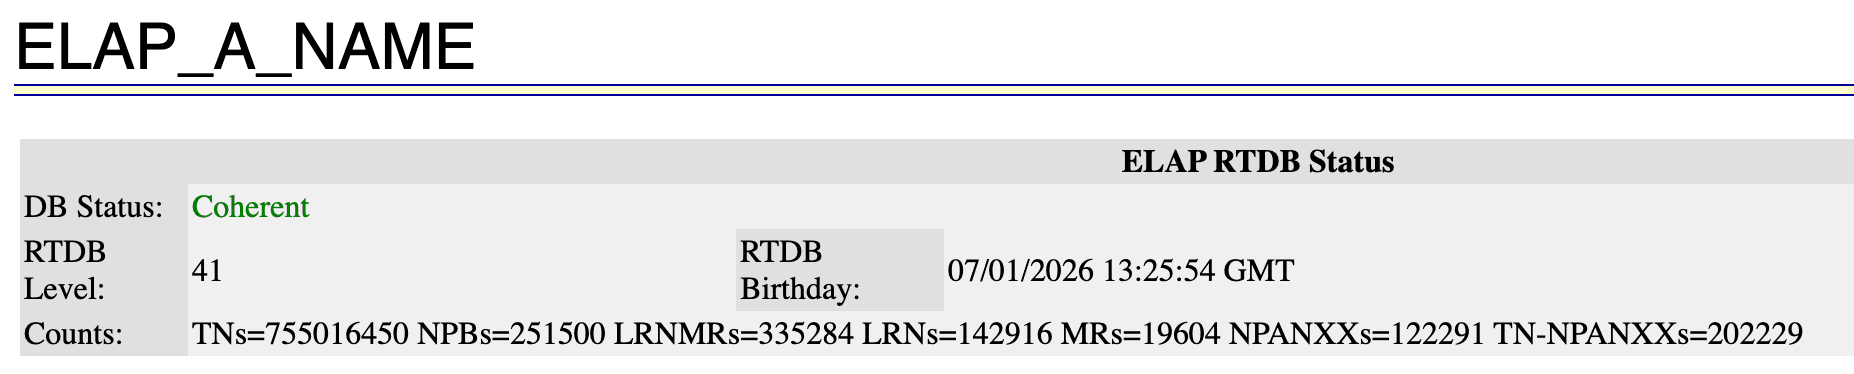 If the RTDB status is other than Coherent, contact My Oracle Support by following the instructions on the front page or the instructions in Appendix E. |
|
4. ☐ |
Active ELAP: Log in as ‘root’ user. |
If not already logged-in, then login at MPS A:
|
|
5. ☐ |
Active ELAP: Log in as “elapconfig” to start the ELAP Configuration utility and enter choice 6 to go to the platform menu. |
|
|
6. ☐ |
Active ELAP: Select “6” to start the RTDB Backup. |
Are you sure you want to back up the RTDB database on MPS B to "/var/TKLC/appl/free/backup/rtdbBackup_mps-appd- b_20020117201248.gz"? [N]: Y RTDB database Backup successfully started. |
|
7. ☐ |
Active ELAP: Select “e” to exit the Platform Menu. |
|
|
8. ☐ |
Active ELAP: Exit the Main Menu. |
|
|
9. ☐ |
Active ELAP: Verify the backup is completed. Periodically run the “manageBannerInfo –l” command until the message “RTDB backup completed successfully” appears. Verify the /usr/TKLC/elap/logs/c gi.dbg log file for the status of RTDB backup. |
ID: BACKUP_RTDB_STATUS SIDE: A MSG: RTDB backup started SetTime: 2013-11-07 02:47:31 ClearTime: 0000-00-00 00:00:00 ID: BACKUP_RTDB_STATUS SIDE: A MSG: RTDB backup completed successfully SetTime: 2013-11-07 02:45:05 ClearTime: 2013-11-07 02:46:34 Also, verify that the following logs appear in the “/usr/TKLC/elap/logs/cgi.dbg” log file. 11/07/13-02:49:05:<elapdev>::9300: backupOutfile = /var/TKLC/elap/free/backup/ rtdbBackup_mps-appd- b_20020117201248 11/07/13-02:49:05:<elapdev>::9300: Backup of RTDB finished successfully. 11/07/13-02:49:33:<elapdev>::7193: Compression of RTDB backup file finished successfully. |
|
10. ☐ |
Active ELAP: Transfer file to the remote machine. |
Using SFTP (secure-FTP), transfer the RTDB Backup to a remote, customer-provided computer. Enter “yes” when prompted if you want to continue to connect.
|
|
11. |
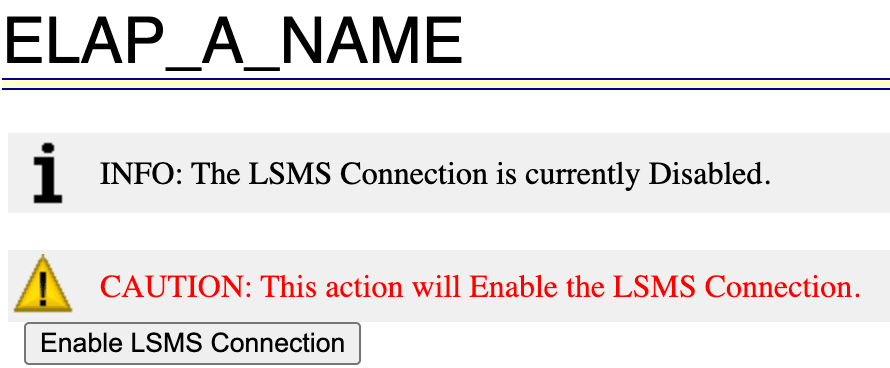
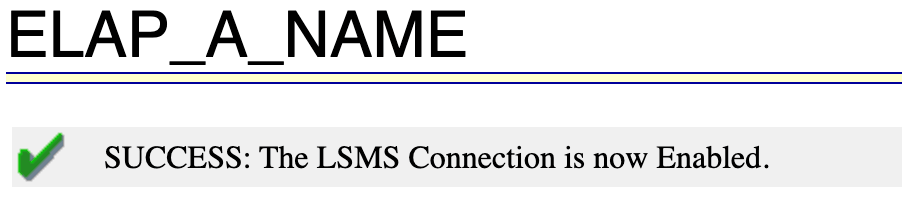
Active ELAP GUI: Enable the LSMS Connection. Expand the “Maintenance” Folder. Expand the “LSMS Connection” Folder. Select the “Change Allowed” link. Click on the “Enable LSMS Connection” button. Confirmation that the connection is enabled will appear. |
  |
|
12. ☐ |
Active ELAP: Procedure Complete. |
This procedure is complete. |