3.4.3 Procedure 9 INSTALL THE ELAP APPLICATION
Table 3-13 Procedure 9 INSTALL THE ELAP APPLICATION
| STEP # | This procedure installs the application on the server. Check off (✓)each step as it is completed. Boxes have been provided for this purpose under each step number. IF THIS PROCEDURE FAILS, CONTACT THE ORACLE TECHNICAL SERVICES AND ASK FOR ASSISTANCE. | |
|---|---|---|
|
1. ☐ |
MPS A: Log in as “admusr” user. |
If not already logged in, then login as “admusr”:
|
|
2. ☐ |
MPS A: Put ISO image on ELAP server. |
Use any of the following methods to put ELAP 11.1 ISO image on the ELAP server.
|
|
3. ☐ |
MPS A: Start platcfg utility. |
|
|
4. ☐ |
MPS A: Select the Maintenance submenu. |
The platcfg Main Menu appears. On the Main Menu, select Maintenance and press [ENTER]. 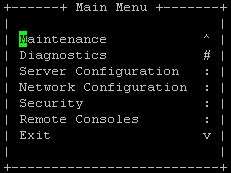 Select the Upgrade menu and press [ENTER]. 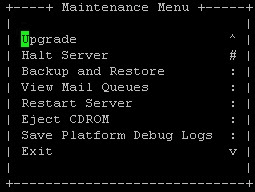 Select the Validate media menu and press [ENTER]. 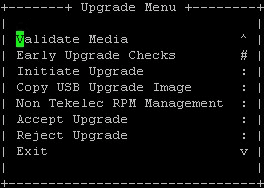 Select the upgrade media to be validated and press [ENTER]. 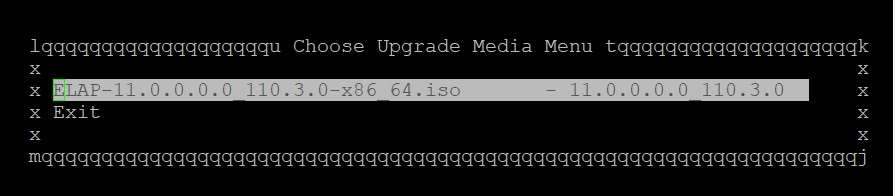 NOTE: Output is dependent on target release. 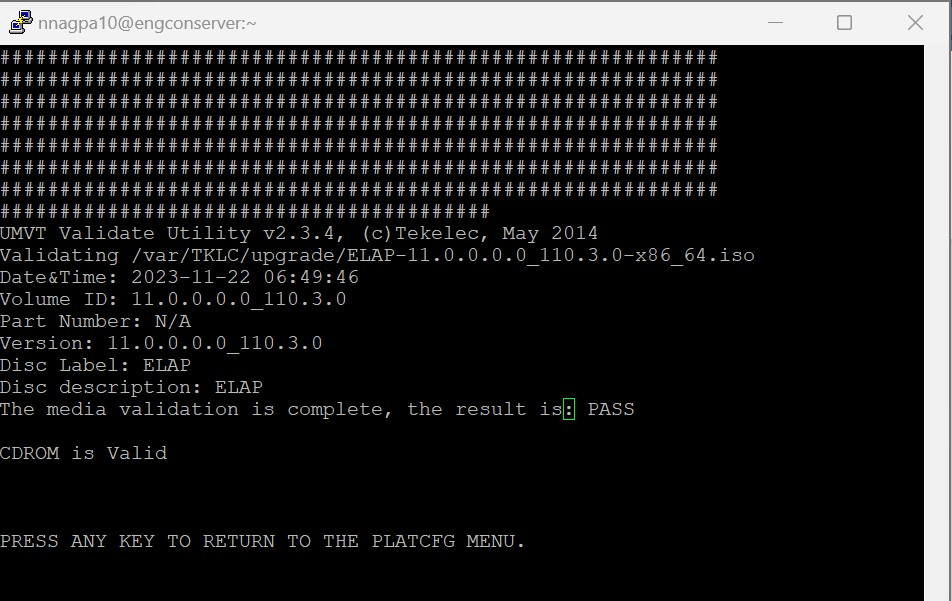 NOTE: Output is dependent on target release. The media validation shall pass to proceed further. If media validation fails, user should remove the ELAP iso from /var/TKLC/upgrade path and copy the validated media iso on the same path again. Select the Early Upgrade Checks menu and press [ENTER]. 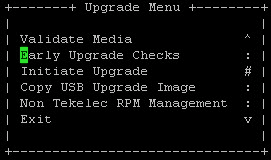 Early upgrade checks should be passed before upgrade is started. 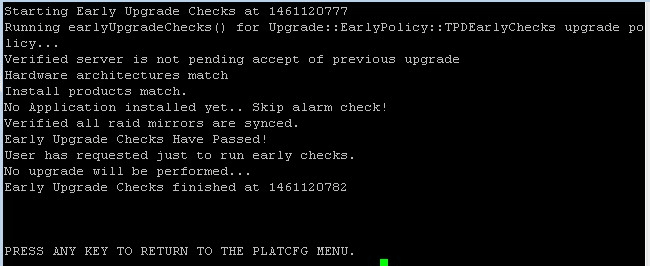 If the Early Upgrade Checks fail due to the ongoing syncing of raid mirrors, then wait until the resync is completed and run the “Early Upgrade Checks” again. 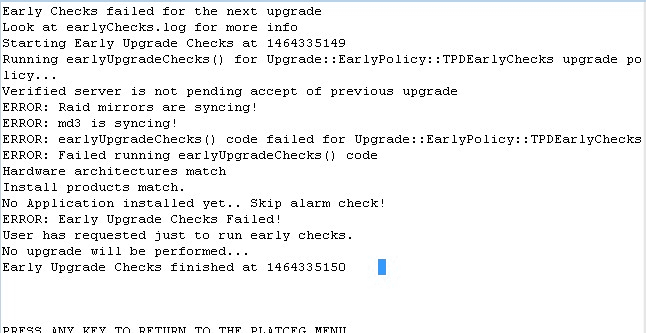 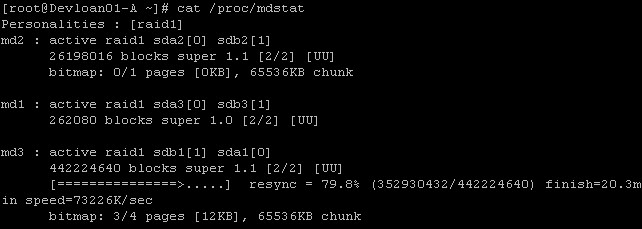 Contact My Oracle Support by following the instructions on the front page or the instructions in the Appendix G if the early Upgrade checks fail due to any other reason. Select the Initiate Upgrade menu and press [ENTER]. 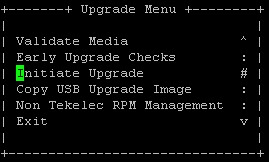 |
|
5. ☐ |
MPS A: Select the Incremental upgrade Media. |
The screen displays a message that it is searching for upgrade media. When the upgrade media is found, an Upgrade Media selection menu appears similar to the example below. Select the desired upgrade media and press [ENTER]. NOTE: Output is dependent on target release. Here first one is the TPD iso. Second iso is for ELAP application. The screen displays the output like following, indicating that the incremental upgrade software is first running the upgrade checks, and then proceeding with the upgrade. 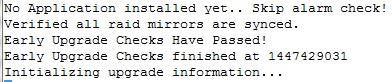 |
|
6. ☐ |
MPS A: Press [ENTER] to start installation. Many informational messages will come across the terminal screen as the installation proceeds. Finally, after successful completion of ELAP install, the server should reboot, and login prompt should appear |
After the final reboot, the screen displays the login prompt as in the example below. 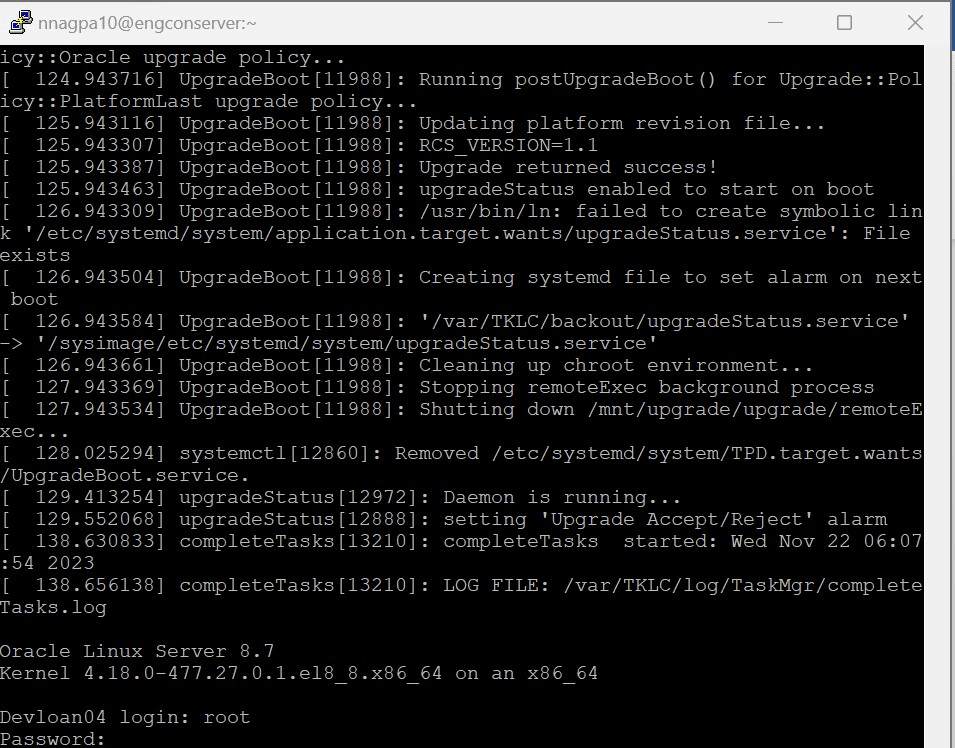 |
|
7. ☐ |
MPS A: Verify that installation is complete, and no error occurred during installation. |
Switch to root user to grep the errors occurred during installation. Check the output of the upgrade log, contact the My Oracle Support by following the instructions in Appendix G, if the output contains any errors beside the following: Variable and RPMs that might contain the word error in them. All those messages are expected, and therefore aren’t considered errors.
Check the output of the ugwrap log. If the output contains any errors, contact the My Oracle Support by following the instructions in Appendix G. NOTE: After the ELAP is installation is complete, the below mentioned logging is observed on ELAP CLI. These errors can be ignored, and they will not be observed, once the key exchange is performed successfully.
*************************************************************** DRBD's startup script waits for the peer node(s) to appear. If this node was already a degraded cluster before the reboot, the timeout is 5 seconds. [degr-wfc-timeout] - If the peer was available before the reboot, the timeout is 10 seconds. [wfc-timeout]
NOTE: After ELAP is installation is complete, gsConnect.pl core is observed on the server which can be ignored and deleted from the server. $
Delete core file using below command:
|
|
8 ☐ |
MPS X: Delete known_hosts files |
|
|
9. ☐ |
MPS A: Log in as “elapdev” user. |
If not already logged in, then login as “elapdev”: |
|
10. ☐ |
MPS A: Switch to root user |
|
|
11 ☐ |
MPS A: Verify ELAP release. |
|
|
12. ☐ |
MPS A and B: Update ssh_config to disable MD5 and MAC algorithm for security |
Perform following steps to disable unsecure algorithm for ssh: Now do the same for mac. |
|
13. ☐ |
MPS A : Procedure complete. |
This procedure is complete. |
This procedure is complete!