3.4.2 Procedure 8 PRE-INSTALL CONFIGURATION
Table 3-12 Procedure 8 PRE-INSTALL CONFIGURATION
| STEP # | A | B | This procedure will perform the initial configuration required for ELAP installation. Note: Estimated time of completion is 15 minutes. Check off (√) each step as it is completed. Boxes have been provided for this purpose under each step number. Should this procedure fail, Contact Oracle technical services and ask for FULL UPGRADE ASSISTANCE. | |
|---|---|---|---|---|
|
1. |
☐ |
☐ |
MPS X: log in to the server console as the user “root” |
|
|
2. |
☐ |
☐ |
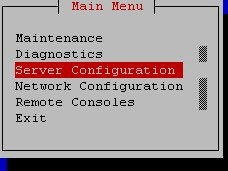
MPS X: Switch user to platcfg. Select “Server Configuration” Menu |
 |
|
3. |
☐ |
☐ |
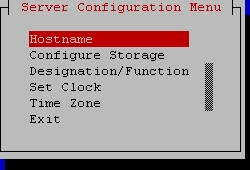
MPS X: Select “Hostname” Menu |
 |
|
4. |
☐ |
☐ |
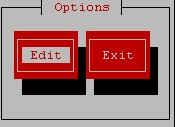
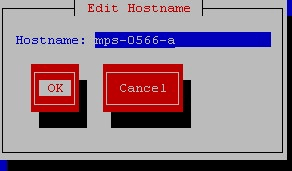
MPS X:
|
  |
|
5. |
☐ |
☐ |
MPS X: Verify that the Hostname is correct then select and press “Exit”. Otherwise repeat the step above. |
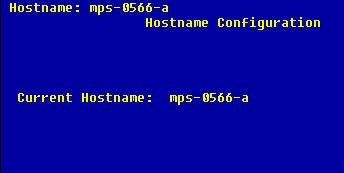 |
|
6. |
☐ |
☐ |
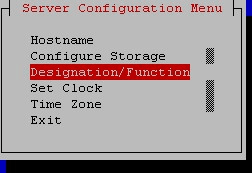
MPS X: Select “Designation/ Function” Menu |
 |
|
7. |
☐ |
☐ |
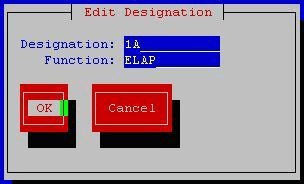
MPS X:
Designation as “1A” on Server A and as “1B” on Server B, Function as “ELAP” and press “OK”. NOTE: Designation and Function should be entered in UPPERCASE. |
 |
|
8. |
☐ |
☐ |
MPS X: Verify that the Designation and Hostname information is correct then select and press “Exit”. Otherwise repeat the step above. |
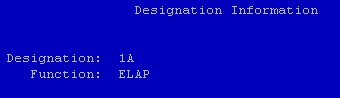 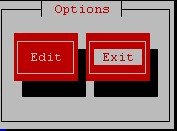 The values should be as follows.
If either value is not correct, then select Edit and press [ENTER]. If both values are correct, select Exit, press [ENTER]. |
|
9. |
☐ |
☐ |
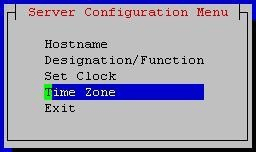
MPS X: Using the arrow keys navigate to the “Time Zone” menu and press Enter. Select the “Edit” button and press Enter. |
 |
|
10. |
☐ |
☐ |
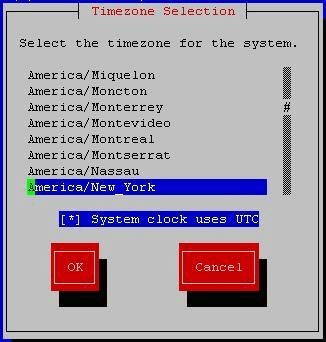
MPS X: Using the arrow keys navigate to the appropriate “Time Zone” selection. Ensure that it is highlighted. Ensure the “System clock uses UTC” is set. If it is not set use the “Tab” key to highlight it and press the “Space Bar”. Once the appropriate time zone is highlighted press the “Tab” key to highlight the “OK” button and press Enter. Using the “Tab” or arrow keys highlight the “Exit” button and press Enter. |
 |
|
11. |
☐ |
☐ |
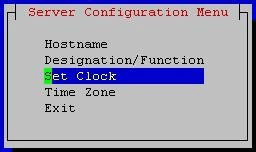
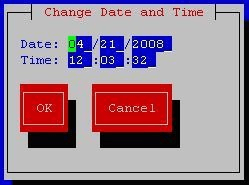
MPS X: Using the arrow keys navigate to the appropriate “Set Clock” menu and press Enter. Using the “Tab” key highlight the “Edit” button and press Enter. |
 |
|
12. |
☐ |
☐ |
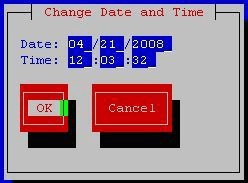
MPS X: If the date and time is not same as the current date and time, set them using the “Tab” key to cycle between the fields. Using the “Tab” key navigate to the “OK” button and press Enter. |
  |
|
13. |
☐ |
☐ |
MPS X: Using the “Tab” key navigate to the “Exit” button and press Enter. |
|
|
14. |
☐ |
☐ |
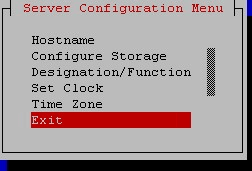
MPS X: Exit the platcfg menu |
 |
|
15. |
☐ |
☐ |
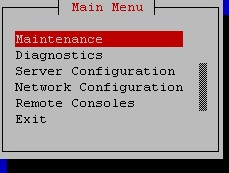
MPS X: Select the menu options as indicated in the screen captures to the right in order to restart the server. |
 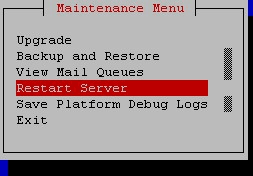 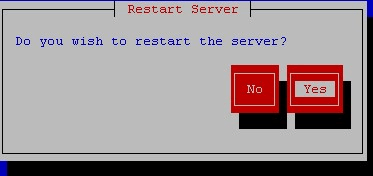 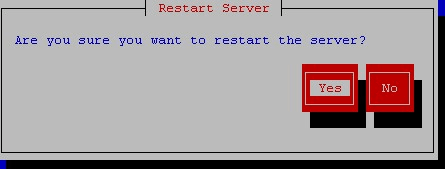 |
|
16. |
☐ |
☐ |
MPS X: The system should reboot. |
 |
|
17. |
☐ |
☐ |
MPS X: Log in to the server as the user “root” |
|
|
18. |
☐ |
☐ |
MPS X: Perform syscheck. Inspect the output and ensure that no errors are present. If an error is present contact Oracle Customer Care for guidance. |
|
|
19. |
☐ |
☐ |
MPS X: Note down the timestamp in log. |
|
This procedure is complete!