3.7.4 Procedure 15 SEGMENTED CONFIGURATION FOR LSMS CARDS
Table 3-20 Procedure 15 - Segmented Configuration for MPS LSMS Cards
| STEP # | This procedure configures the system as segmented subnet at the customer site.Estimated time: 10 minutesNote: All the information should be taken before starting upgrade as part of Section 1.6 | |
|---|---|---|
|
☐1. |
MPS A: Log in to the server as the user “root”. |
|
|
☐2. |
MPS A: Start lsmsmgr utility by login as lsmsmgr user |
|
|
☐3. |
MPS A: Change the network configuration |
Select Network Configuration and press [ENTER]. 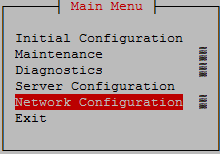 Select Network Reconfiguration and press [ENTER]. 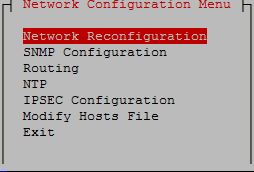 Select Yes to proceed to Network configuration. 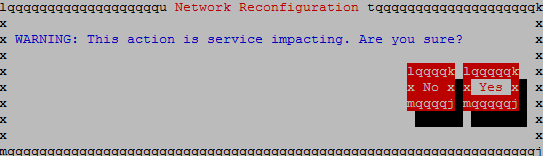 A lynx driven screen will appear with the following prompt; Do you want to execute "//usr/TKLC/lsms/tools/lsmsnetAdm- bin/lsmsnetadm.cgi"? Type “Y/y” to continue and the next screen will appear and press the right arrow key to follow the link Select Segmented from the Subnet Type menu and then select Continue. 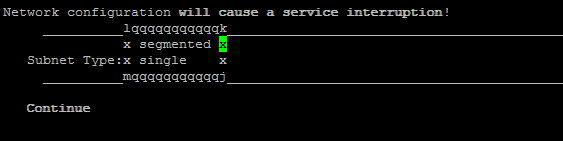 |
|
☐4. |
MPS A: Enter network values. |
Using the up and down arrows, scroll through the text fields, entering the desired values ( to enter the netmask, highlight the field and then use the enter key or right arrow key to display the dropdown menu, choose the desired value from the list) for each fields: 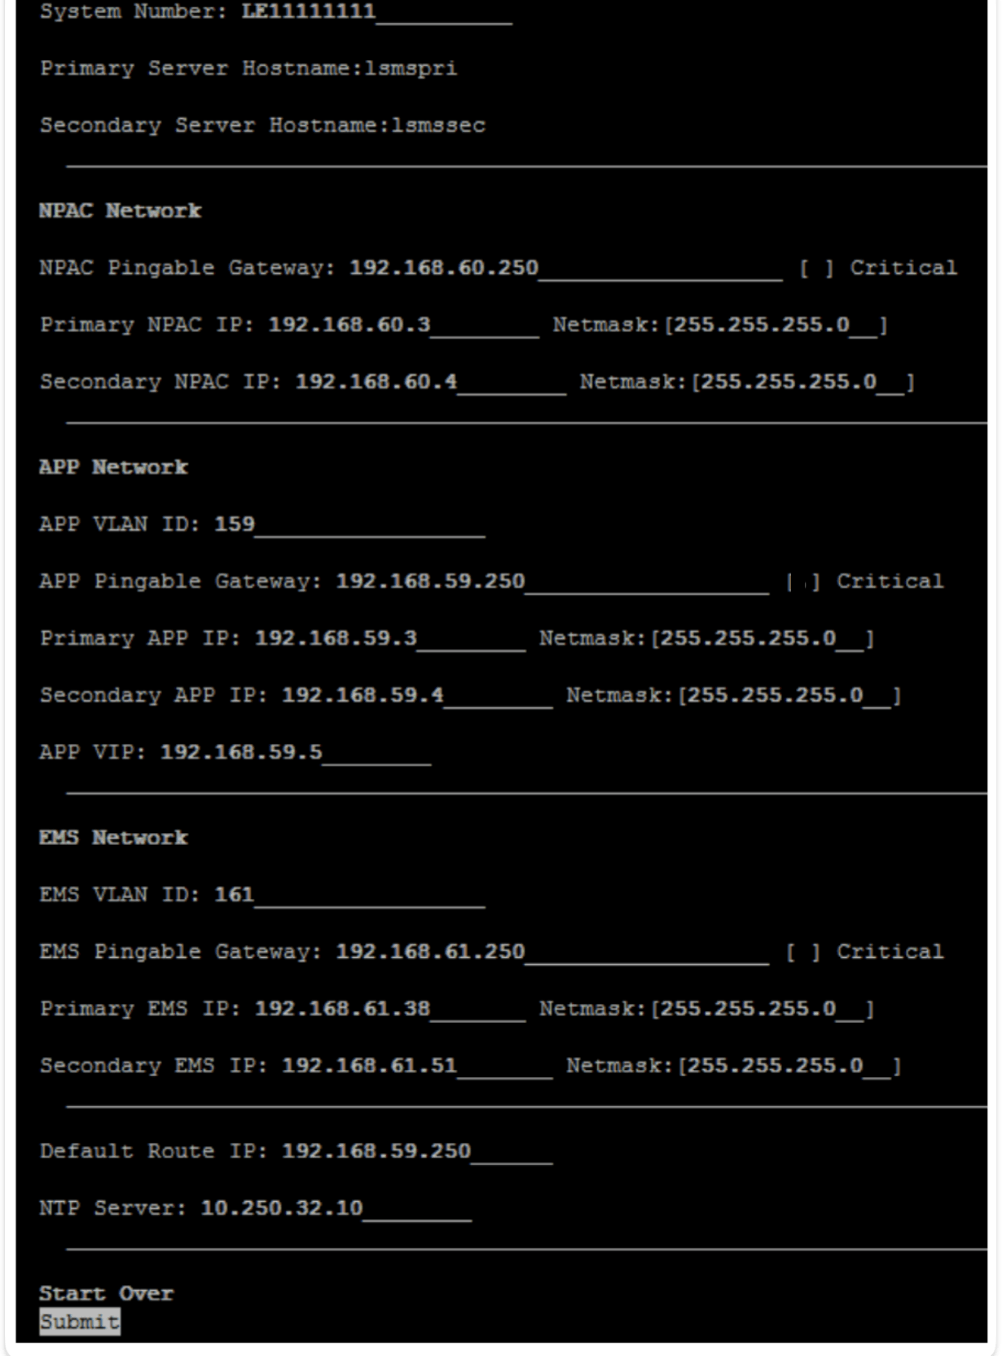 Note: The System Number shall be as follows:
*Default route should be the route of the APP IP address. Once the values are entered press the down arrow to select the “Submit” button and press the right arrow to follow the link. |
|
☐5. |
MPS A: Apply network settings |
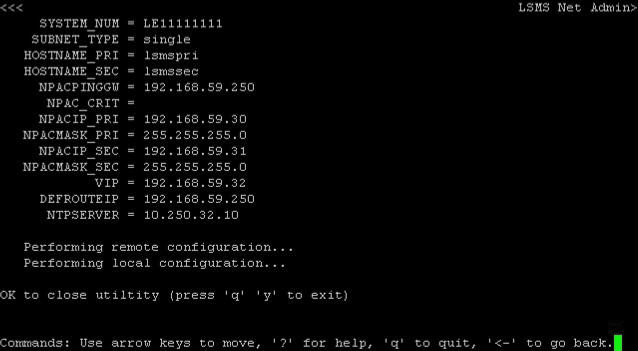
If the values pass a sanity test for validity, then the “Confirm” button will be visible. Use the down arrow to select “Confirm” and press the right arrow to apply the changes. If the sanity tests failed, the reasons will be stated. Use the left arrow key to go back to the edit screen. 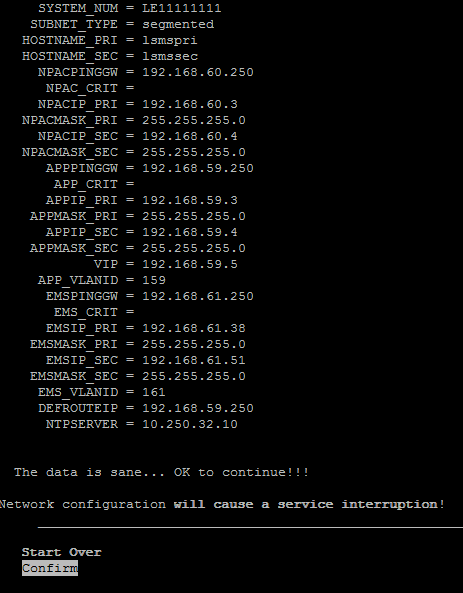 The execution could take a few minutes, be patient. The screen will eventually report the status of the completion. If an error occurs, contact My Oracle Support following the instructions on the Appendix E. Type “q” and then “y” to exit the Network Configuration. |
 Note: If below error is observed after network configuration, run “systemctl restart network” command after exiting from lsmsmgr menu. 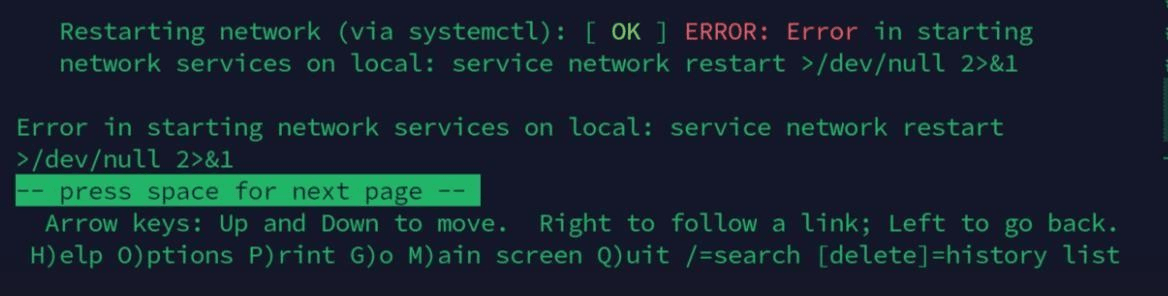 |
||
|
☐6. |
MPS A: Exit the lsmsmgr menu |
Select Exit and press [ENTER] to return to the Main Menu. 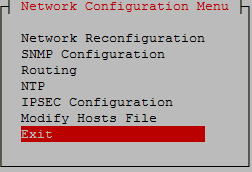 Select Exit and press [ENTER]. The “platcfg” utility terminates. 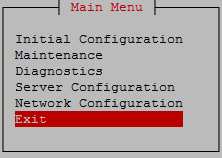 This procedure is complete! To proceed, use one of the following methods:
|