3.6.2 Procedure 9 Pre-Install Configuration
Table 3-14 Procedure 9 – Pre-Install Configuration
| STEP # | A | B | This procedure will perform the initial configuration required for LSMS installation.Estimated time: 15 minutesNote: Below procedure needs to be executed on both MPS A and MPS B servers. | |
|---|---|---|---|---|
|
1. |
☐ |
☐ |
MPS X: Log in to the server as the user “root” |
|
|
2. |
☐ |
☐ |
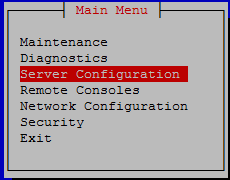
MPS X: Switch user to platcfg. Select “Server Configuration” Menu |
|
 |
||||
|
3. |
☐ |
☐ |
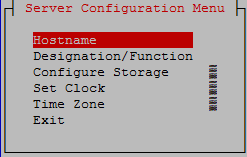
MPS X: Select “Hostname” Menu |
 |
|
4. |
☐ |
☐ |
MPS X: Change the host name.
|
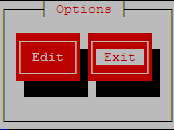
Select Edit and press [ENTER] 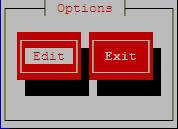 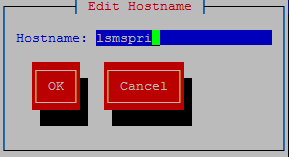 Select OK and press [ENTER]. Note: While connected to the serial console, some console output might come when the user is using the serial console to configure the LSMS. Those serial output are harmless and can be ignored. |
|
5. |
☐ |
☐ |
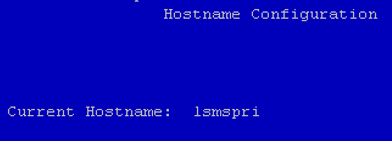
MPS X: Verify that the Hostname is correct then select and press “Exit”. Otherwise repeat the step above. |
  |
|
6. |
MPS X: Navigate to the Designation Information screen. |
Select Designation/Function and press [ENTER] 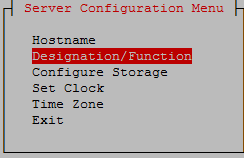 |
||
|
7. |
☐ |
☐ |
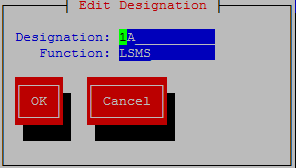
MPS X:
Note: Designation and Function should be entered in UPPERCASE. |
 |
|
8. |
☐ |
☐ |
MPS X: Verify that the Designation and Function is correct then select and press “Exit”. Otherwise repeat the step above. |
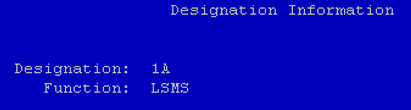 |
|
9. |
☐ |
☐ |
MPS X: Exit the platcfg menu Note: DO NOT set the time zone in platcfg. The time zone will be set later in initial configurations. |
Select Exit and press [ENTER] to return to the Main Menu. 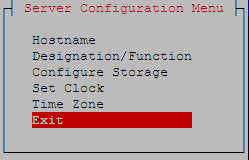 Select Exit and press [ENTER]. The “platcfg” utility terminates. |
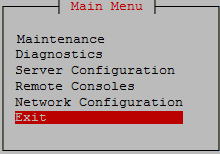 |
||||
|
This procedure is complete! |
||||