3 Oracle SD-WAN Aware on Amazon Web Services
The following sections contain procedures for creating and preparing an Amazon Virtual Machine and EC2 instance for a Cloud Aware installation.
Before You Begin
Before you continue, take some time to consider how a Cloud Aware Instance will fit into your current network architecture.
- What CIDR block do you plan to use for your VPC and its subnets?
- Do you plan to use existing subnets or create new ones for your VPC and Cloud Aware interfaces?
- Have you determined how much storage you will need for your Cloud Aware instance based on your Talari WAN?
- How do you plan to configure Security Groups for your Cloud Aware instance?
- Have you already created an AWS Key Pair?
Create an Amazon Virtual Private Cloud
Note:
If a pre-existing VPC is available with connectivity to your private network, we recommend installing Cloud Aware within that VPC to simplify the deployment procedure. If you need to create a new VPC, continue with this procedure.- Log into Amazon Web Services (AWS).
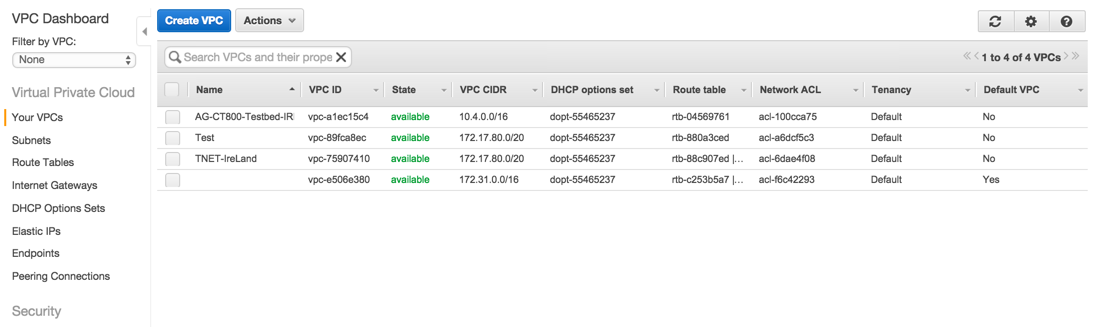
- From the main AWS Management Console click on the VPC link.
- From the
VPC Dashboard,
click on the
Your VPCs link
and then click the
Create VPC
button to create a Virtual Private Cloud (VPC).
Figure 3-1 Create a VPC
- Enter a
Name tag to
identify your VPC.
Figure 3-2 Enter a Name and CIDR block
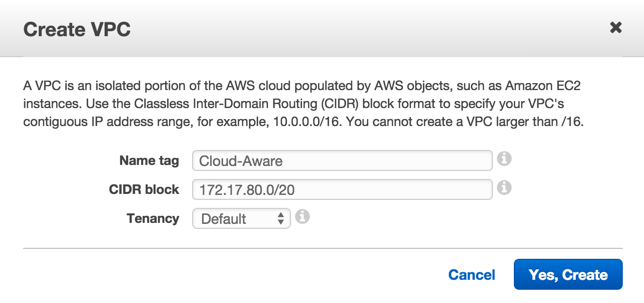
- Enter your pre-defined VPC CIDR block. Click Yes, Create to continue.
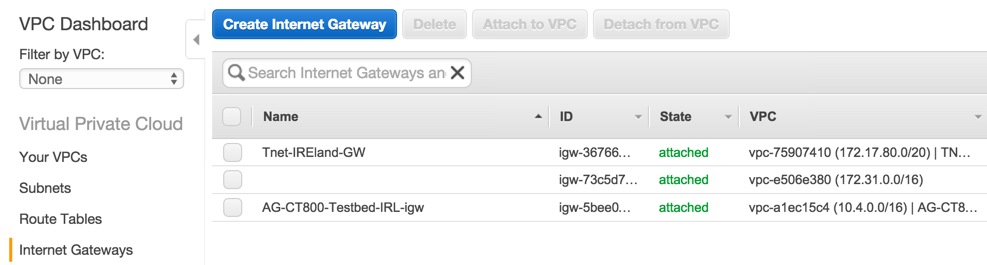
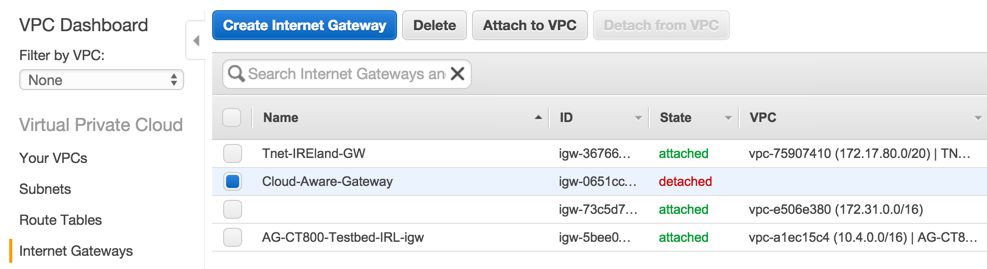
- If you do not already have
an existing Internet Gateway to use in AWS, from the VPC Dashboard, click the
Internet Gateway
Link and then click the
Create Internet
Gateway button.
Figure 3-3 Create Internet Gateway
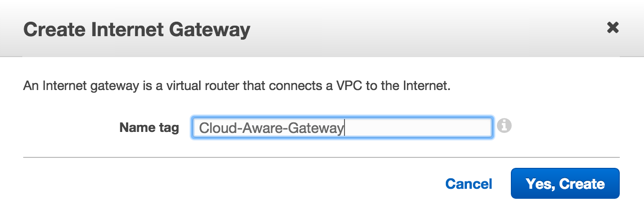
- Enter a
Name tag for
your Internet Gateway and click the
Yes, Create
button.
Figure 3-4 Name Internet Gateway
- Select the Internet
Gateway you just created and click the
Attach to VPC
button.
Figure 3-5 Attach Internet Gateway to VPC
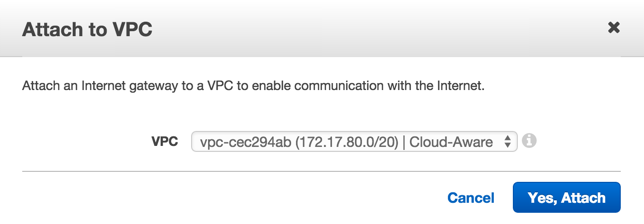
- Choose the Internet
Gateway you created from the drop-down menu and click the
Yes, Attach
button to attach it to your VPC.
Figure 3-6 Choose VPC to Attach to Internet Gateway
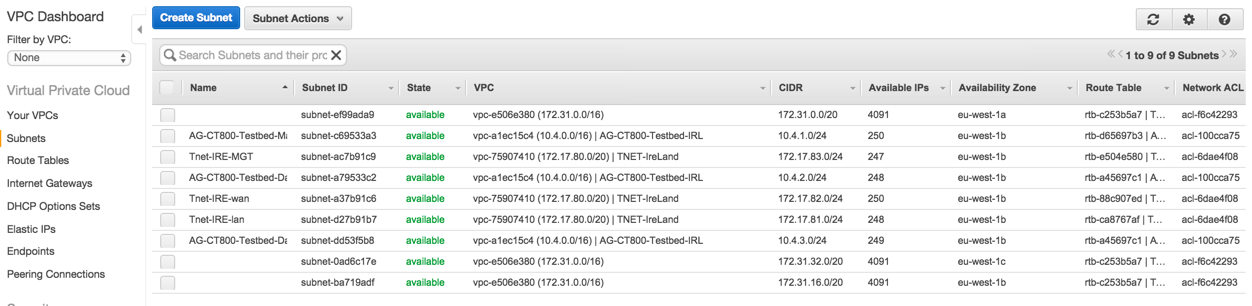
- If you have not defined
subnets to use with your VPC, click the
Subnets link on
the
VPC Dashboard,
and then click
Create Subnet
to create subnets (e.g., WAN, LAN, MGT) as your network requires. Cloud Aware
only requires access to a management subnet.
Figure 3-7 Create Subnet
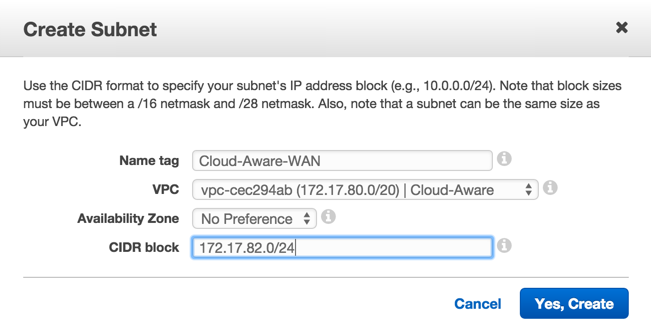
- Enter a Name tag to easily identify the subnet you are creating. Choose your new VPC from the drop-down menu. Enter the CIDR block you want to define for the subnet. (e.g., WAN, LAN, and MGT). Click the Yes, Create button to continue.
- Create as many subnets as
your network requires.
Figure 3-8 Insert Name, Choose VPC, and Enter CIDR block
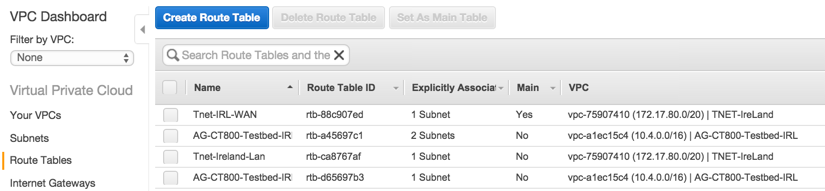
- If you have not defined
route tables to use with your VPC, click the
Route Tables
link on the
VPC Dashboard,
and then click
Create Route
Table to create route tables for your subnets (e.g., WAN, LAN, and MGT) for
your Cloud Aware instance.
Figure 3-9 Create Route Table
- Enter a
Name tag to
easily identify the route table you are creating. Choose your new
VPC from the
drop-down menu. Click the
Yes, Create
button to continue.
Figure 3-10 Enter Name and Choose VPC for Route Table
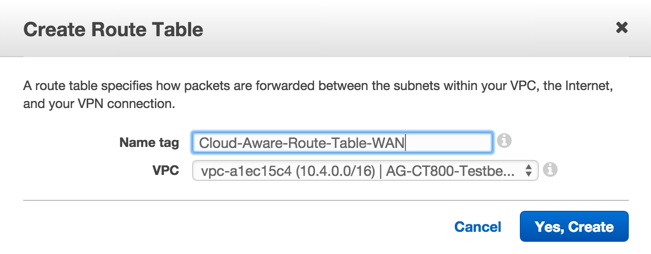
- Create a route table for each subnet.
- Select the route table you plan to use for Cloud
Aware. Click on the
Subnet
Associations tab and click the checkbox next to the management subnet to
associate with this route table. Click
Save.
Figure 3-11 Associate Route Table with Subnet
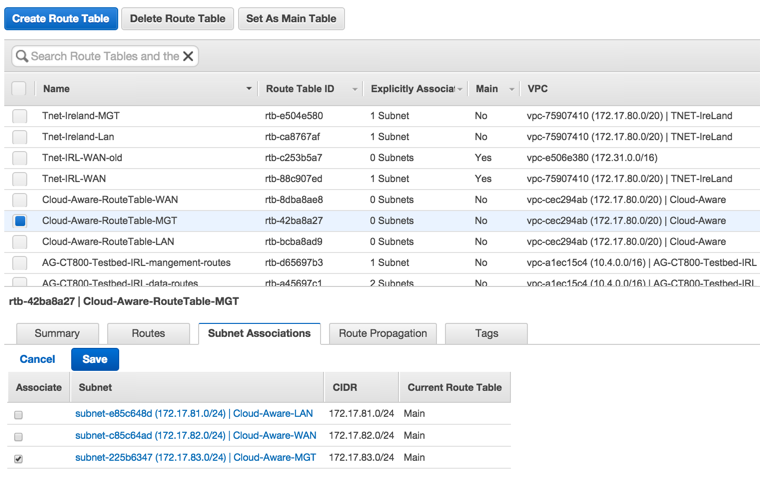
- Associate each route table with the appropriate subnet.
- Select the route table you
plan to use for Cloud Aware. Click on the
Routes tab.
Click the
Edit button,
and then click the
Add another
route button.
Figure 3-12 Add Routes
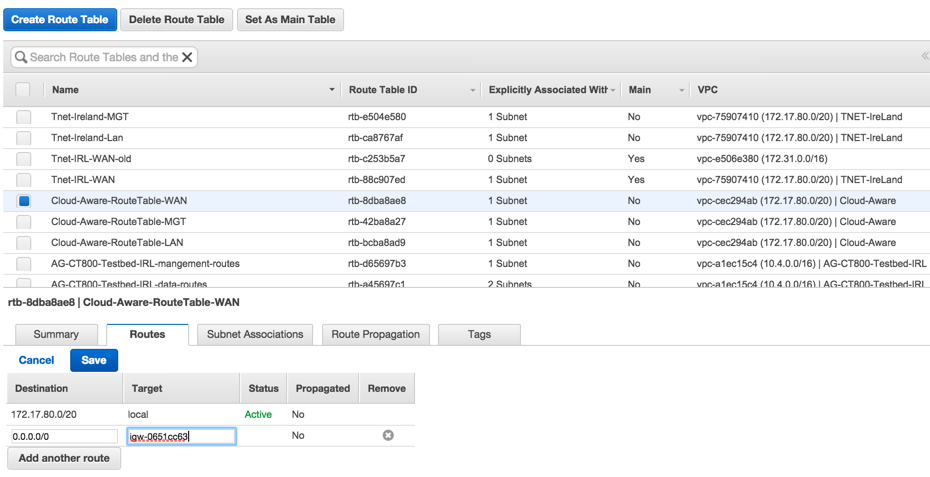
- Enter
0.0.0.0/0 in
the
Destination
field and enter the Internet Gateway in the
Target
field. Click
Save to
continue.
Note:
When you click in the Target field, a list of available Internet Gateways that you can choose from should appear. If said list does not appear, you can find the name of your Internet Gateway by clicking on the Internet Gateways link on the VPC Dashboard and selecting the Internet Gateway. The name appears on the Summary tab. - Repeat for each route
table that you created.
Note:
Adding the 0.0.0.0/0 destination may only be necessary for the MGT and WAN route tables.
Create an Amazon EC2 Instance for Cloud Aware
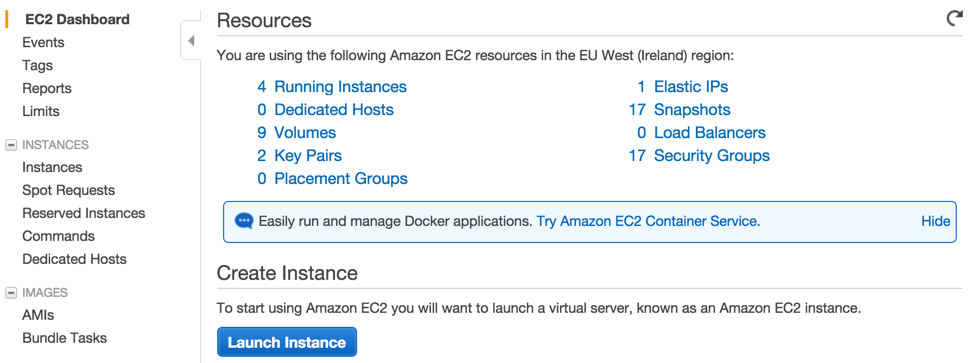
- Click EC2 to open the EC2 Dashboard.
- Click the
Launch Instance
button.
Figure 3-13 Launch Instance
- Click on My AMIs and Select the Cloud Aware version you would like to install.
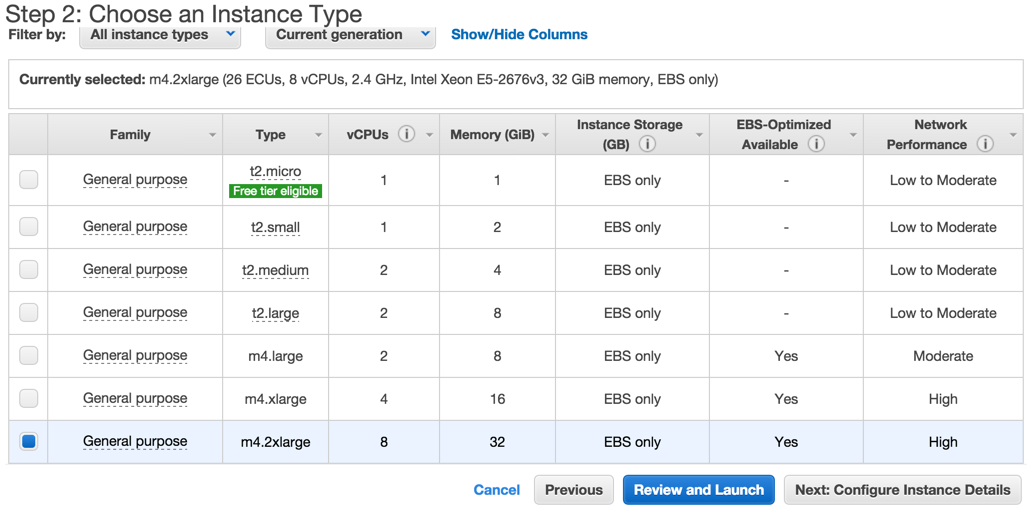
- Choose an EC2 Instance
Type. Consult the following table to determine what Instance Type is sized
appropriately for your Talari WAN.
Talari WAN Scale
Amazon EC2 Instance
Max # of Client Sites
Average # of WAN Links per Site
Average # of Network ServicesFoot 1 per Site
Instance Type
Storage Volume Type
Storage Size for up to One Year of Data
64
2
4
m4.xlarge
General Purpose
1.5 TB
64
4
8
m4.xlarge
General Purpose
2.6 TB
64
8
16
m4.xlarge
General Purpose
9.6 TB
128
2
4
m4.2xlarge
General Purpose
2.0 TB
128
4
8
m4.2xlarge
General Purpose
4.1 TB
128
8
16
m4.2xlarge
General Purpose
18.0 TB
256
2
4
m4.4xlarge
General Purpose
3.0 TB
256
4
8
m4.4xlarge
General Purpose
7.2 TB
256
8
16
m4.4xlarge
General Purpose
35.0 TB
Footnote 1
Static Conduit Service, Dynamic Conduit Service, Intranet Service, Internet Service
- Click
Next: Configure
Instance Details.
Figure 3-14 Configure Instance Details
- Choose the previously
created VPC from the
Network
drop-down menu.
Figure 3-15 Create Instance on VPC
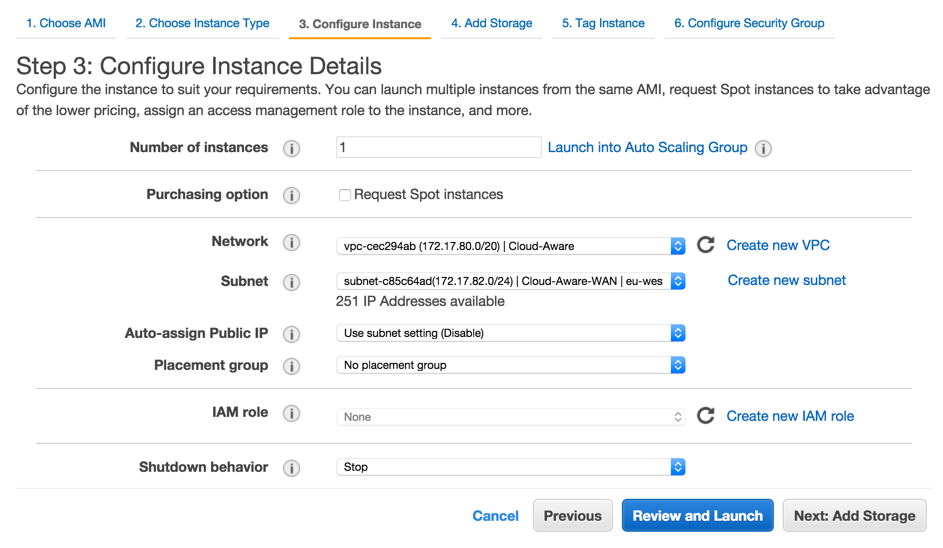
- Choose the management Subnet you previously created from the drop-down menu that will allow you to access your Cloud Aware. Click Next: Add Storage to continue.
- Under the Network Interfaces section, you may choose to specify a Primary IP for the default interface (eth0); otherwise, the IP address is automatically assigned from the subnet.
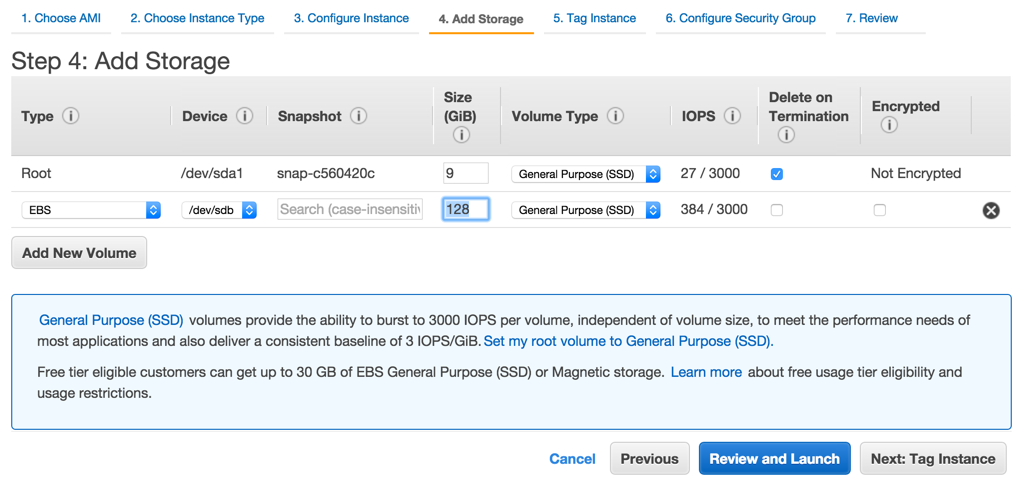
- On the
Add Storage
screen click
Add New Volume
and enter the
Size of the
volume to store your
Oracle SD-WAN Aware
database. Consult the Amazon Web Services Requirements section on page 4 for
details on how to size this device. Click
Next: Tag
Instance to continue.
Figure 3-16 Add Storage to Instance
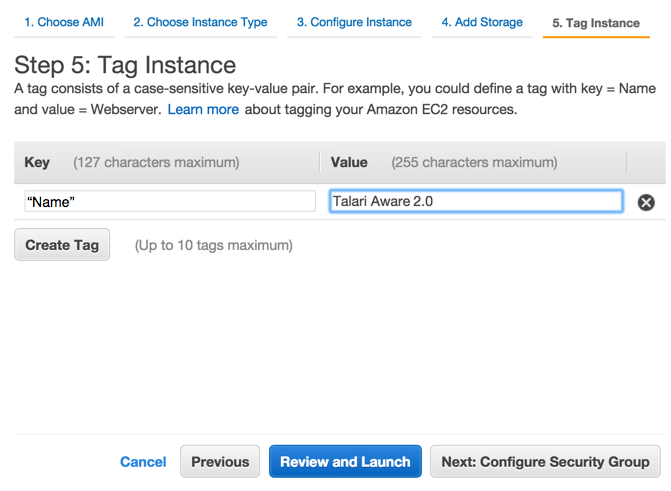
- On the
Tag Instance
screen, enter a
Key (i.e., a
Name) and a
Value (i.e., a
specific identifier for the Instance such as "Oracle SD-WAN Aware 2.0") to make
it easy to identify your Cloud Aware EC2 instance. Click
Next: Configure
Security Group to continue.
Figure 3-17 Tag the Instance
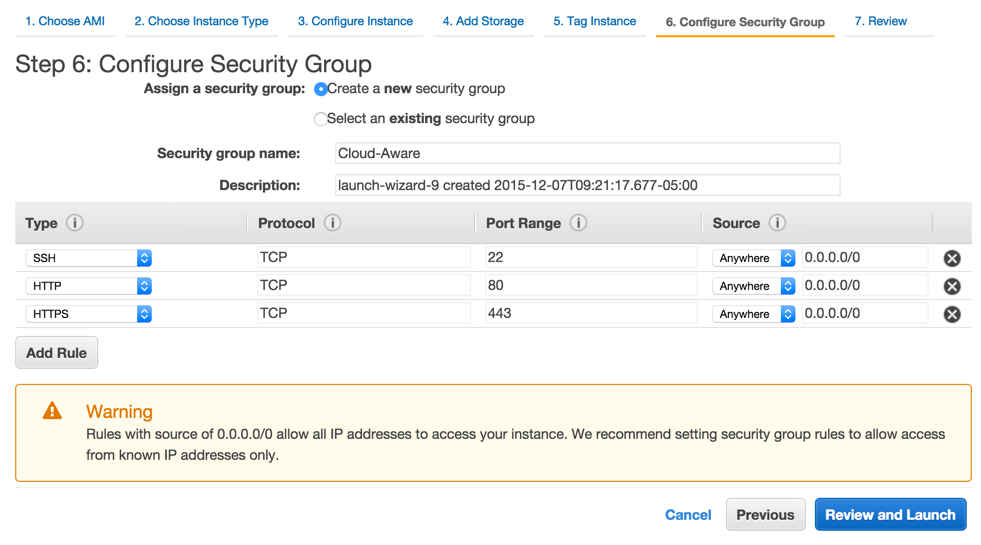
- On the
Configure Security
Group
page, click the radio button next to
Create a new
security group to follow the process for creating a new security group, or
click the radio button next to
Select an existing
security group to choose from the groups already configured. Click
Review and
Launch to continue.
Note:
To use Oracle SD-WAN Aware on AWS, at a minimum, SSH, HTTP, and HTTPS should be configured with a Source of Anywhere or a custom IP range. Network administrators may choose to adjust the security settings to best fit their existing network architecture and security policies.Figure 3-18 Configure Security Groups
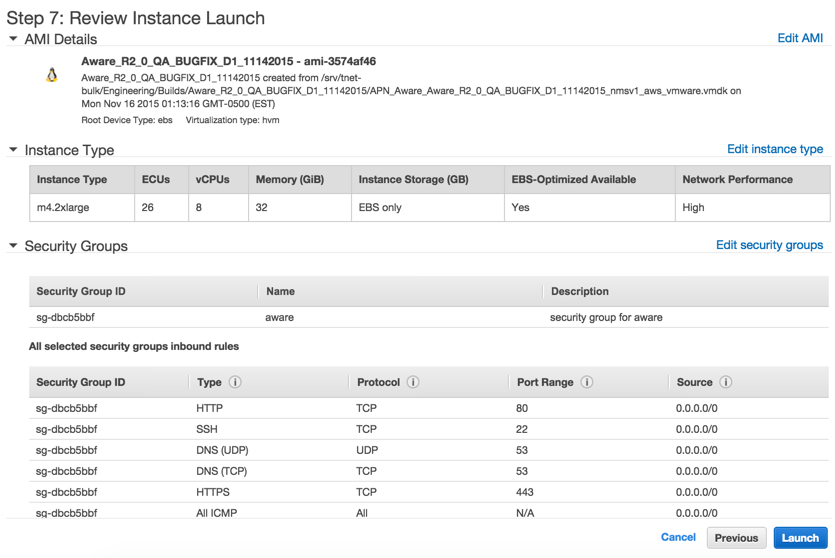
- The
Review Instance
Launch screen summarizes the settings you configured for your Cloud Aware
EC2 instance including any possible security issues and Amazon warnings. Once
you have reviewed the information presented on this page, click
Launch to
create and initialize the EC2 instance.
Figure 3-19 Review Instance Before Launch
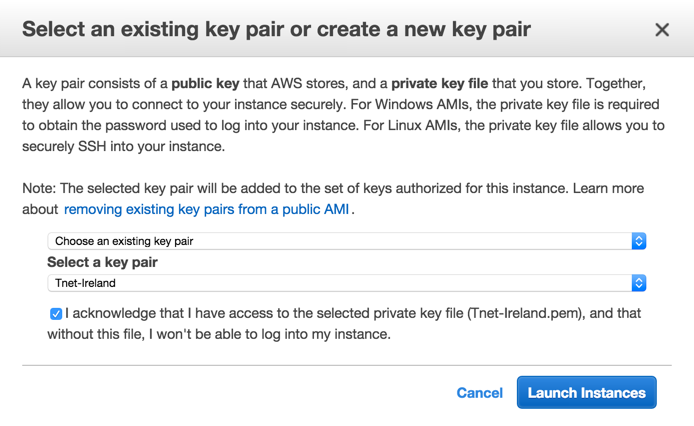
- On the
Key Pair
window, you may
Choose an existing
key pair or create a new one. Click
Launch
Instances to start your
Oracle SD-WAN Aware EC2
Instance.
Figure 3-20 Choose or Create a Key Pair
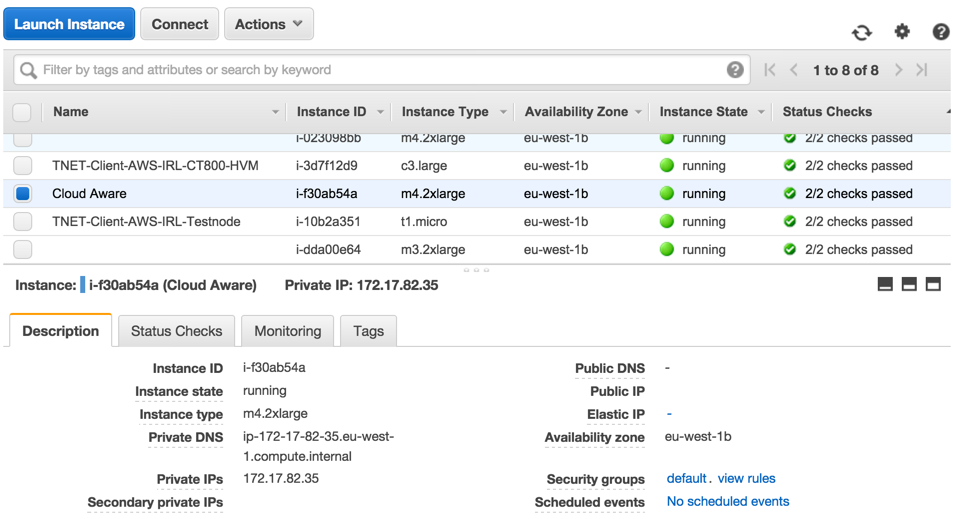
- When the
Instance State
is
running and the
Status Checks
are passed, make note of the
Private IP of
your
Oracle SD-WAN Aware
Instance, which can be found on the
Description
tab.
Figure 3-21 Launch New Cloud Oracle SD-WAN Aware Instance
- From the EC2 Dashboard, select the Network Interfaces link and locate the default interface that was created for the Oracle SD-WAN Aware Instance. This will be used as the management interface. Highlight the interface and edit the Name tag to make it easy to identify.
- From the EC2 Dashboard, select the Elastic IPs link and then click the Allocate New Address button to allocate an Elastic IP that will be reachable from outside the VPC.
- Highlight the Elastic IP and click Associate Address from the Actions drop-down. Enter the Network Interface and Private IP of the Oracle SD-WAN Aware Instance and click Associate.
- You can now use the Elastic IP to connect to Oracle SD-WAN Aware via a web browser. Default login credentials are: Username: talariuser, Password: talari-<instance-id> (e.g., talari-i-726a09ff).
Connect Cloud Oracle SD-WAN Aware to Your WAN
There are a few options for connecting Cloud Aware to your existing Talari WAN.
- Option 1: Connect Cloud
Aware via VPC
- A Virtual Private Gateway may be used to establish a VPN Connection between the VPC and your private network. Please consult AWS documentation for configuration details.
- Once the Virtual Private Gateway is operational, add a route to the VPC’s route table that directs traffic destined for your private network to the Virtual Private Gateway.
- Option 2: Connect Cloud
Aware via Talari Conduit
- If you deployed a Talari Virtual Appliance CT800 within a VPC and connected it to your Talari WAN, Cloud Aware can access the rest of the Talari WAN through its secure Talari Conduit.
- Add a route to the VPC’s route table that directs traffic destined for your private network to the LAN-side Network Interface of the CT800 instance
- Option 3: Create an AWS Direct Connection
AWS Direct Connect can be used to establish a private connection between the VPC and your private network. Please consult AWS documentation for configuration details (https://aws.amazon.com/directconnect/).
Completing the Connection Between Cloud Aware and Your Talari WAN
Once a connection has been established between the VPC and your private network, do the following:
- Log in to the Oracle SD-WAN Aware web console with the username talariuser and password <AWS-ID>.
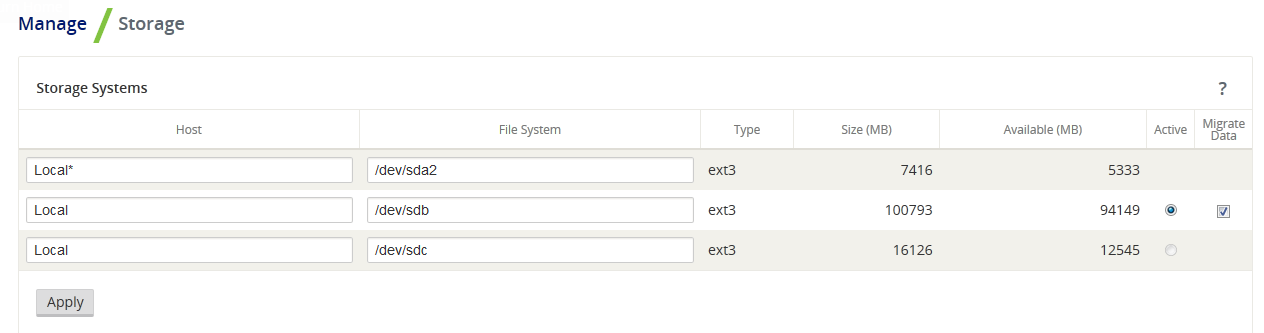
- From the
Oracle SD-WAN Aware web
console, go to
Manage, then
Storage, then
click the
Active radio
button next to the storage partition you created, and click
Apply.
- The
Delete All Existing
Files
warning dialog will appear. Click
Switch.

- The
Switch Active
Storage System dialog will appear. Click
Switch.

- Oracle SD-WAN Aware will be placed into Maintenance Mode. A progress bar will appear. When the progress bar completes, click Continue.
- From the Oracle SD-WAN Aware web console, go to Manage, then APN Discovery and click the Download Certificate button to download an SSL certificate to your workstation.
- From the Network Control Node (NCN) web console, got to Manage Network, then APN Aware Certificates to upload and install the SSL certificate on the NCN.
- From the Oracle SD-WAN Aware web console, go to Manage à APN Discovery and enter the NCN MGT IP Address, then click the Discover button to discover the Talari Appliances in your Talari WAN.
- Oracle SD-WAN Aware can now manage and monitor the Talari Appliances on your Talari WAN.