Creating a Build Image
Use the Boot Media Creator (BMC) to write a bootable software image to a USB flashdrive.
Use the following procedure to create a USB stick containing a build image.
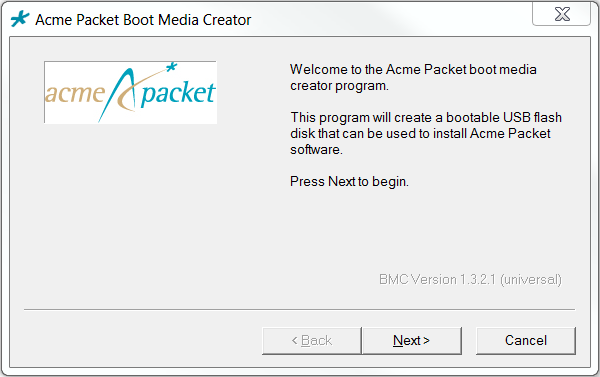
- Start the BMC
application. The image below displays BMC version 1.3.2.1. Your version may
differ, but the user procedure is intuitive and similar across versions.
Figure 9-1 BMC - Step 3
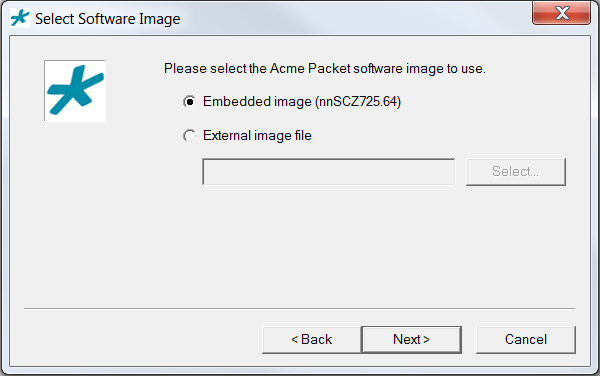
- Click
Next. Select the
embedded image.
Figure 9-2 BMC - Step 4
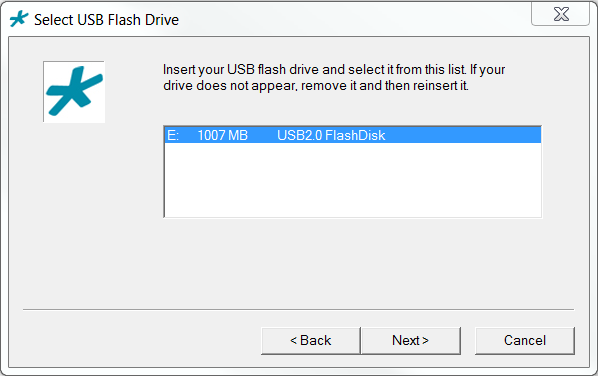
- Click
Next. BMC detects
and displays your USB stick. You can insert and reinsert your stick, if needed.
Figure 9-3 BMC - Step 5
- Highlight your
stick and click
Next. BMC displays a
dialog allowing multiple options.
Figure 9-4 BMC - Step 6
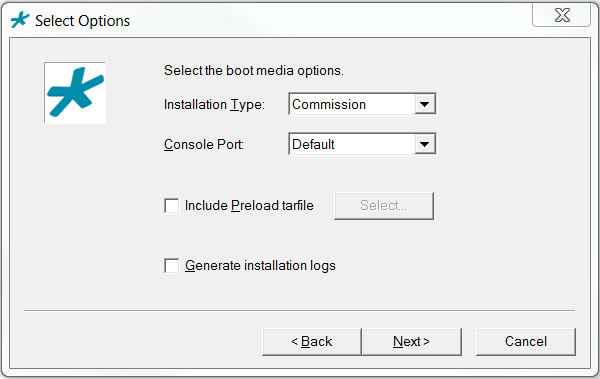 Note that the Include Preload tarfile and Generate installation logs options are typically used in a manufacturing or staging environment. User settings should be:
- Installation Type: Commission
- Console Port: Default
- Include Preload tarfile: unchecked
- Generate installation logs: unchecked
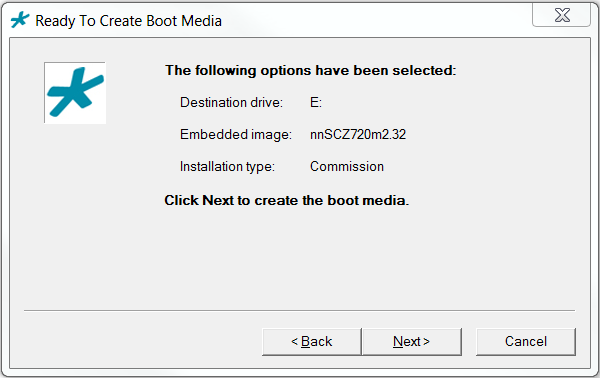
- Click
Next. BMC confirms
your settings.
Figure 9-5 BMC - Step 7
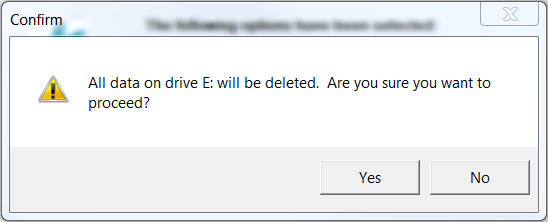
- Click
Next. BMC confirms
that it will delete all data on your USB.
Figure 9-6 BMC - Step 8
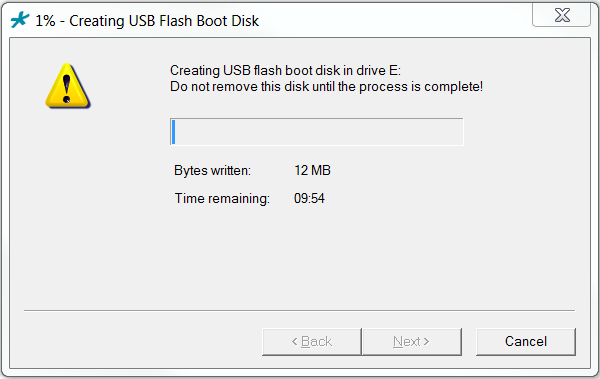
- Click
Yes. BMC writes to
the USB stick and indicates when it is finished.
Figure 9-7 BMC - Step 9
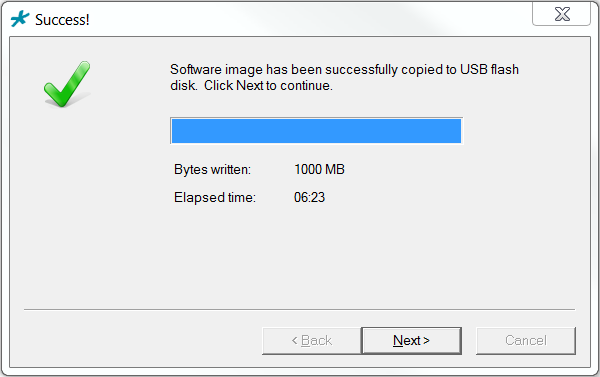
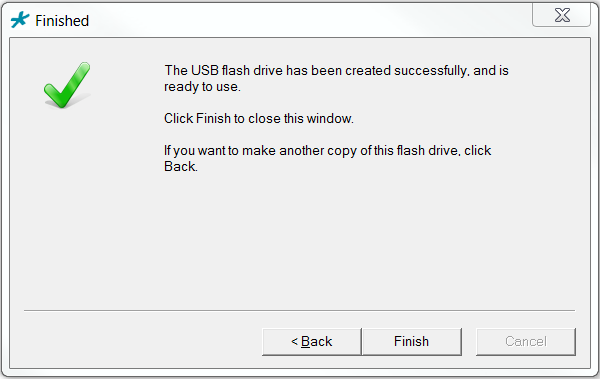
- Click
Next after the write
operation is complete.
Figure 9-8 BMC - Step 10
Remove the USB flash drive when complete to ensure that the computer does not attempt to install your software during the next boot cycle.