- Installation Guide for Oracle Fusion Middleware 11g
- Install Oracle BI Publisher
- Create a Standalone BI Publisher
Create a Standalone BI Publisher
- If the
Specify Inventory Directory window appears,
accept the default values.
Inventory Directory field /home/oracle/oraInventory Operating System Group name field dba - In the Welcome window, click Next.
- In the Install Software Updates window, select Skip Software Updates and click Next.
- In the Select Installation Type window, select Simple Install and click Next.
- In the
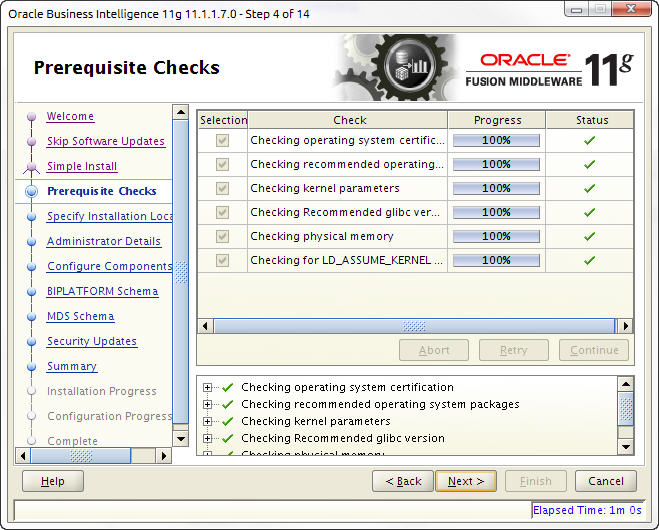
Prerequisite Checks window, verify that your
system has the necessary prerequisites and click
Next. For example:

Note:
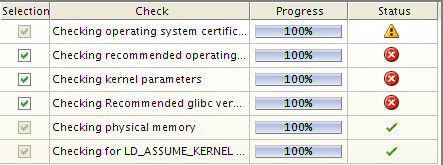
If the operating system certification test fails, the test skips the next three checks even though it marks them with an X. This can happen even on systems with the latest glibc version. If necessary, runyum update glibcto update your version of glibc.
- In the
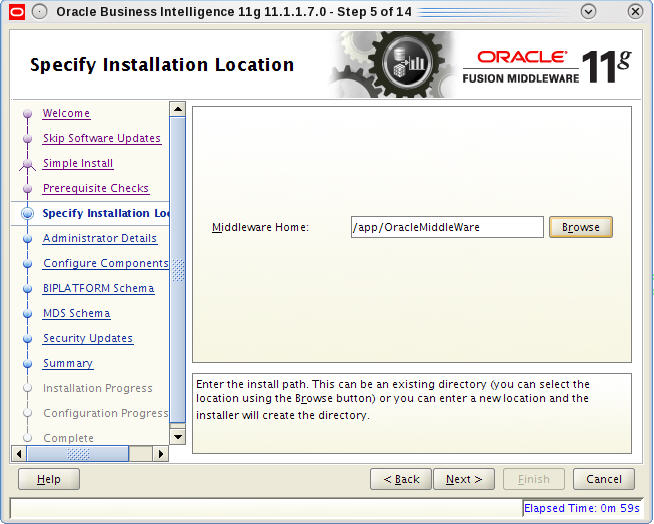
Specify Installation Location window, click
Browse to populate the
Middleware Home field with the
OracleMiddleWare directory you created. For example:

- In the
Administrator Details window, complete the following fields for the WebLogic
account and click
Next:
Username field Enter weblogic. Password field Enter the WebLogic account password. Confirm Password field Reenter the WebLogic account password to confirm it. Note:
The user name and password provided is used after installation to register and to sign in to BI Publisher at the URL:<server_name_or_ip>:7001/xmlpserver. - In the
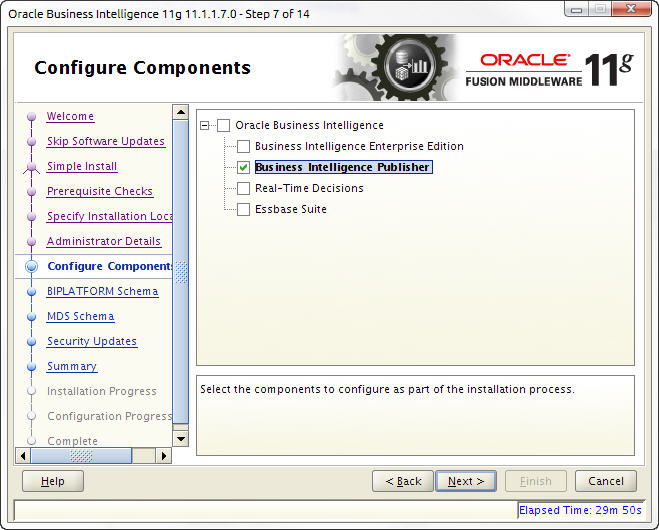
Configure Components window, check the
Business Intelligence Publisher check box only
and click
Next.

- In the
BIPLATFORM Schema window, complete the
following fields and click
Next:
Database Type field The name of the database. For example: Oracle Database Connect String field <server_name>:<port>:<service_name> For example: vm:1521:AcmeBIPublisher
BIPLATFORM Schema Username field <prefix>_BIPLATFORM For example: DEV_BIPLATFORM
Schema Password field Enter the schema password. Note:
The <prefix> value is set when running the Repository Creation Utility (RCU). The default schema prefix will be set to DEV unless this value was changed in the "Create a new Prefix" text field of RCU's Select Components screen. - In the
MDS Schema window, complete the following
fields and click
Next:
Database Type field The name of the database. For example: Oracle Database Connect String field <server_name>:<port>:<service_name> For example: vm:1521:AcmeBIPublisher
MDS Schema Username field
<prefix>_MDS
For example: DEV_MDS
Schema Password field Enter the schema password. Note:
The <prefix> value is set when running the Repository Creation Utility (RCU). The default schema prefix is set to DEV unless this value was changed in the Create a New Prefix field in the RCU Select Components window. - In the Specify Security Updates window, enter your email address and click Next.
- On the
Summary window, click
Install.
Note:
You may see error pop-up messages appear during the installation because software updates were skipped in a previous step. Click OK in these messages to continue the installation. - After the processes in the Configuration Progress window complete, click Next.
- Click Finish.