Migrate JMS Service on BIP Cluster

In a BIP cluster, scheduled reports will fail if the active server is down. If the server running the JMS service fails, migrate the JMS service to restore BIP scheduling.

The following examples assume BI Publisher has been installed as a cluster using the Enterprise Install option on the first node and the Scale Out option on subsequent nodes.

WARNING:

The JMS must not be running during this migration.
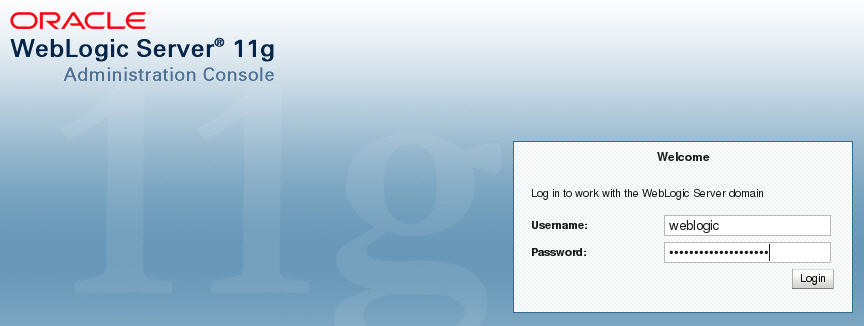
  1. Go to the WebLogic server administration console at the following URL: http://<host>:7001/console/
  2. In the WebLogic Server Administration Console enter your Username (for example: weblogic) and Password in their respective fields.

    Refer to the preceding text for a description of this figure.

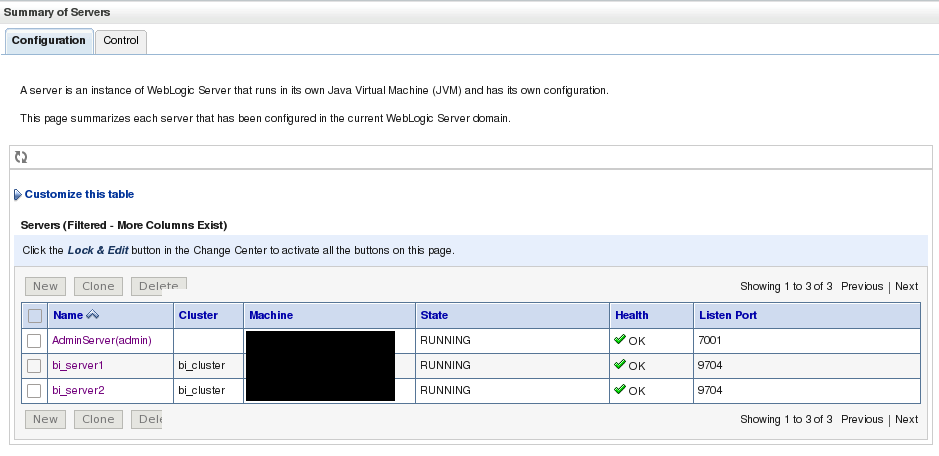
    In the following BIP Cluster example, there are two host machines and by default one system has both an AdminServer and a Managed Server called bi_server1, and another system has a scaled out Managed Server called bi_server2. The JMS server is hosted on the Managed Server bi_server1, which is running on the same system as the AdminServer.

    Refer to the preceding text for a description of this figure.

Configure a Migratable Target

When installing a BIP cluster, the system automatically generates migratable targets of "<servername> (migratable)" for each running server in the cluster.

  1. In the Change Center section of the pane, click Lock & Edit.
  2. In the Domain Structure section, click to expand the Environment menu and click Migratable Targets.
  3. In the Summary of Migratable Targets pane appears.
  4. Select the Migration tab.
  5. Under Constrained Candidate Servers, select the servers you want to use as a JMS Server backup and move them to the Chosen list. Check the the candidate server check boxes in the Available box and move them by clicking on the right arrow to the Chosen box.
  6. Click Save.
  7. To activate these changes, in the Change Center of the administration console, click Activate Changes.

    Note:

    If a message says that some items must be restarted, then please restart the required servers.

Create New Persistent Stores

JMS-related services require you to configure a custom persistent store that is also targeted to the same migratable targets as the JMS services. For the migratable solution, a file-based custom store is created, which points to the JMS Server to the same Migratable Target as the custom store.

  1. Log into the Administration Console.
  2. In the Domain Structure tree, expand Services, and then select Persistent Stores.
  3. Under Change Center, click on Lock & Edit.
  4. In the Summary of Persistent Stores table, click New, Create FileStore.
  5. Name the new file store and for the Target drop-down select bi_server1 (migratable).
  6. The Directory field must be a pathname that is accessible from every node that was declared a Candidate Server when modifying the bi_server1 (migratable) target. Whether you decide to use NFS, a storage area network (SAN), or a dual-ported SCSI disk, make sure this pathname set for the Directory exists and can be accessed from every Candidate Server node.
  7. Click Activate Changes under the Change Center.

Migrate JMS Services

Use the following steps to migrate the JMS Services running on the BIP Cluster to the same migratable target as the previously created custom persistent store.

WARNING:

Ensure that JMS services on bi_server1 and the server itself are shut down so that the migration task is successful. The BIP Scheduler becomes inoperable when the server is shut down.
  1. In the Oracle WebLogic Server Administration Console, under the Domain Structure section menu, click Services, Messaging, and JMS Servers from the tree.
  2. In the Summary of JMS Servers pane, JMS Servers section, check the check box for the BipJmsServer (Default) if no other JMS servers were created.
  3. In the Change Center section of the pane, click Lock & Edit.
  4. Select the new custom persistent store that was created in the previous step from the Persistent Store drop-down list.
  5. Click Save.

    Note:

    Ignore any error messages about the JMS server or SAF agent that display.
  6. Click the Targets tab and select bi_server1 (migratable) from the Target drop-down list to change the target for the JMS server.
  7. Click Save.
  8. Click Activate Changes.

    Note:

    If there are other JMS services besides the JMS Server that need to be migrated, such as SAF agents and path services, refer to the Oracle WebLogic documentation for their migration process.

Manually Migrate the JMS Server

The JMS Server needs to be manually migrated using the Administration Console.

  1. In the Change Center section of the Administration Console, click Lock & Edit.
  2. In the Domain Structure tree, click Environment, Migratable Targets.
  3. In the Summary of Migratable Targets page, click the Control tab.
  4. In the Migratable Target section, check the check box for each target server to migrate.
  5. Click Migrate.
  6. Select a new managed server from the New hosting server drop-down list that is healthy (in this example, bi_server2).
  7. Click OK.
  8. Click Activate Changes.