- Installation Guide for Oracle Fusion Middleware 11g
- Run the Repository Creation Utility
- Run the Repository Creation Utility
Run the Repository Creation Utility
- Log in to your
server with the -Y flag.
ssh -Y oracle@vm - Start the
installation.
[oracle@vm ~]$ cd rcuHome/bin/ [oracle@vm bin]$ ./rcu - In the Welcome window, click Next.
- Select Create and click Next.
- In the
Database Connection Details window, complete
the following fields and click
Next.
Database Type drop-down list Select Oracle Database. Host name field Enter the hostname of your server. Port field Enter port 1521. Service Name field Enter AcmeBIPublisher. Username field Enter sys for the user who has system database administrator (SYDBA) privileges. Password field Enter the password for the SYDBA user. Role drop-down list Select SYSDBA. Note:
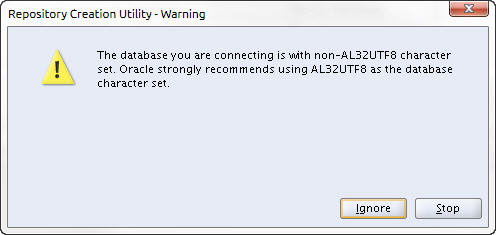
A warning dialog box displays about character sets. Click Ignore.
- In the Checking Prerequisites window, click OK.
- In the
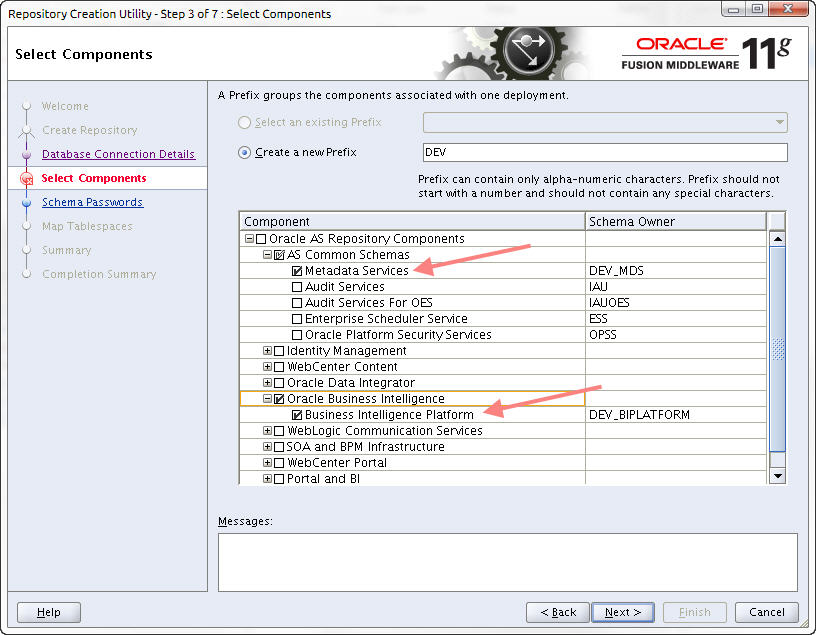
Select Components window, keep the default
prefix
DEV or create a new prefix.
- Check the
Common
Schemas,
Metadata
Services, and
Oracle
Business Intelligence check boxes for the components that are to be
installed and click
Next.

- In the
Password Schema window, enter the password and
click
Next.
Note:
The password that you configure expires after 180 days. Seven days before the password expires, a password expiry trap warns you through SDM that your password needs to be reset. If you need to reset this user password later, see the Reset the Password for BI Publisher Users section in the Oracle Communications Report Manager User Guide for more information. - In the Map Tablespaces window, click Next.
- In the Confirmation window, click OK.
- On the Creating Tablespaces window, click OK after the operation has completed.
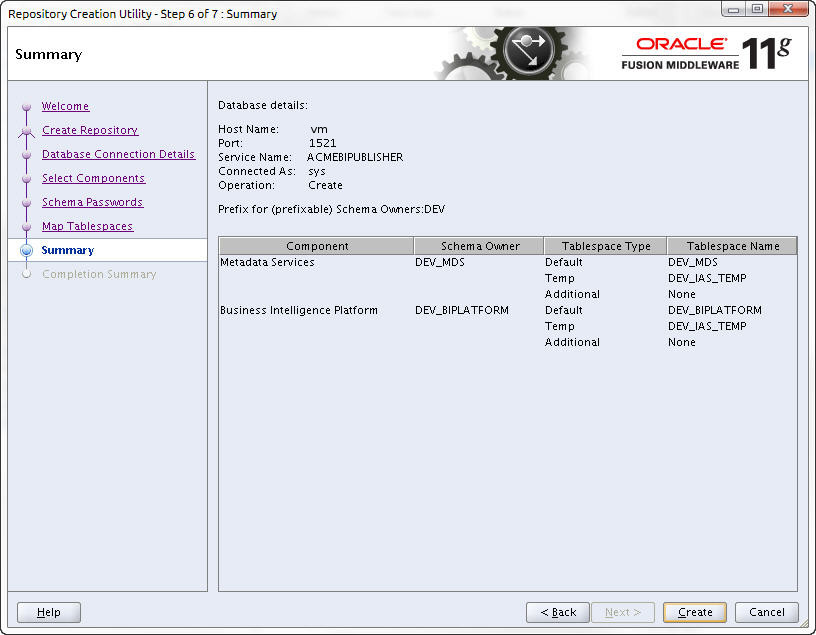
- On the
Summary window, click
Create.

- After the repository is created, click Close.