Configure WAM Buckets
This page details how to add new bucket configurations and bucket ranges for configured buckets for Oracle Utilities Work and Asset Management (WAM) application.
Note: All the ELT jobs that load these bucket configurations into the warehouse are set to be initial load only. Any changes made after the initial run are not going to be automatically captured in Oracle Utilities Analytics Warehouse because they could cause inconsistencies in the loaded fact data. However, in case it is necessary to reconfigure the buckets, they can be changed on the source system, and reloaded into the warehouse through certain additional steps. To reload bucket configurations, follow the steps on Configure ETL Parameters and Buckets.
On this page:
Add a New Bucket Configuration
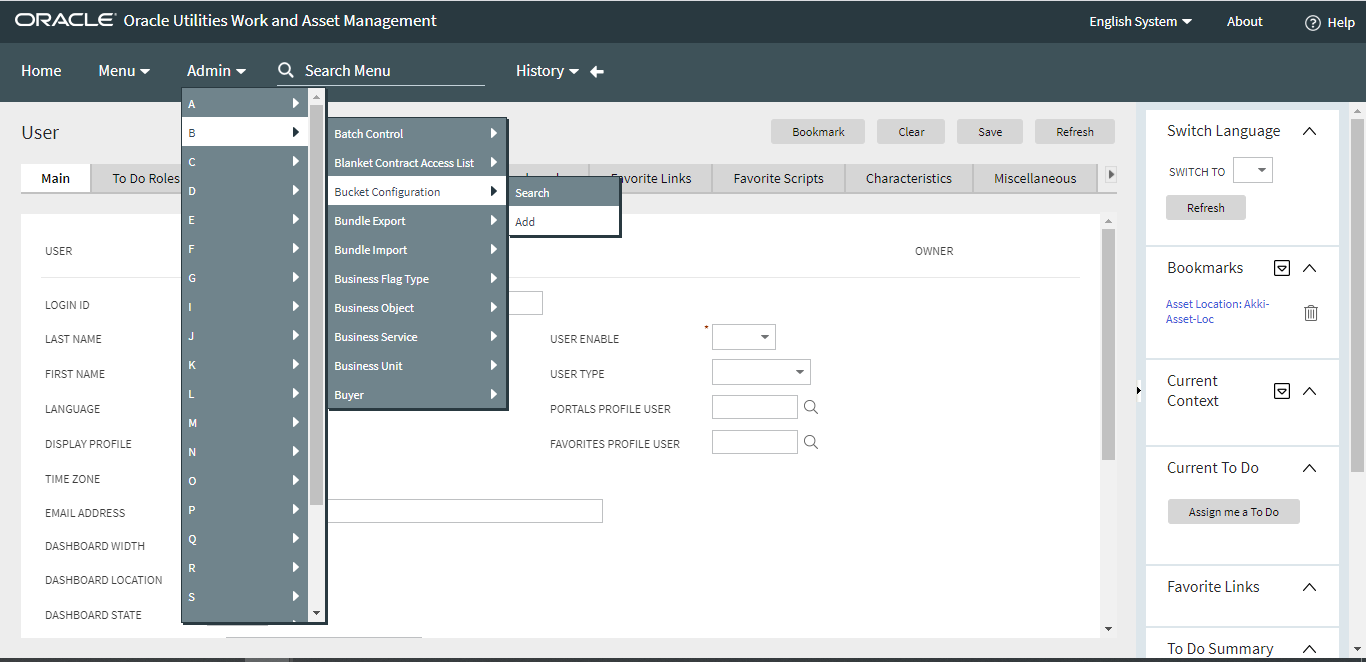
- To add a new bucket configuration, navigate to the Add Bucket Configuration page from the Admin menu.
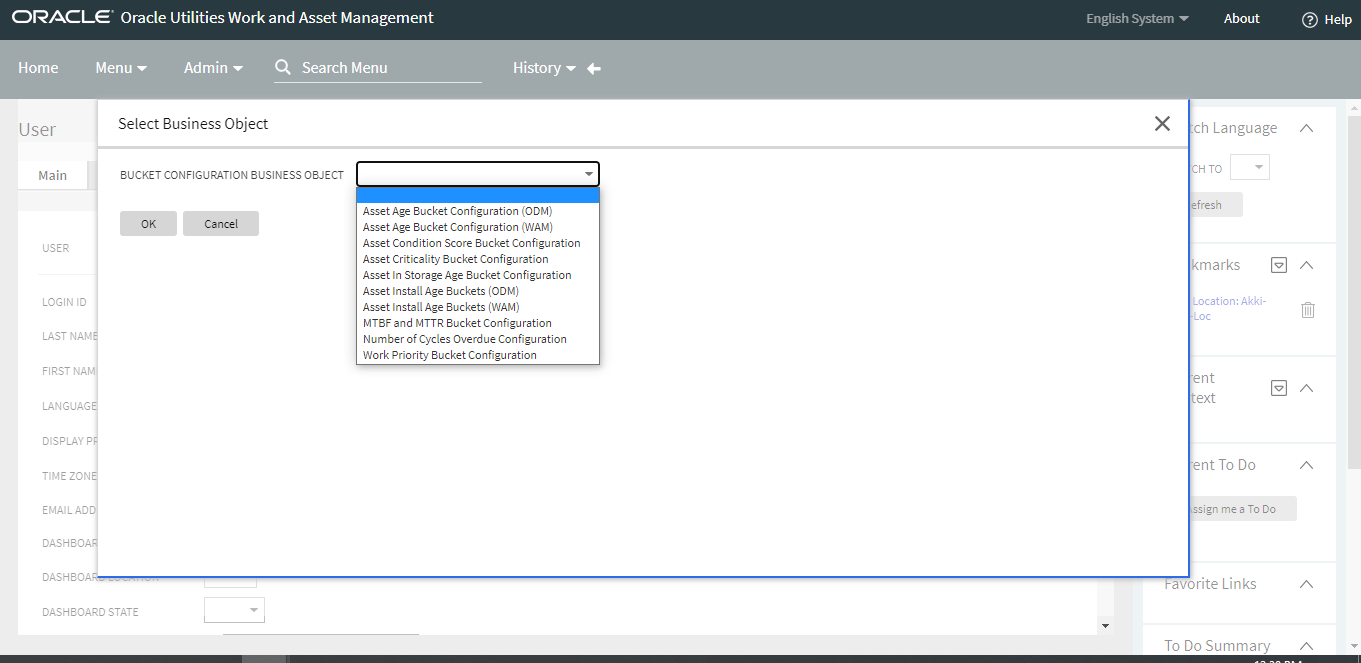
- On the Select Business Object drop-down menu, select the business object for which the buckets are to be configured and click OK.
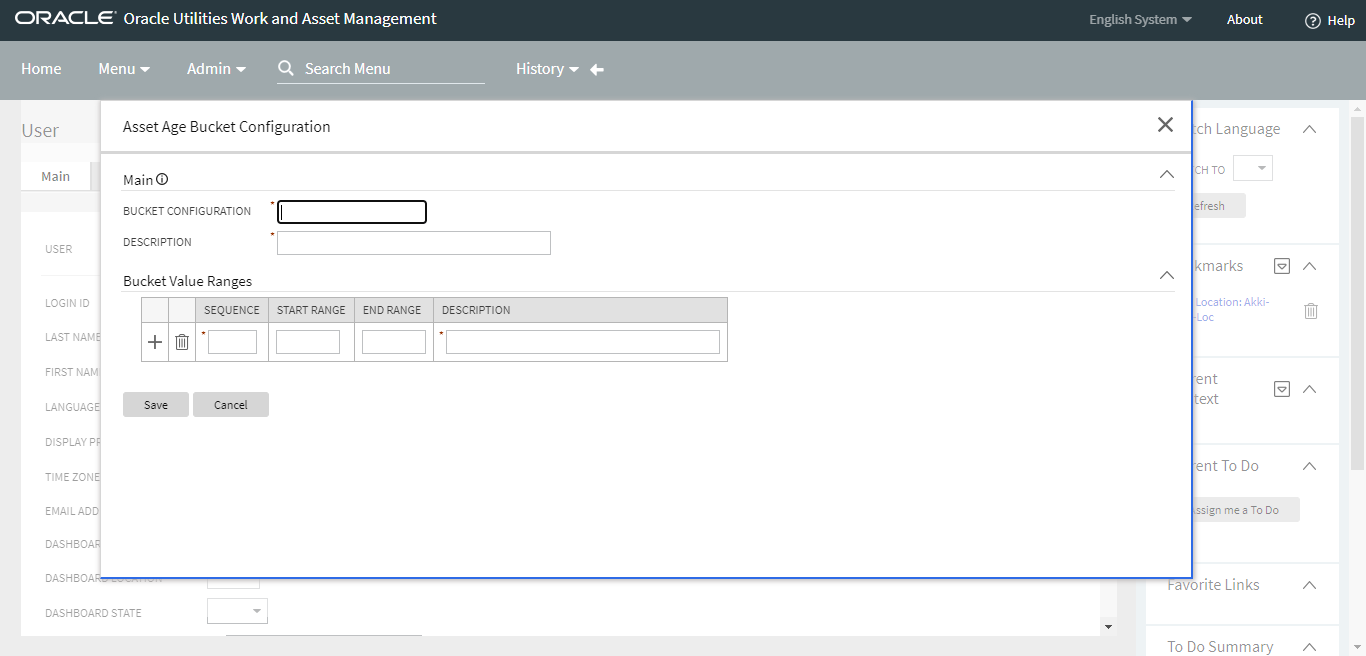
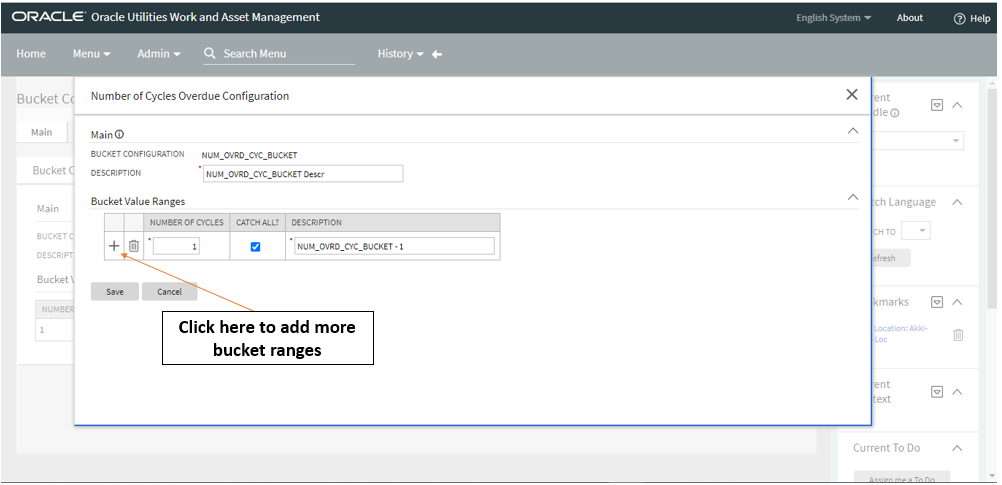
- A new page appears for the selected bucket configuration. Populate the required fields and provide the bucket value ranges. Click Save and close the window.
Add Bucket Ranges for Configured Buckets
-
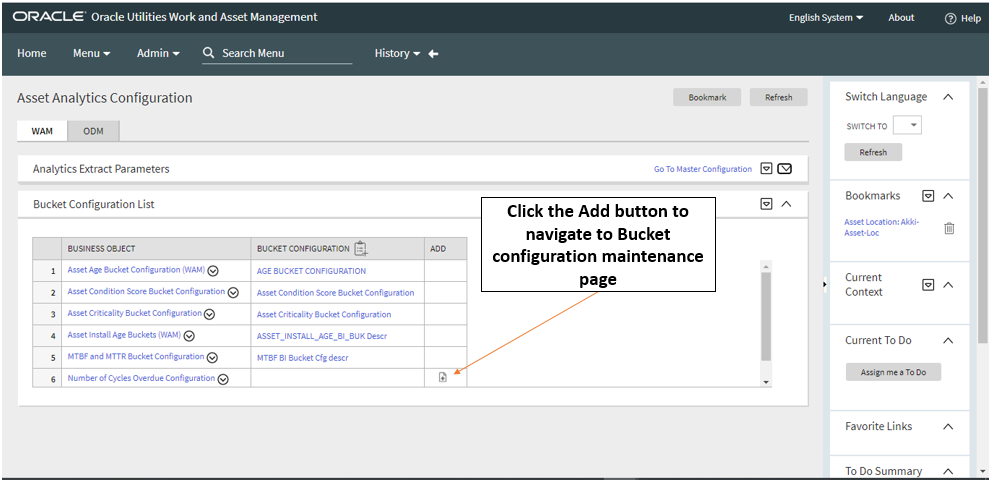
To navigate to the Bucket Configuration Maintenance page of a bucket that have been added to the configuration list but which ranges have not been set up yet, click the Add (+) button (located in the Add column).
-
From the configuration window, you can add or edit value ranges. To add a new value range, click the Add(+) button on the left, populate the fields, and click Save. To edit a current value range, modify the values in the fields and click Save.
-
While providing the bucket value ranges, ensure that:
- At least one bucket has the start range 0.
- At least one bucket has the end range 99999.
- There is not any overlap within the bucket ranges. For example, if there is a bucket with a start range of 1 and an end range of 10, there cannot be an overlapping bucket with a start range of 5 and an end range of 13 (5 to 10 is the overlapping range).
- There is not any gap in the bucket ranges. For example, if there is a bucket with a start range of 1 and an end range of 10, the start range for the next consecutive bucket should be 11.