Adding New Fields to Field Activity
This section includes steps to add new fields to Field Activity. These fields are available but not present in Field Activity.
Oracle Field Service Configurations
1. Log in to Oracle Field Service.
2. Navigate to Configuration > Properties > Add New Property.
3. Select the Entity and Type of GUI. Enter the enumeration values (example: customprop1 and customprop2).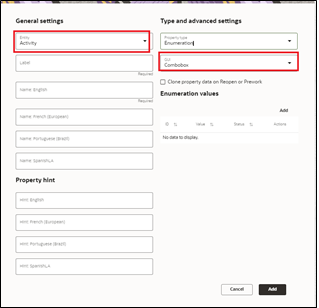

4. Click Save.
5. Navigate to User Types and select the required user type.
6. Navigate to Screen Configurations of the selected user type and open the Edit/View activity section.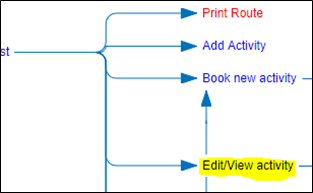

7. In the Add New Element section, drag and drop a new 'Input' to add a new element.
8. Map the element to Test Custom Property. Save this screen configuration after mapping the field.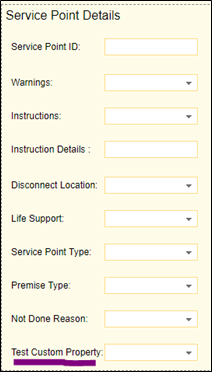

Oracle Integration Cloud Configurations
In Oracle Integration Cloud configurations use xsl files and not graphical mapper to include new properties. Since the changes are made in Oracle Field Service and the flow is from Oracle Field Service to Oracle Utilities Customer Cloud Service, modify the .iar file for Complete Activity.
For xsl files to include the new field mappings as properties in Oracle Field Service:
1. Login to Oracle Integration Cloud.
2. Navigate to Integrations and clone Oracle Utilities OFSC CCS Activity Complete (1.0).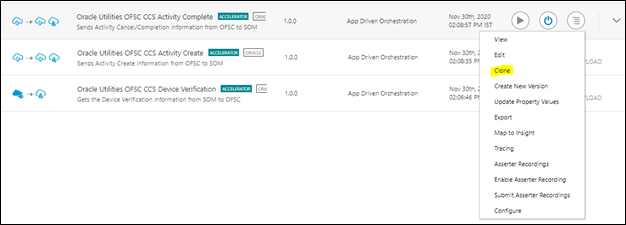

3. On the Clone Integration window, change the Name and Identifier as required.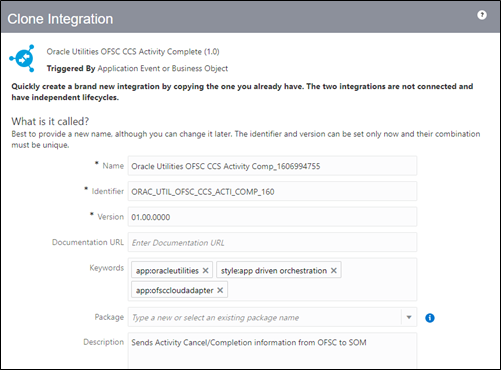

4. Select the package or enter the package name. Click Clone.
The new cloned integration is created under the package name entered during the cloning of an integration.
5. For Oracle Field Service response use the following xsl file. Navigate to the file location and select it.
OUTL-BA-OFSC_CCS_ACTIVITY_COMP_01.00.0000\icspackage\project\ OUTL-BA-OFSC_CCS_ACTIVITY_COMP_01.00.0000\resources\processor_509\resourcegroup_512\req_358b3cdb3d5745fb8e082acdde659bb2.xsl
For detailed information refer to Oracle Customer Cloud Service Integration to Oracle Field Service Configuration Guide 22B included in this release.

6. Navigate to <xsl: template..> tags towards the end of the file.
7. Select the appropriate template tag based on the new UI property to be added in Oracle Field Service UI.
For example: To add a new field on the Service Point Details screen, choose the following xsl tag:
<xsl:template name="servicePointDataDetails_Customizations">

8. Add the new customized property in this tag. The sample custom property named u_custom is as below:
<tns:custom1>
<xsl:value-of select="$invokeOFSCGetActivity/nsmpr0:canonical_GETResponse/nsmpr0:activities.definitions.getActivitySchema/nsmpr1:u_custom"/>
</tns:custom1>

9. After editing, save the xsl and test the syntax by opening it in a web browser. It should open as shown without any errors.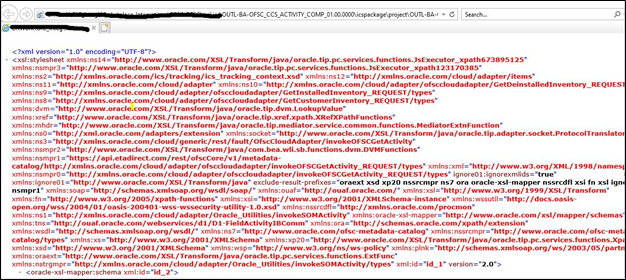

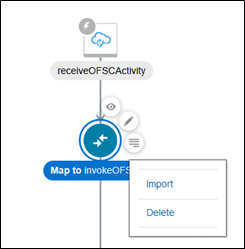
10. To upload the xsl file in Oracle Integration Cloud, deactivate the integration, open the flow and select the mapping icon. Click More Actions and select Import. Browse the .xsl file and import it.