Connecting the Oracle Utilities Application to OCI Object Storage
The Auto Pay batch processes described in Chapter 2: Configuring the Integration require the use of Object Storage for sending/receiving files to/from the Oracle Utilities application (such as Oracle Utilities Customer Cloud Service). In production, the Object Storage in the utility's Cloud tenancy is used. For development/QA purposes, a third-party payment processor uses Object Storage in their own Cloud tenancy.
To connect the Oracle Utilities applications (such as Oracle Utilities Customer Cloud Service) to OCI Object Storage:
1. Login to Oracle Utilities Customer Cloud Service.
2. In the search box, enter “key ring”. From the search results, select Key Ring.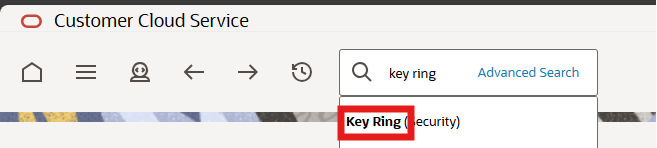
3. On the Key Ring screen, click Add.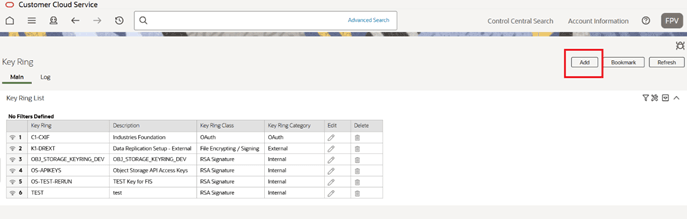
4. From the Key Ring Business Object drop down, select the RSA Signature Key Pair business object and click OK.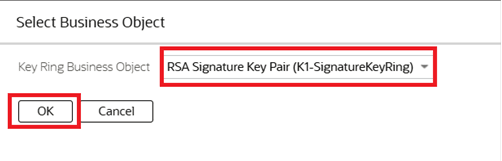
5. Specify the Key Ring and Description values. Click Save.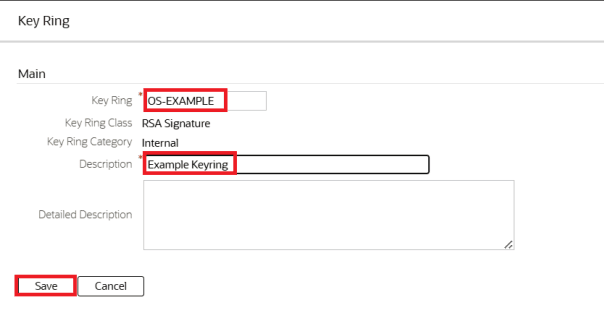
6. Verify the new key ring’s details. Click Generate Key to populate a key pair.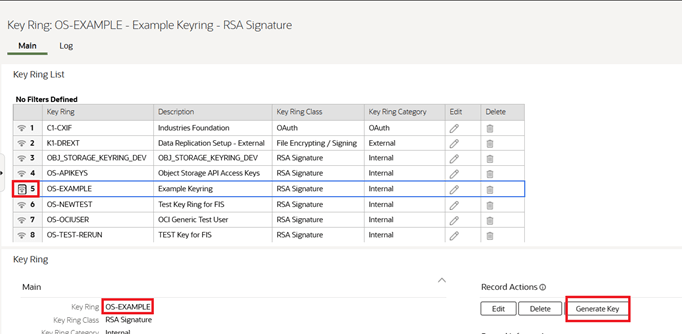
7. Click View to display the Public Key value. Copy the value to the clipboard. You can paste the value in Notepad.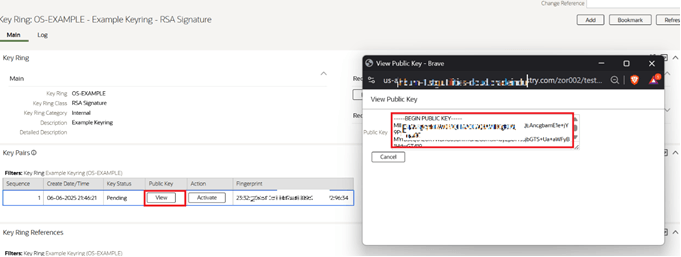
8. Navigate to the OCI console and click the icon for Profile options (on the top-right corner). Select your username from the list.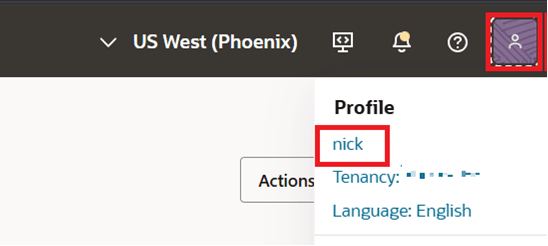
9. Navigate to the Tokens and keys tab and click Add API key.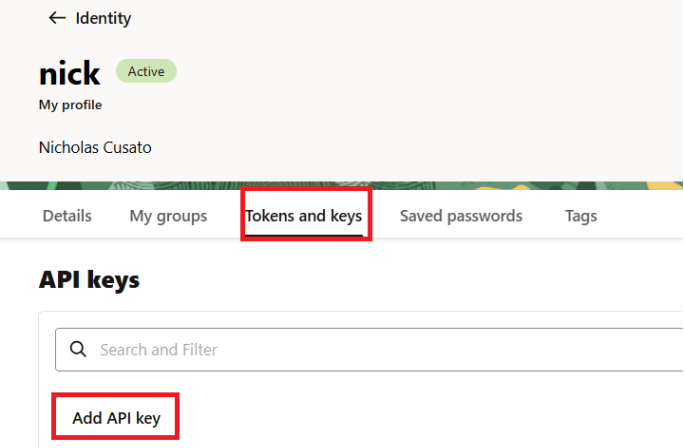
10. Select Paste a public key. Copy the public key value that you have pasted in Notepad (see step 7) and paste it in the text box. Click Add.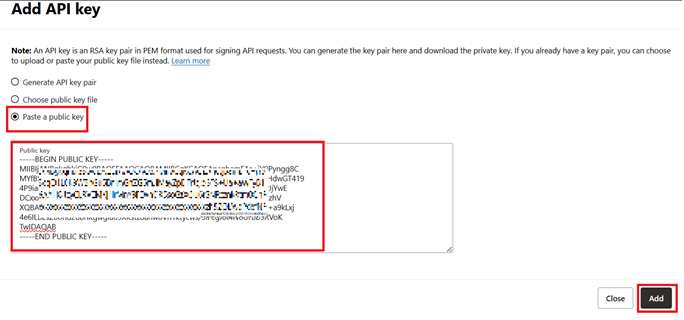
11. Navigate to Oracle Utilities Customer Cloud Service.
12. In the search box, enter “extendable”. From the search results, select the Extendable Lookup menu item.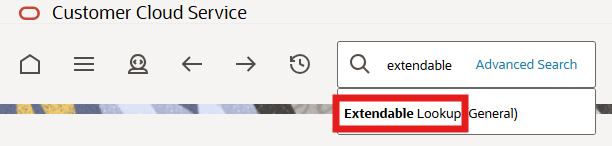
13. On the Extendable Lookup Query screen, search for the “F1-FileStorage” business object. From the search results, select the respective record.
14. The lookup values for the selected business object are displayed. Click Add.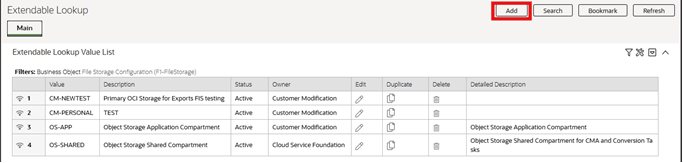
15. Provide the details of the OCI user using the configuration output generated by the API key on the OCI console (Step 9 above).
Note: Make sure you select the correct region supported by the Utilities application and is subscribed on the OCI console.
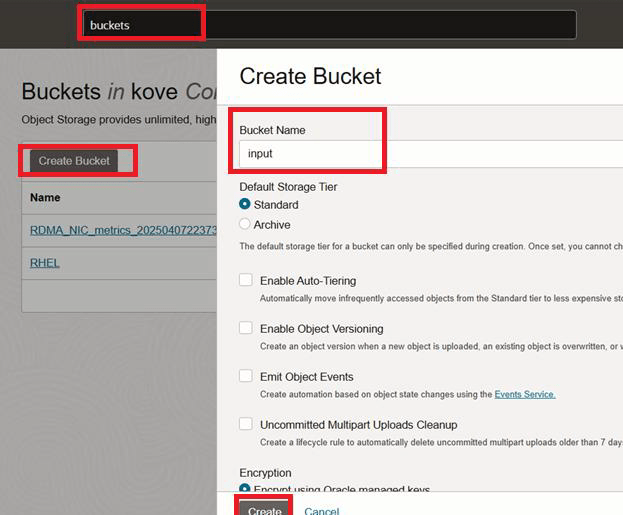
16. Create a bucket. Give it a name that is meaningful or easy to remember. This is key to generate the file path for the application. Confirm that the compartment matches with what was listed in the Extendable Lookup.
The extendable lookup value is provided in the Value field on the File Storage Configuration screen. See step 15 above for more details.
Using the value, make sure the file path looks as follows: file-path://CM-EXAMPLE/input or file-path://CM-EXAMPLE/output
Each bucket region should match the region declared in the extendable lookup and be unique (distinct bucket for each endpoint).