Creating GUI Based Components
To manually create a GUI based component:
1. Navigate to the component tree where the component has to be created.
2. Right-click the feature (release/product/module) in the component tree.
Note: Create a new feature folder if it is not found in the delivered tree structure.
3. Select Create Component.
4. Enter the name of the component in the Component field. 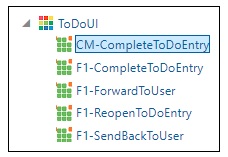
Note: The component name must be prefixed with ‘CM’ and the Tags field should have a CM tag for every component. The tagging enables porting the custom components to latest Oracle Utilities Testing Accelerator release.
For information about extending components, refer to the Copying Components section.
5. Select User Interface in the ComponentType drop-down list.
6. Enter a description in the Description field.
7. Click Attach Code to add the metadata. The Component window is displayed.
8. Create component definitions.
9. Click Save & Unlock to save and create the component.
Following is an example to create the CM-CompleteToDoEntry component under the ToDoUI feature for the Core product:
1. Navigate to UTA 6.0.0.0 > CORE 6.0.0.0 Portfolio > CORE UI 6.0.0.0 > ToDoUI.
2. Right-click the ToDoUI module.
3. Select Create Component.
4. Enter CM-CompleteToDoEntry in the Component field.
5. Follow steps 5 to 9 as mentioned in the procedure above.
Creating a Component Definition for GUI Components
A user interface component consists of several component definition lines. Each component definition line comprises of a keyword, object, display name, attribute values, default data, function name, and output parameters.
The following list describes each entity in a component definition:
• Keyword: The step to be performed.
Example: WS-SETVARIABLEFROM RESPONSE, WS-VALIDATE, etc
• Object: The Oracle Utilities Testing Accelerator function library name from where the function is called.
• Display Name: The component definition (mandatory).
• Attribute Values: The xpath/ID of the UI element (mandatory).
For example: If ID is specified, specify the attribute value as id;TD_ENTRY_ID, where TD_ENTRY_ID is the unique ID of the UI element being defined.
If xpath is specified, it can be provided similar to //li[@id='CI_ADMINMENU_topMenuItem0x18']/span
Note: If the attribute values contain special characters (such as '$'), the character should be prefixed by the backslash ('\') character.
For example: To input the attribute value as id;ZONE_PRM\:0$ZONE_PARM_VAL, specify it as id;ZONE_PRM\:0\$ZONE_PARM_VAL.
For example: To input the attribute value as id;ZONE_PRM\:0$ZONE_PARM_VAL, specify it as id;ZONE_PRM\:0\$ZONE_PARM_VAL.
• Default Data: The default data used in the component definition.
• Function Name: The function name called from the library.
• Output Parameters: The output in the form of a variable.
For more options, refer to Appendix E: Generating Re-runnable Test Data.
• Tooltip: The data presented as a tool tip during the flow creation.
The following figure shows the Component page with the available component definitions.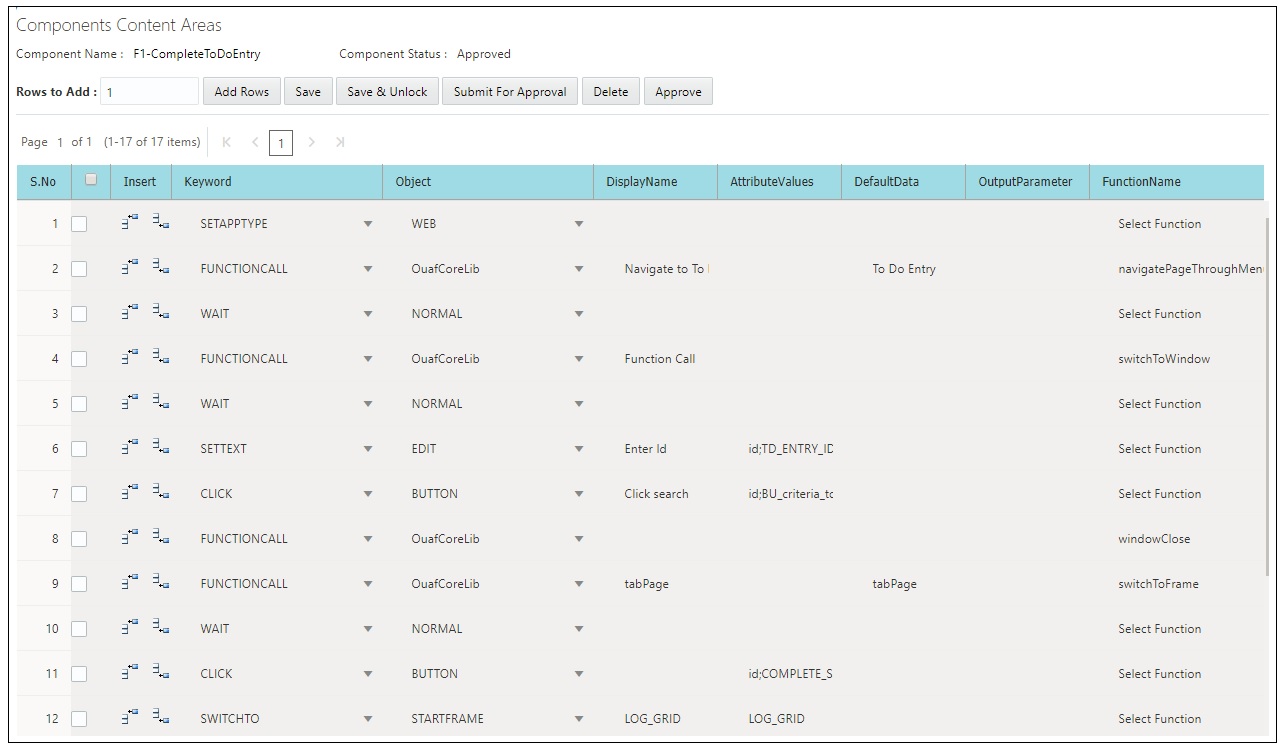
Add the required component definition lines using the Keyword drop-down list to define the web services based component.
For a list of keywords used to define the GUI based components, refer to Appendix B: GUI Component Keywords.
The following example shows different component lines created for the CM- CompleteToDoEntry component.
1. Select SETAPPTYPE in the Keyword drop-down list to define the application type.
2. Select Web in the Object drop-down list to denote that it is a web services based component.
3. Select the WS-LOGMESSAGE keyword to log comments in component definition. This helps in debugging the script code for that component.
4. Add more component definition lines as needed and select appropriate keywords based on the GUI page that the component represents.
5. Click Save.