- Retail Accounts User Guide (US Regionalization)
- Operations
- Maintenance
- Beneficiary Details Update
- Add Beneficiary
2.6.3.1 Add Beneficiary
You can add a beneficiary to a CASA account.
To add a beneficiary:
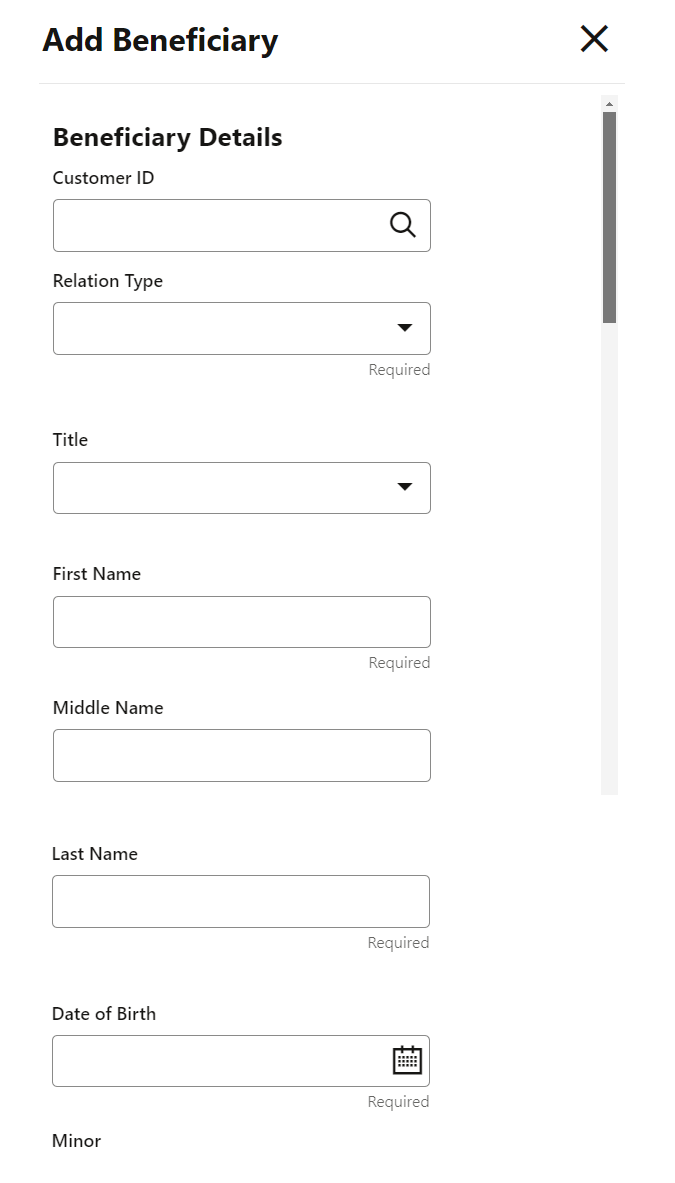
- In the Beneficiary Details section, click Add
Beneficiary.The Add Beneficiary section is displayed.
- You can maintain the required details in the sections displayed. For more
information on fields, refer to the field description table.
Table 2-15 Add Beneficiary – Field Description
Field Description Beneficiary Details This section displays the fields for capturing the basic beneficiary details. Customer ID Select or specify the customer ID to be added as a beneficiary. Relationship Type Select the relationship type with the beneficiary. Title Select a title for the beneficiary. First Name Specify the beneficiary's first name. Middle Name Specify the beneficiary's middle name. Last Name Specify the beneficiary's last name. Date of Birth Select or specify the beneficiary's date of birth. Minor Displays whether the added beneficiary is a minor based on the date of birth selected or specified. Note:
The minor status will be derived based on the minor age limit maintained for the state (the state will be derived from the account's residential address).
Find the below steps to configure minor age validation.- Create a fact for values, State, and Age.
- Create a rule for minor age
validation with the required state and related
age.
IF((STATE==US)&&(AGE < 18))OutputSection1 True - Maintain a validation model with model code as VMMINORAGE and link the above rule.
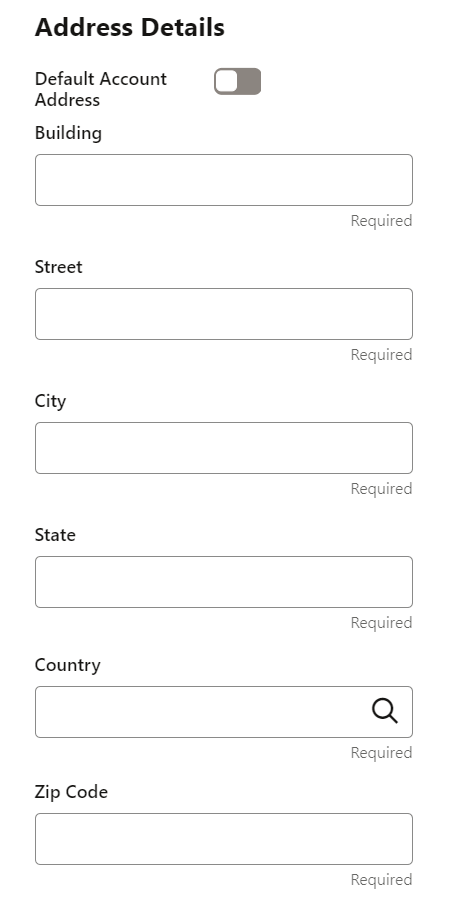
Address Details This section displays the fields to capture the beneficiary's address. Default Account Address Switch to toggle ON to default the account address specified.
Switch to toggle OFF to not to default the account address specified.
Building Specify the building of the beneficiary. Street Specify the street of the beneficiary. City Specify the city of the beneficiary. State Specify the state of the beneficiary. Country Select or specify the country of the beneficiary. Zip Code Specify the zip code of the beneficiary. - If the added beneficiary is a minor, its mandatory to add
the guardian details. If required, you can also add gaurdian details for
a major by switching to toggle ON from the
Add Gaurdian field in the Gaurdian
Details section.
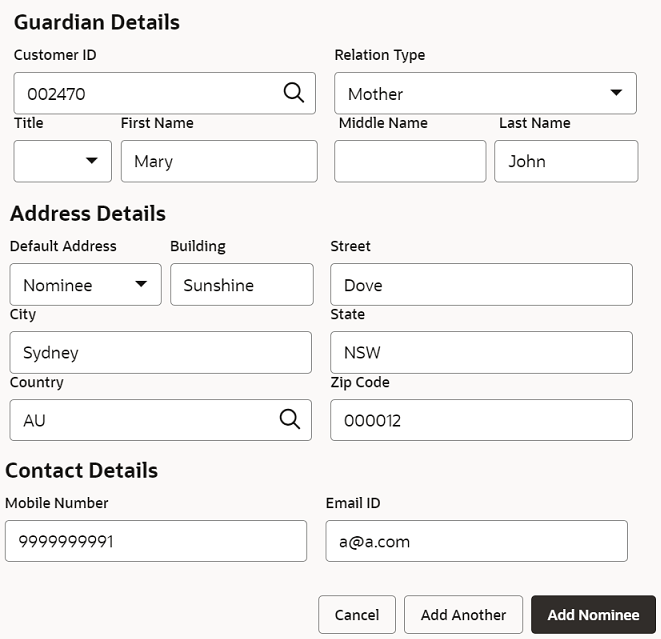
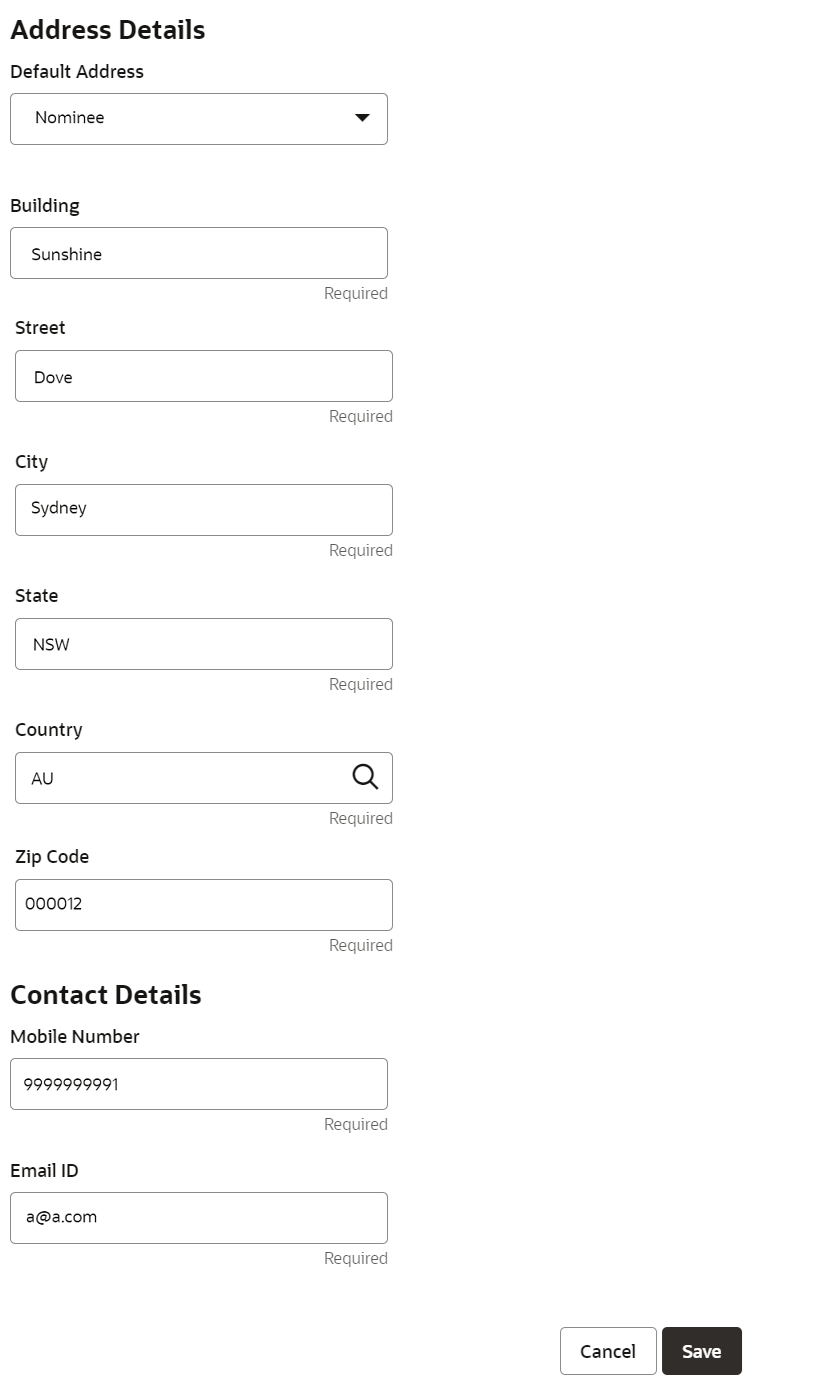
Figure 2-34 Guardian's Address and Contact Details
For more information on fields, refer to the field description table.
Table 2-16 Guardian Details – Field Description
Field Description Add Guardian Switch to toggle ON to add guardian details.
Switch to toggle OFF to not to add the guardian details.
Customer ID Select or specify the customer ID to be added as a guardian. Relationship Type Select the relationship type with the guardian. Title Select a title for the guardian. First Name Specify the guardian's first name. Middle Name Specify the guardian's middle name. Last Name Specify the guardian's last name. Address Details This section displays the fields to capture the guardian's address details. Default Address Select the default address for the guardian. The options are: - Beneficiary
- Account
Building Specify the building of the guardian. Street Specify the street of the guardian. City Specify the city of the guardian. State Specify the state of the guardian. Country Select or specify the country of the guardian. Zip Code Specify the zip code of the guardian. Contact Details This section displays the fields to capture the contact details. Mobile Number Specify the mobile number of the guardian. Email ID Specify the email ID number of the guardian.
- Click Save.The beneficiary details are saved and displayed in the Beneficiary Details Update section.
- Click Submit.The screen is successfully submitted for authorization.
Parent topic: Beneficiary Details Update


