4 Installation using Silent Mode
This chapter describes how to run the OBAPI installer in silent mode.
What is silent-mode installation?
During installation in silent mode, the installation program reads the details for your configuration parameters (flavor; mode; passwords etc) from the environment variables (same session in which installer is executed) and installer.properties that you set before beginning the installation. The installation program does not display any configuration options during the installation process.
Steps for Silent-Mode Installation
- Download and extract the installer zip file (Base – non localization version).
- Navigate to “<OBAPI INSTALLER DIR>/core/config”
- Open the “installer.properties” file to maintain key configurations for BASE ENTITY (OBDX_BU)
**Refer to page 9 to 14 (step 4) for filling up installer.properties.
- Set the environment variables , as shown below
Below parameters should be set as environment variables, depending on the Host system the installer should be executed.
| Host | Parameter | Description | Example |
|---|---|---|---|
|
Environment variables to set for flavor:UBSFCORE |
FLAVOUR | Flavour for
installation
UBS for Oracle FLEXCUBE Universal Banking 14.6.0.0.0 (OBAPI with UBS) FCORE for Oracle FLEXCUBE Core Banking 11.8.0.0.0 (OBAPI with FCORE) |
export
FLAVOUR=OBPM or export FLAVOUR=FCORE |
| MODE | Mode of
installation.
‘New’ in-case of a fresh installation of OBAPI for the first run on server ‘Clean’ in-case of an existing OBAPI installation that you want to overwrite OR in case of a previously failed installation or re-installation |
export MODE=New
or export MODE=Clean |
|
| DB_SYS_PASSWORD | Sys user password of OBAPI database (Existing) | export DB_SYS_PASSWORD=obdx182sys | |
| SCHEMA_PASS | Password for new schema on OBAPI database | export SCHEMA_PASS=obapi#182 | |
| DomainPassword | Password for Weblogic Administrator console | export DomainPassword=wlsadmn | |
| EHMS_DATABASE_SYS_PASS | Sys user password of EHMS HOST database (Existing) | export EHMS_DATABASE_SYS_PASS=obdxehmssys | |
| EHMS_HOST_SCHEMA_NAME_PASS ** Only required for UBS & OBPM Host. Ignore this parameter in-case of FCORE Host | Password of existing EHMS HOST schema (Existing) | export EHMS_HOST_SCHEMA_NAME_PASS =obdxehmshost | |
| EHMS_SCHEMA_PASS | Password for new OBAPI EHMS schema on EHMS HOST database | export EHMS_SCHEMA_PASS=obdx182ehms | |
| wars_to_deploy | Mention the optional wars to deployed | export wars_to_deploy=digx-cms.war,digx-corporateloan.war,digx-payments.war | |
| DBAuthPassword | Password for new OBAPI Administrator user of OBAPI application (In-case of OUD as provider, password should similar to one used while user creation in OUD(or User Password field)) | export DBAuthPassword=obdxadmn | |
|
Environment variables to set for flavor: OBAPI (Third-party HOST) |
FLAVOUR | Flavour for installation ‘OBAPI’ for Third Party System 1.0 (OBAPI with THP) | export FLAVOUR=OBAPI |
| Mode | Mode of
installation.
‘New’ in-case of a fresh installation of OBAPI for the first run on server ‘Clean’ in-case of an existing OBAPI installation that you want to overwrite OR in case of a previously failed installation or re-installation |
export MODE=New
or export MODE=Clean |
|
| DB_SYS_PASSWORD | Sys user password of OBDX database (Existing) | export DB_SYS_PASSWORD= obdx182sys | |
| SCHEMA_PASS | Password for new schema on OBDX database | export SCHEMA_PASS=obapi#182 | |
| DomainPassword | Password for Weblogic Administrator console | export DomainPassword=wlsadmn | |
| wars_to_deploy | Mention the optional wars to deployed | export wars_to_deploy=digx-cms.war,digx-corporateloan.war,digx-payments.war | |
| DBAuthPassword | Password for new OBAPI Administrator user of OBAPI application (In-case of OUD as provider, password should similar to one used while user creation in OUD(or User Password field)) | export DBAuthPassword=obdxadmn |
Run the runInstaller.py file with ‘--silent ’ argument along with ‘--base’ option.
Installation Status
The status is displayed on the terminal to indicate the progress of the installation.
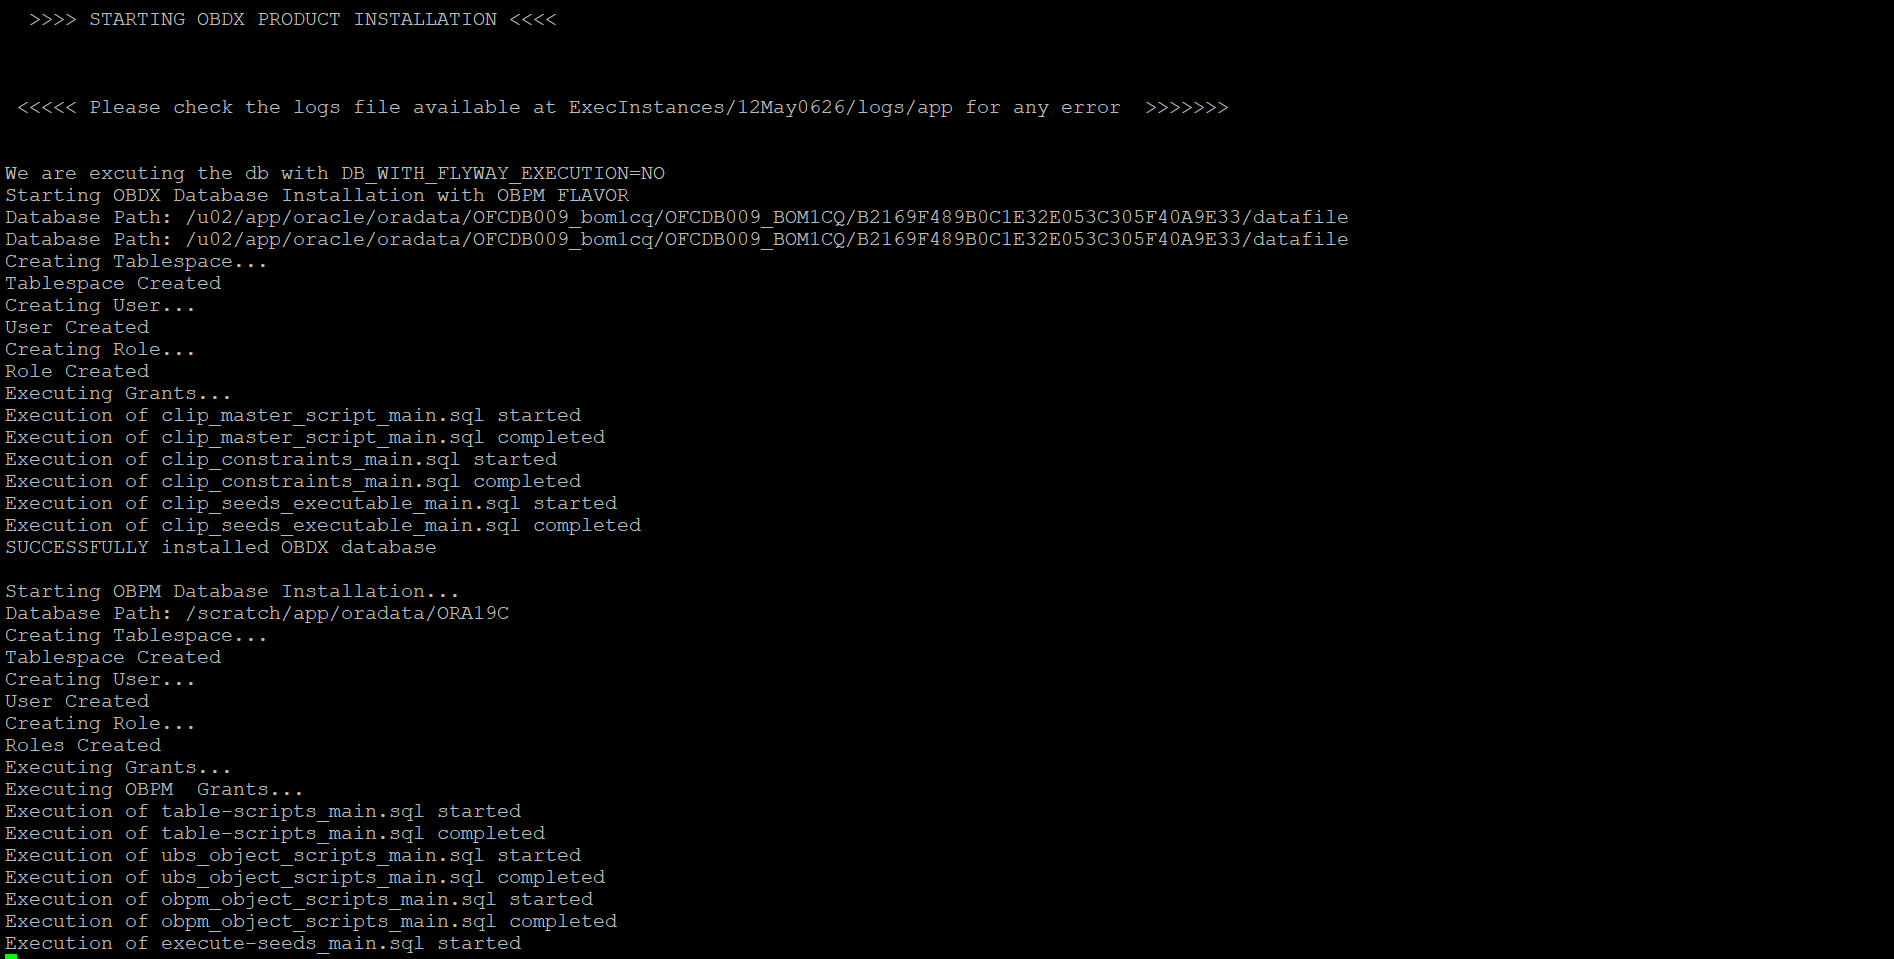
If DB_WITH_FLYWAY_EXECUTION set to NO
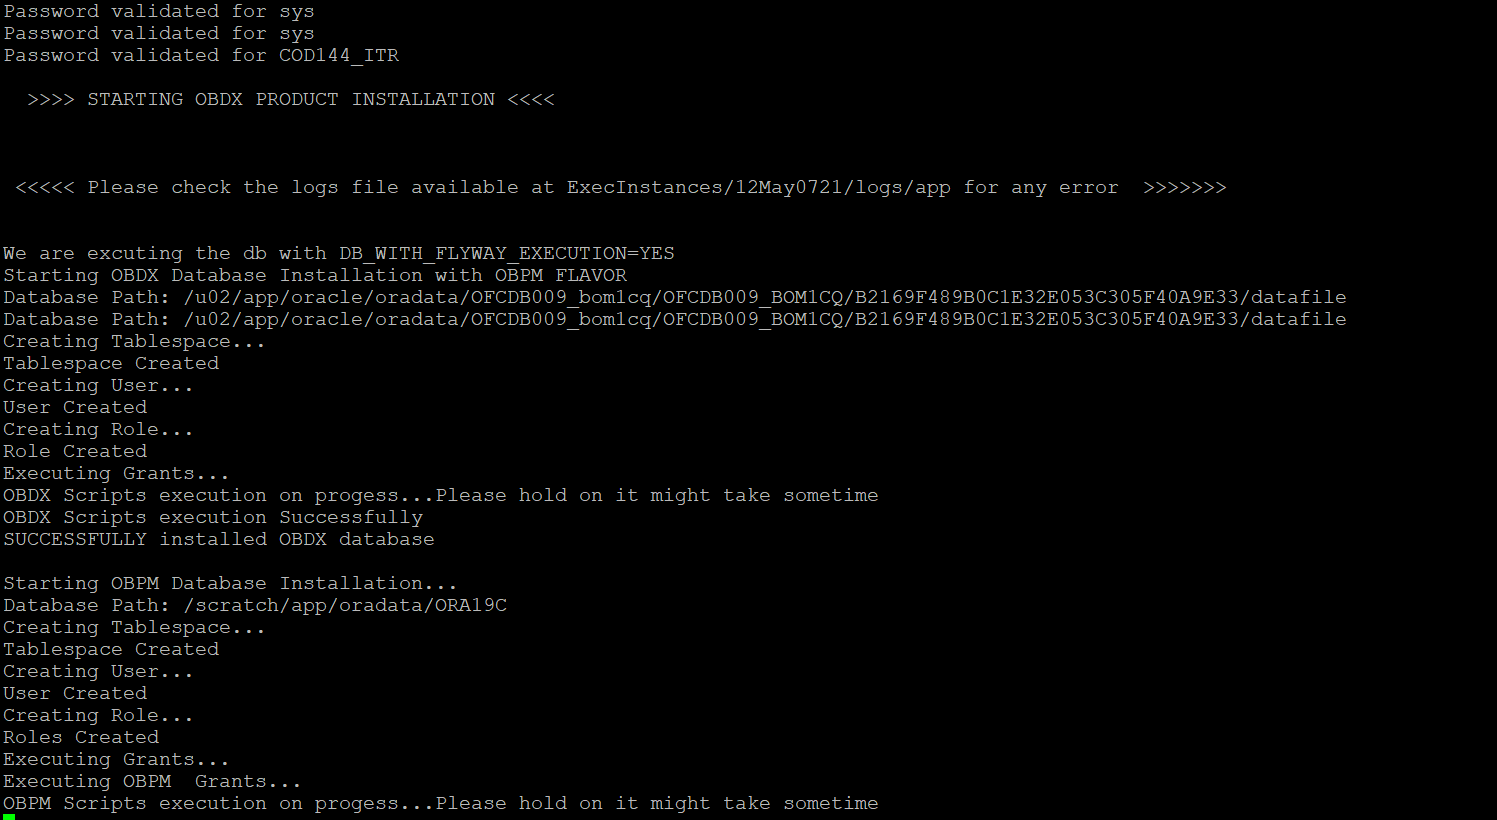
If DB_WITH_FLYWAY_EXECUTION set to YES
When the installation completes, the below message is displayed
When the installation completes, the below message is displayed


