8 Keystore and Certificate for UK Open Banking Directory
This section describes the steps to generate the ‘jks’ files and configure the same in OBDX for Open Banking Directory integration.
Steps to create ‘identity’ & ‘trust’ JKS files
- Create two different folders OBWAC and OBSEAL and perform the below steps in the
respective folders.
- One should have the bank’s OBWAC and OBSEAL configuration files(.cnf) to proceed further. Copy the files in the respective folders created above.
- To generate CSR and key files for OBWAC and OBSEAL certificate with the help of .cnf
file, execute below openssl commands
OBWAC> openssl req -new -config obwac.cnf -out obwac.csr -keyout obwac.key
OSEAL> openssl req -new -config obseal.cnf -out obseal.csr -keyout obseal.key
Note:
Enter the same pass phrase(pass1234 for example) for both obwac and obseal and make a note of it..csr and .key files have been generated with the above commands
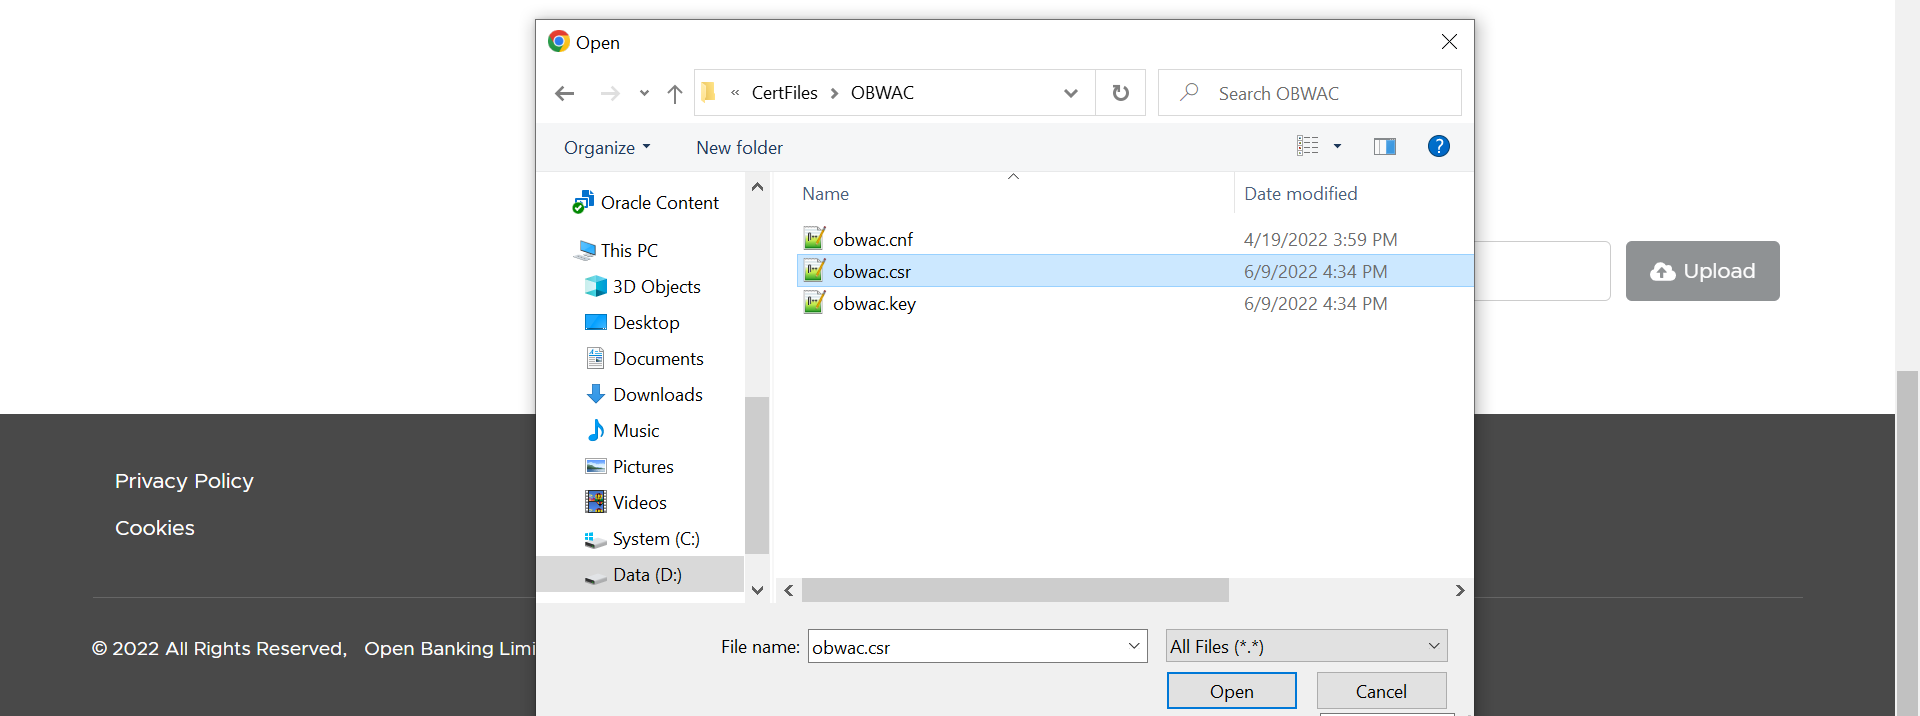
- Upload the above generated .csr files in Open Banking Directory Account to get OBWAC
and OBSEAL pem files.
Let’s assume, below output on uploading .csr files in the OB directory account
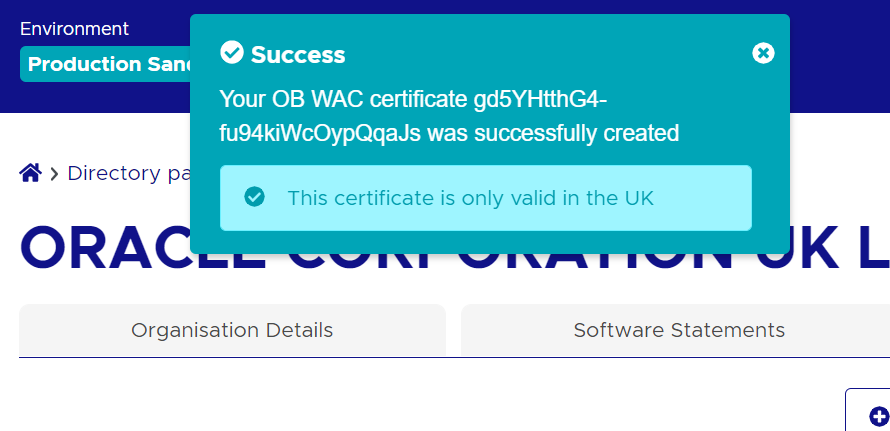
Your OB WAC certificate xT-9_jWfAME1feTKZGaf8Dd_x1s was successfully created
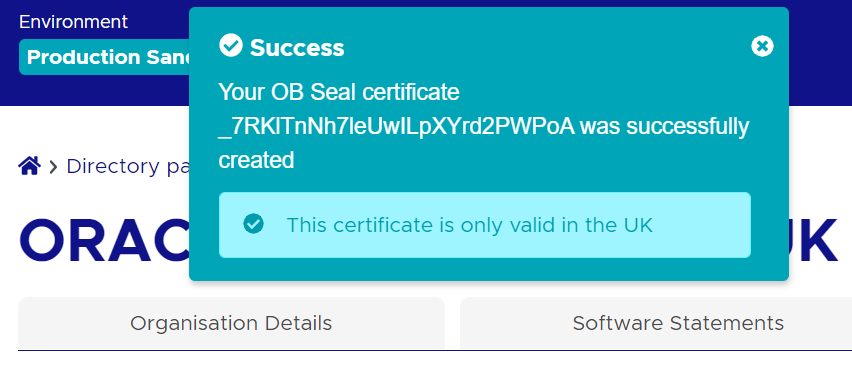
Your OB Seal certificate I6cfLYUSt91fOw13kdO0HYdlVTc was successfully created
Below are the steps to generate the OB WAC and OB Seal certificates in the Open Banking Directory Account(Note: Below screenshots are from the Sandbox account, kindly use Production Open Banking Directory Account details for the production setup)
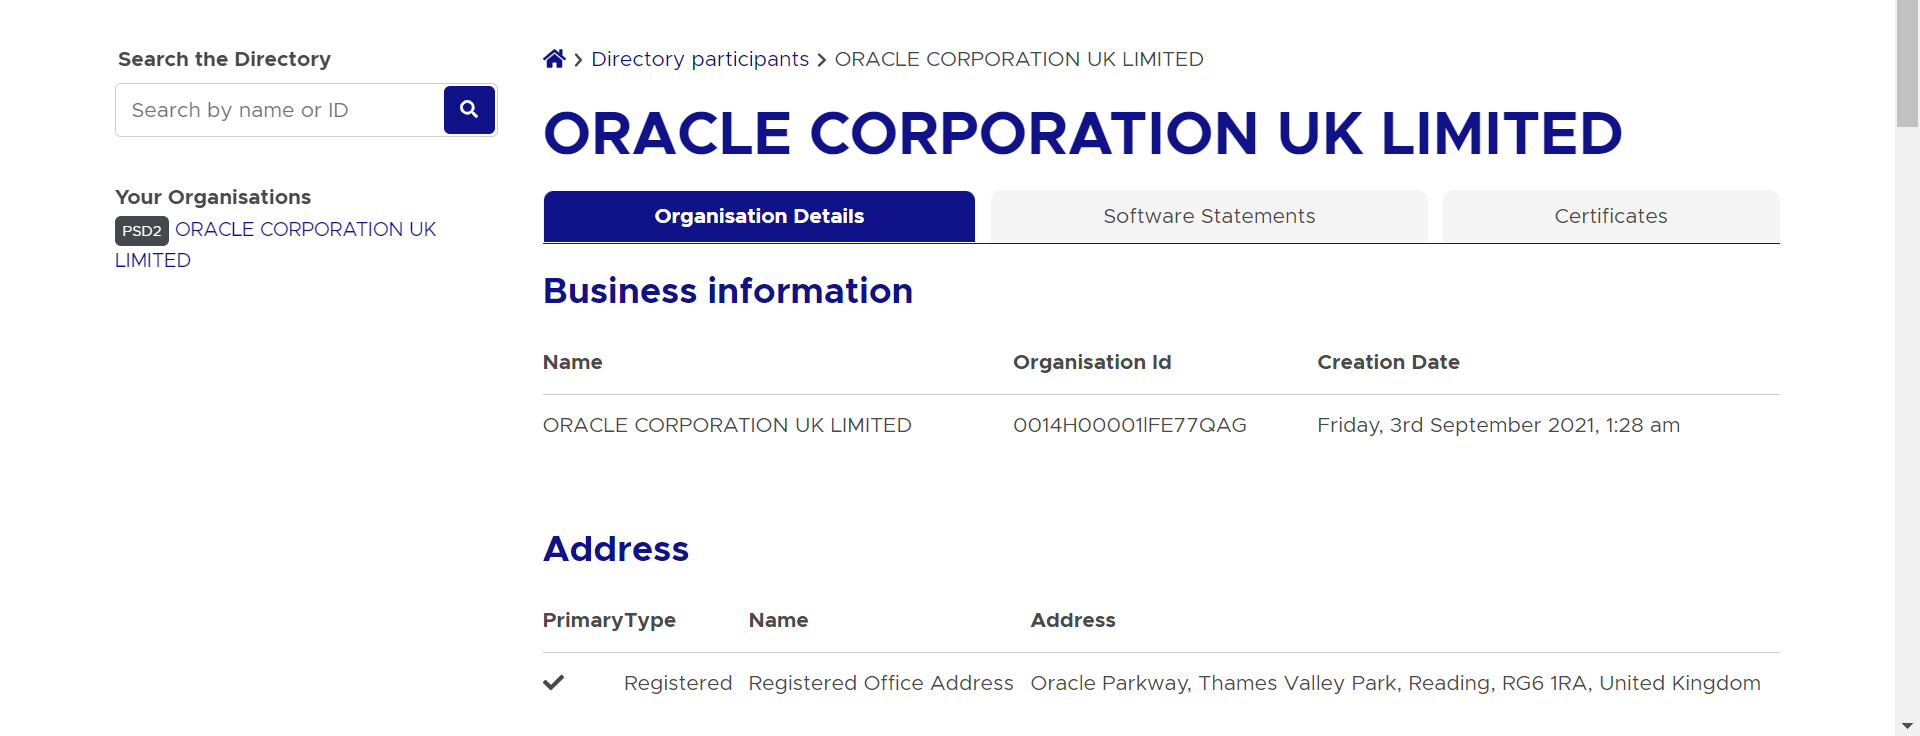
- Login with Open Banking Directory account credentials and select the desired
Directory Participant(Your Organization).
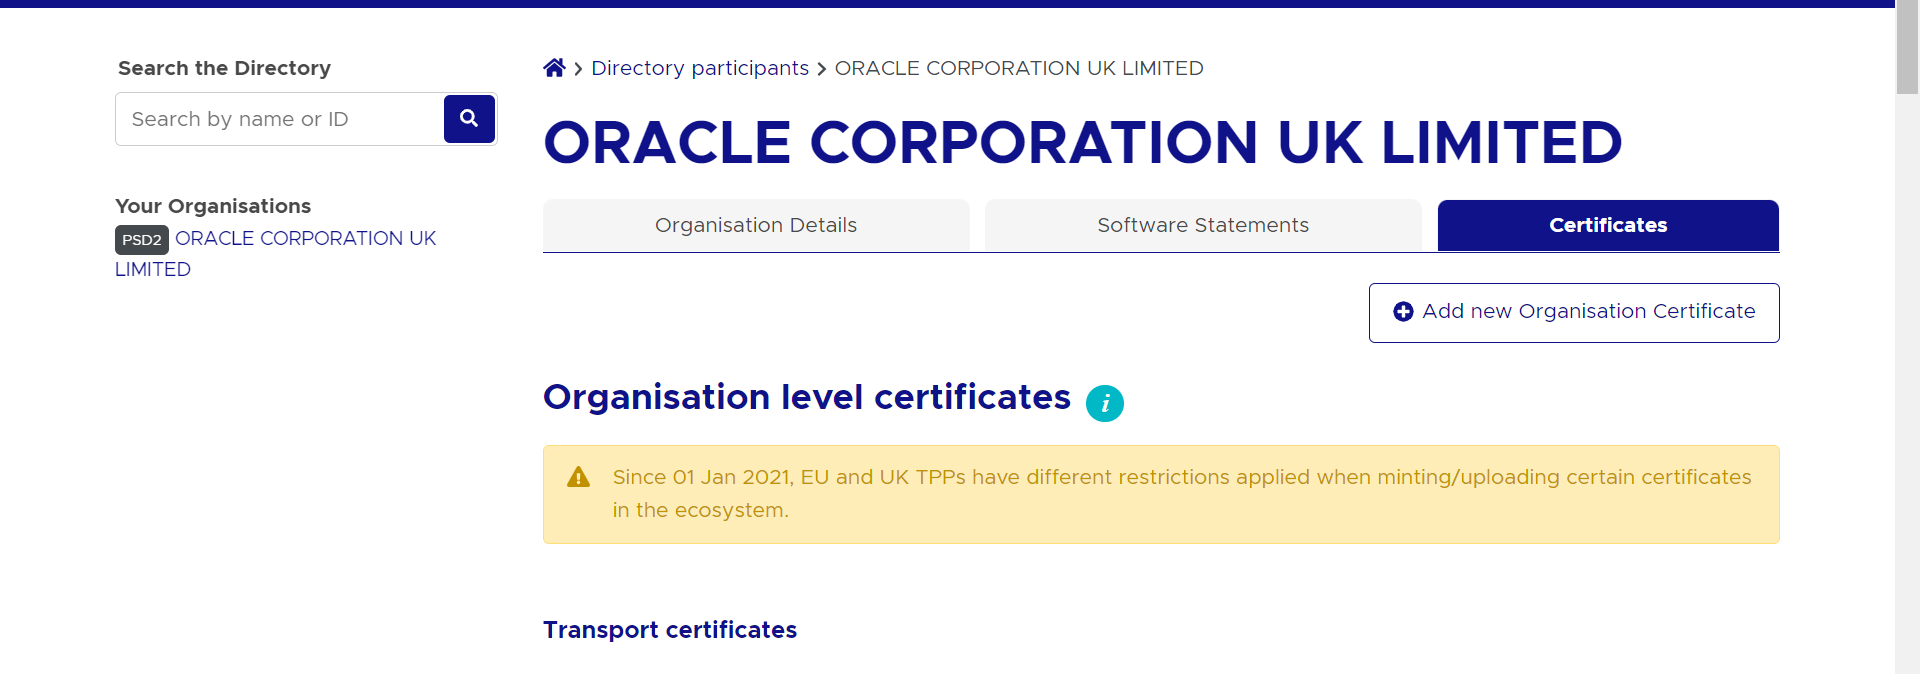
- Go to ‘Certificates’ tab
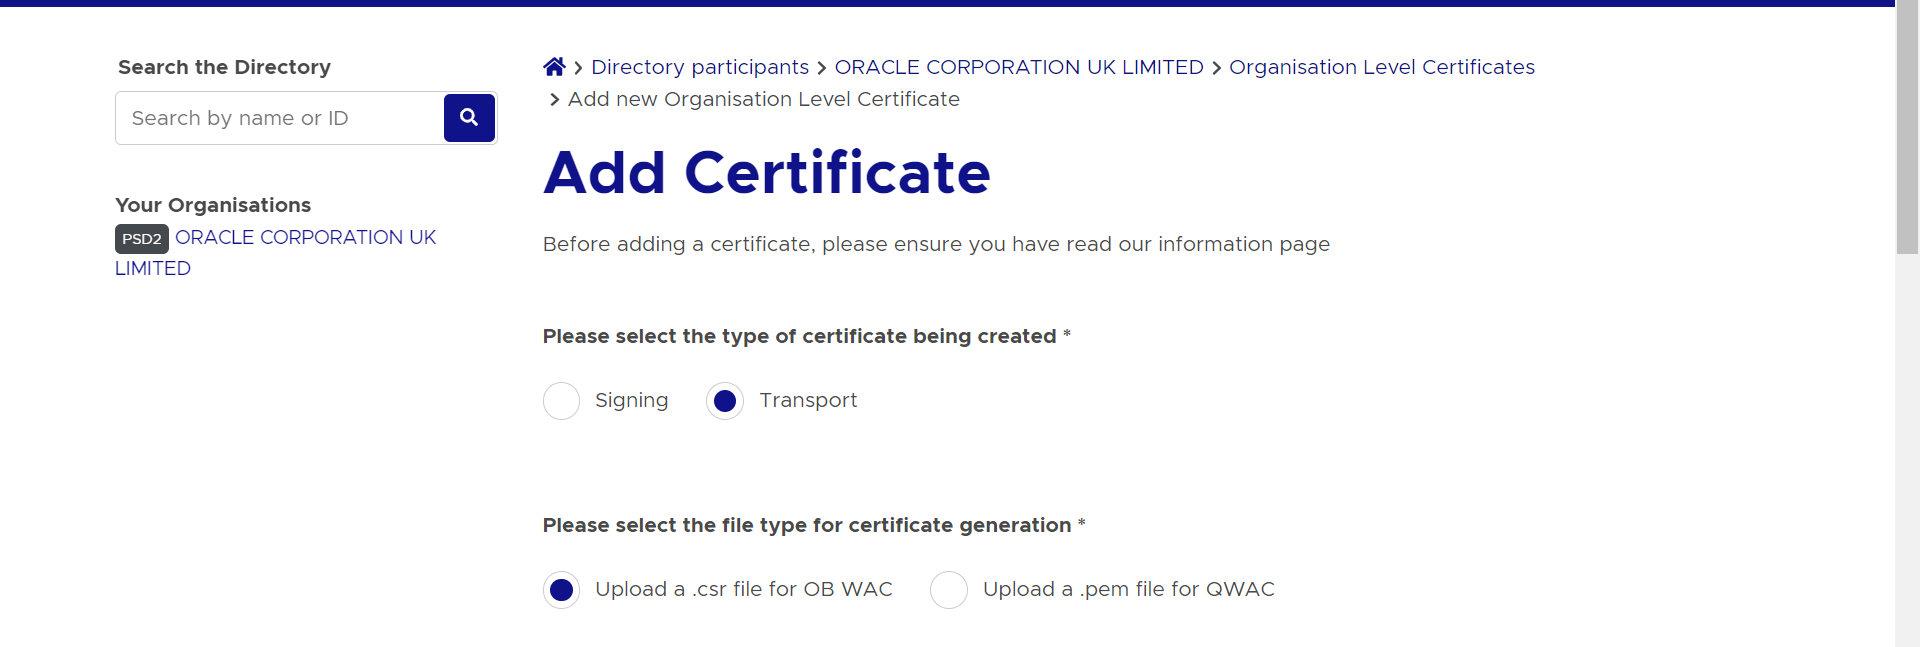
- Click on ‘Add new Organisation Certificate’ button
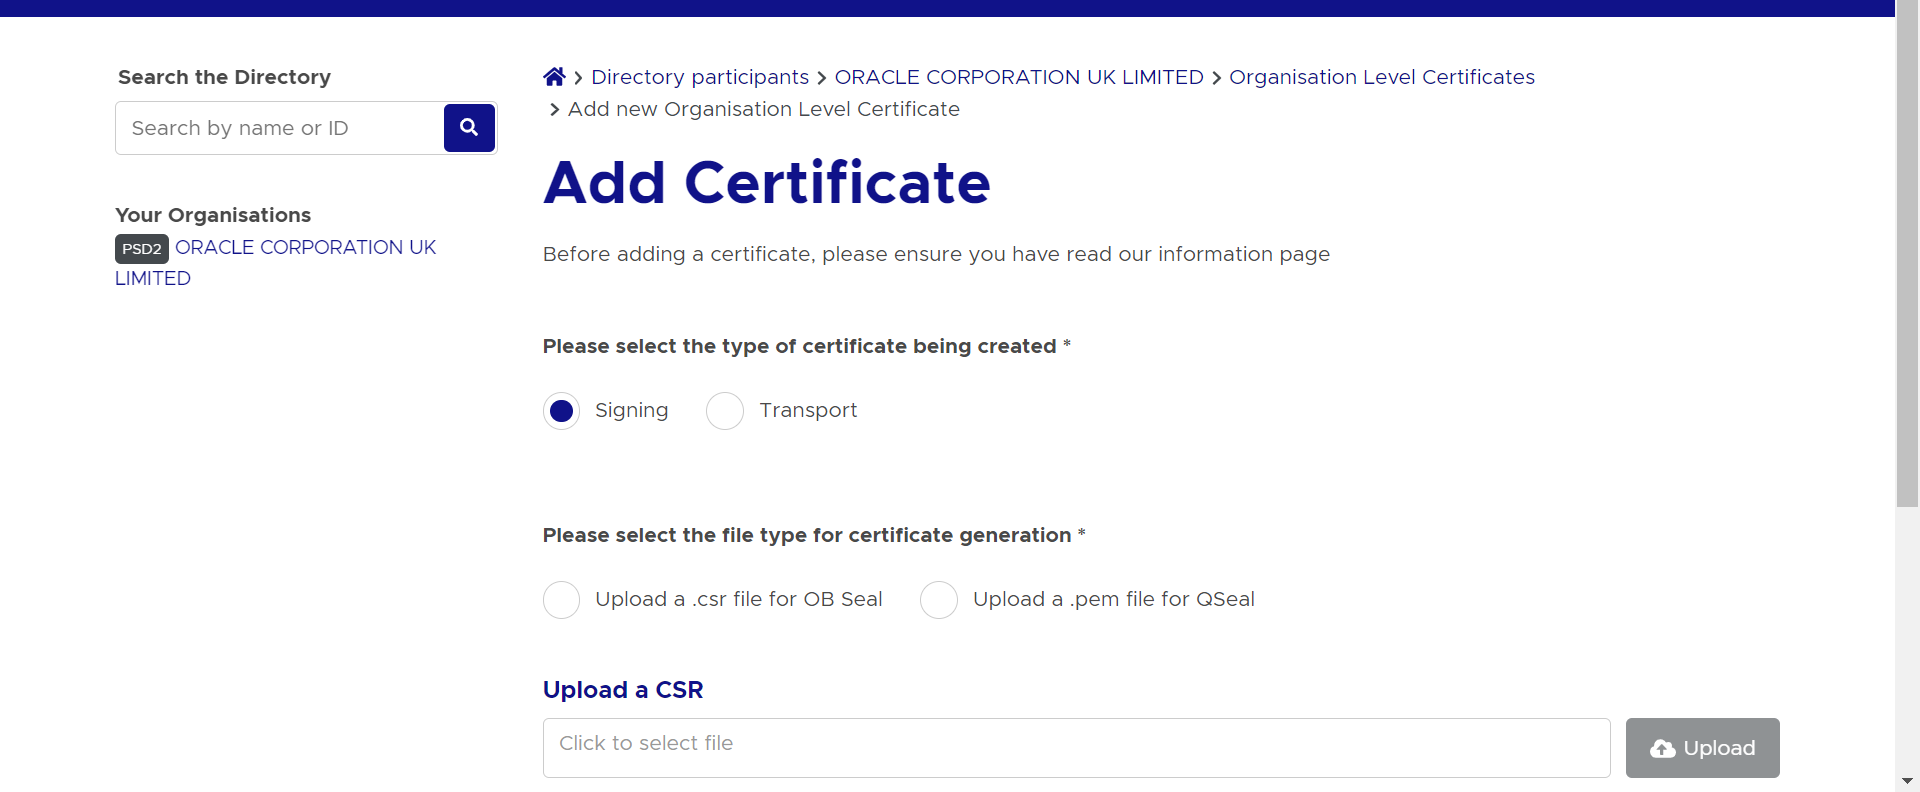
- Select ‘Signing’ radio button to upload OB Seal .crs file
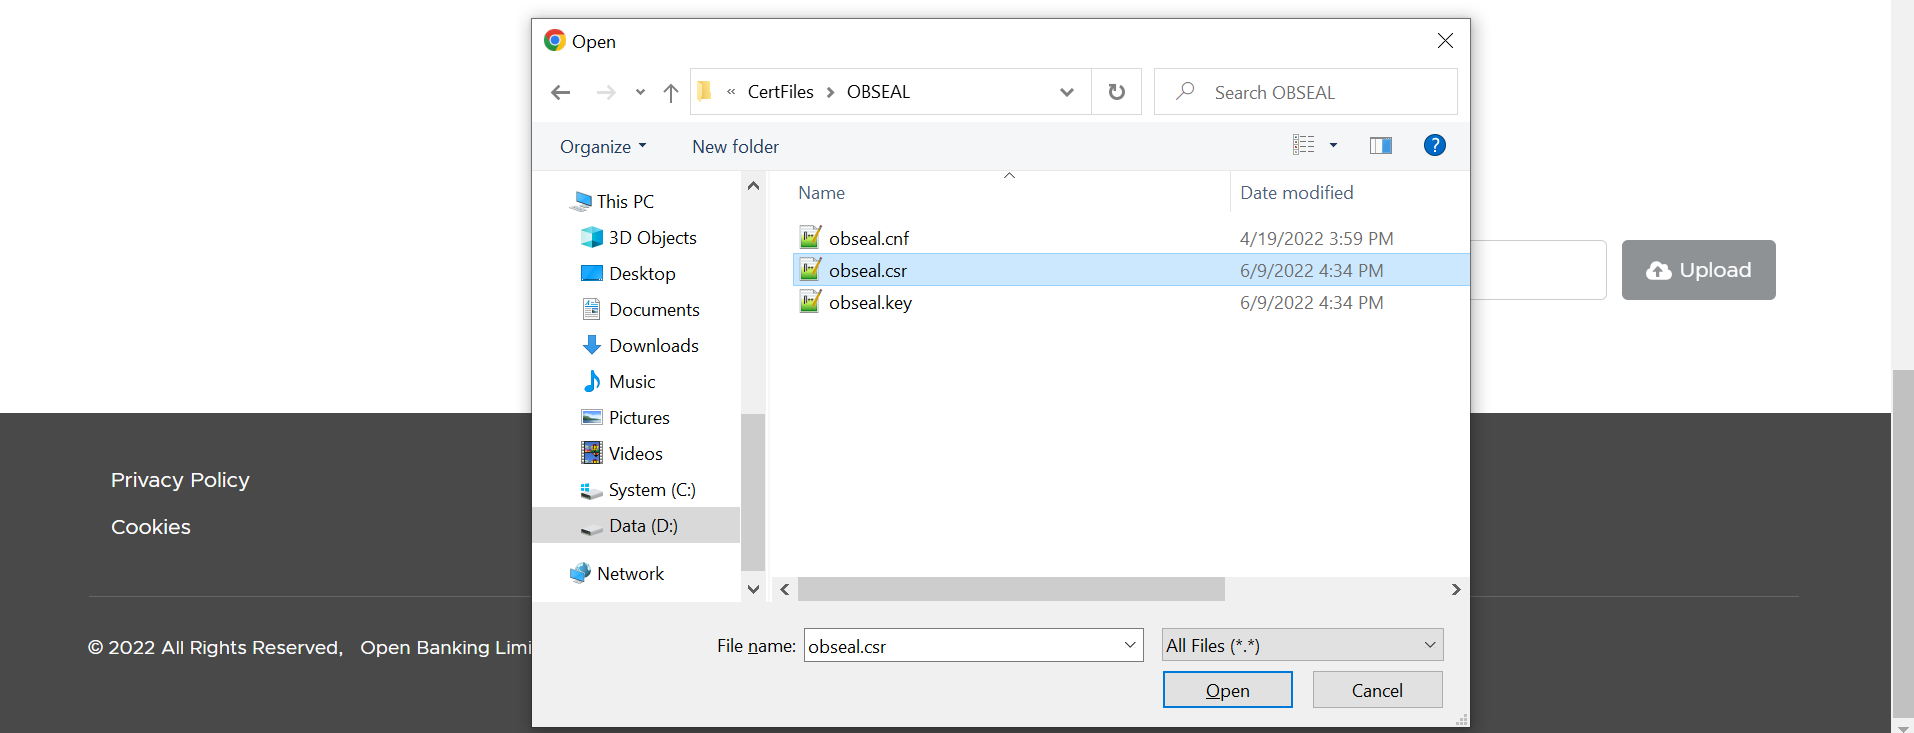
- Select and upload the OB Seal .csr file
- Clicking on the ‘Upload’ button will upload and display success popup
- Repeat the above steps for OB WAC certificate generation. Select the
‘Transport’ radio button for OB WAC.
- Generated certificates would be visible on the certificates listing page.
Certificate .pem files can be downloaded with the help of ‘Get PEM’ button displayed next to the respective certificates
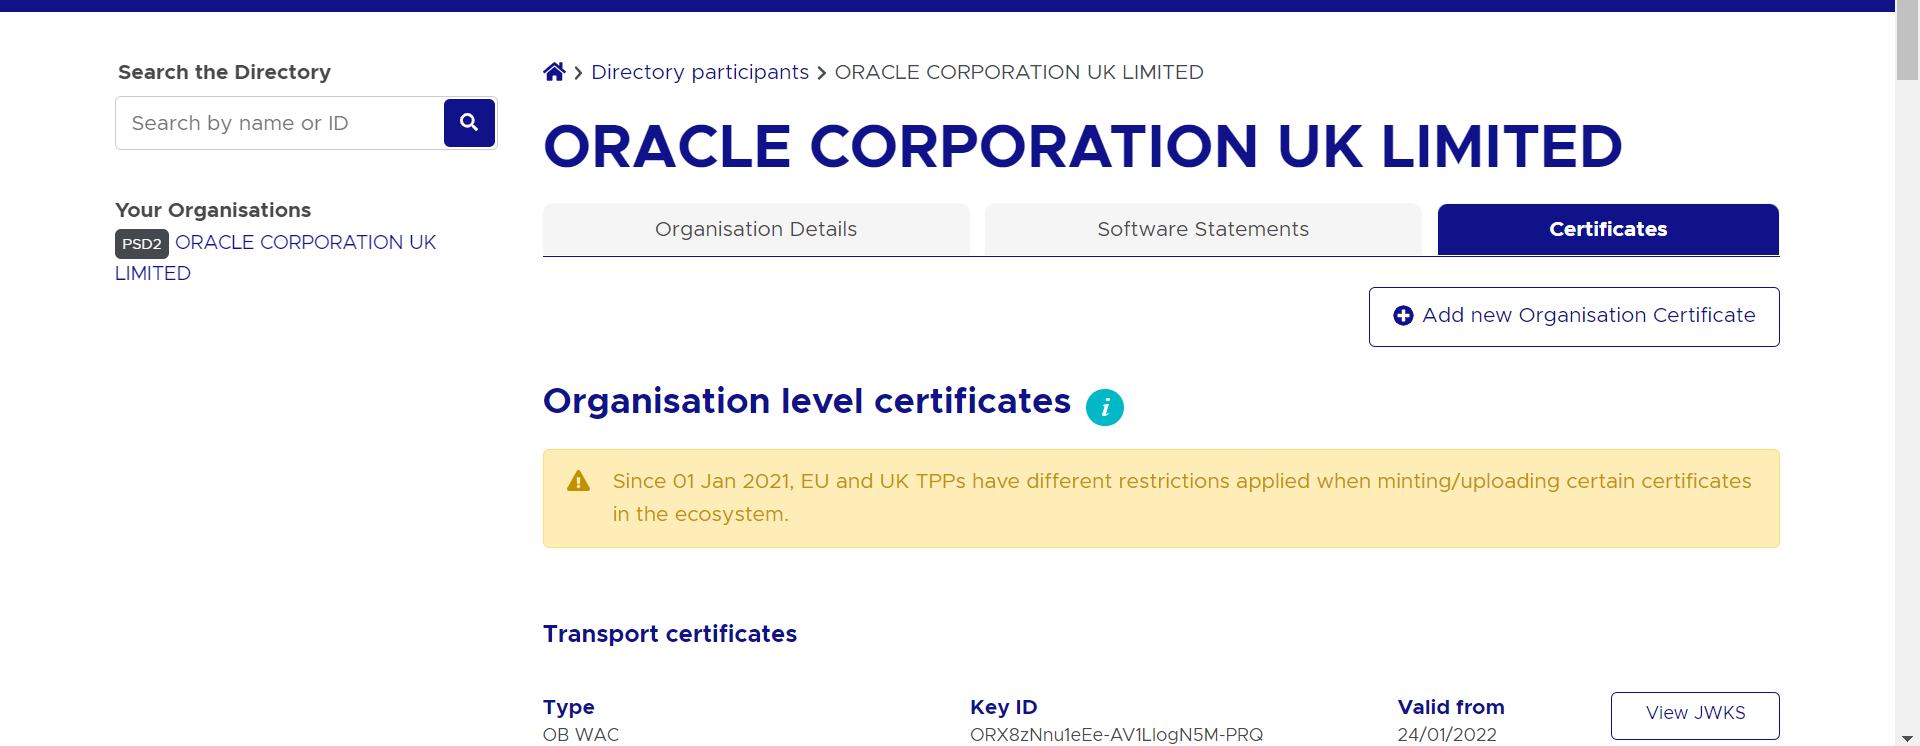
Description of the illustration ukopen20.png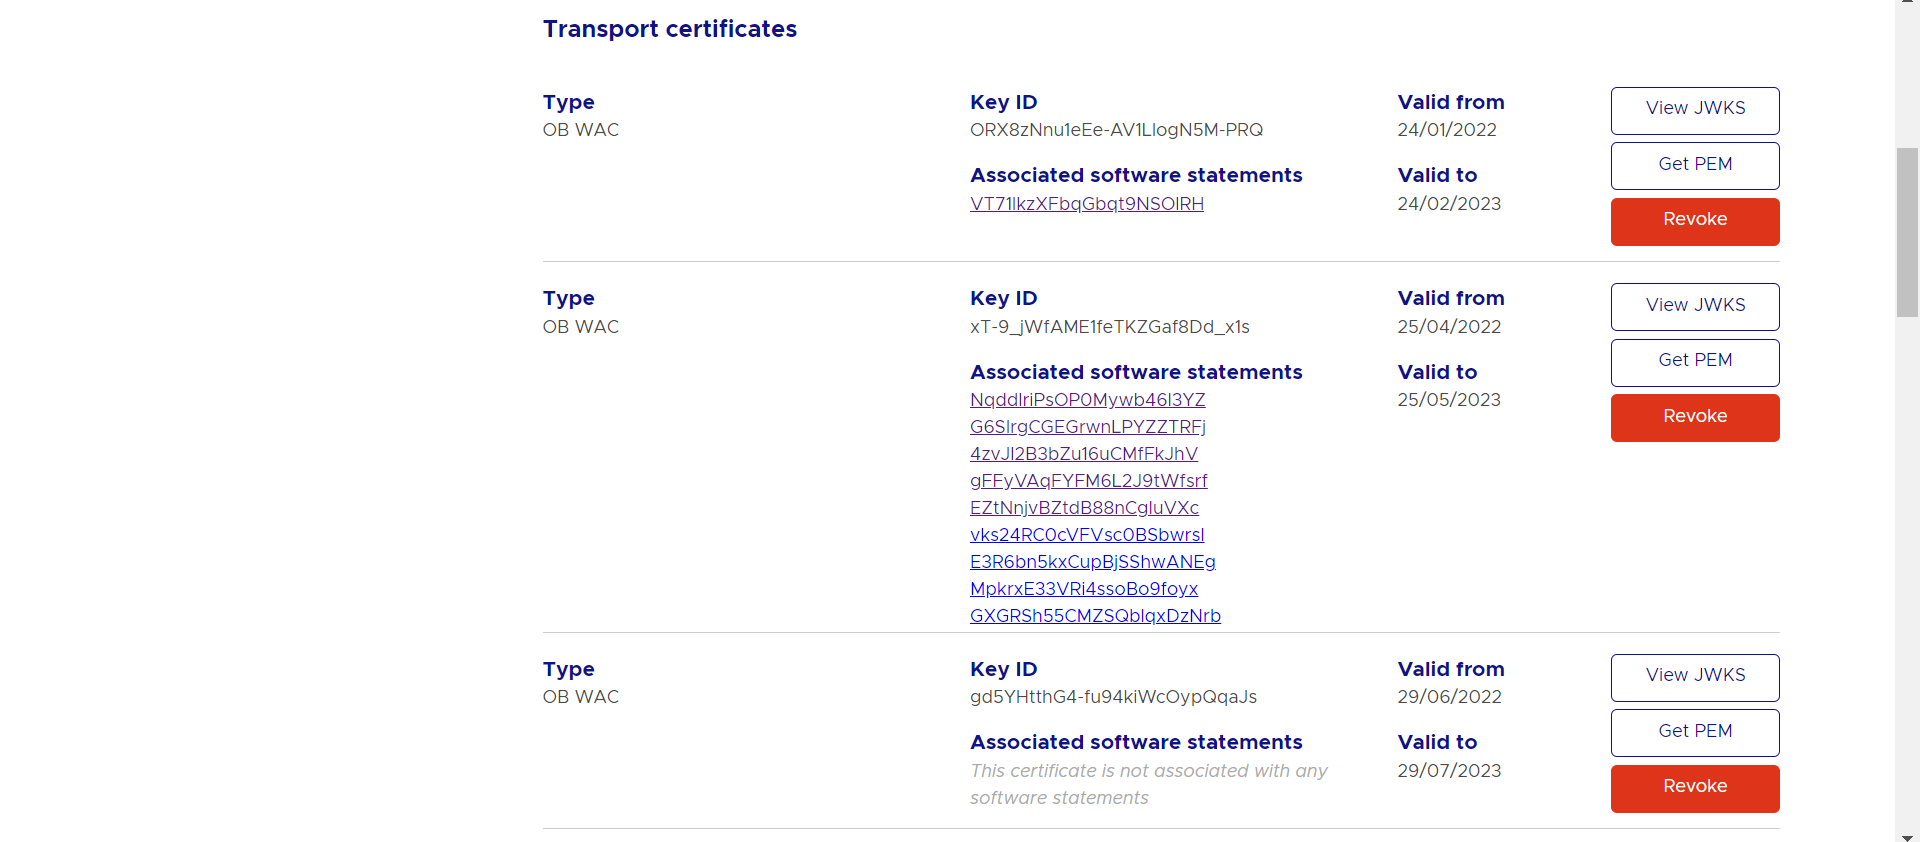
Description of the illustration ukopen21.png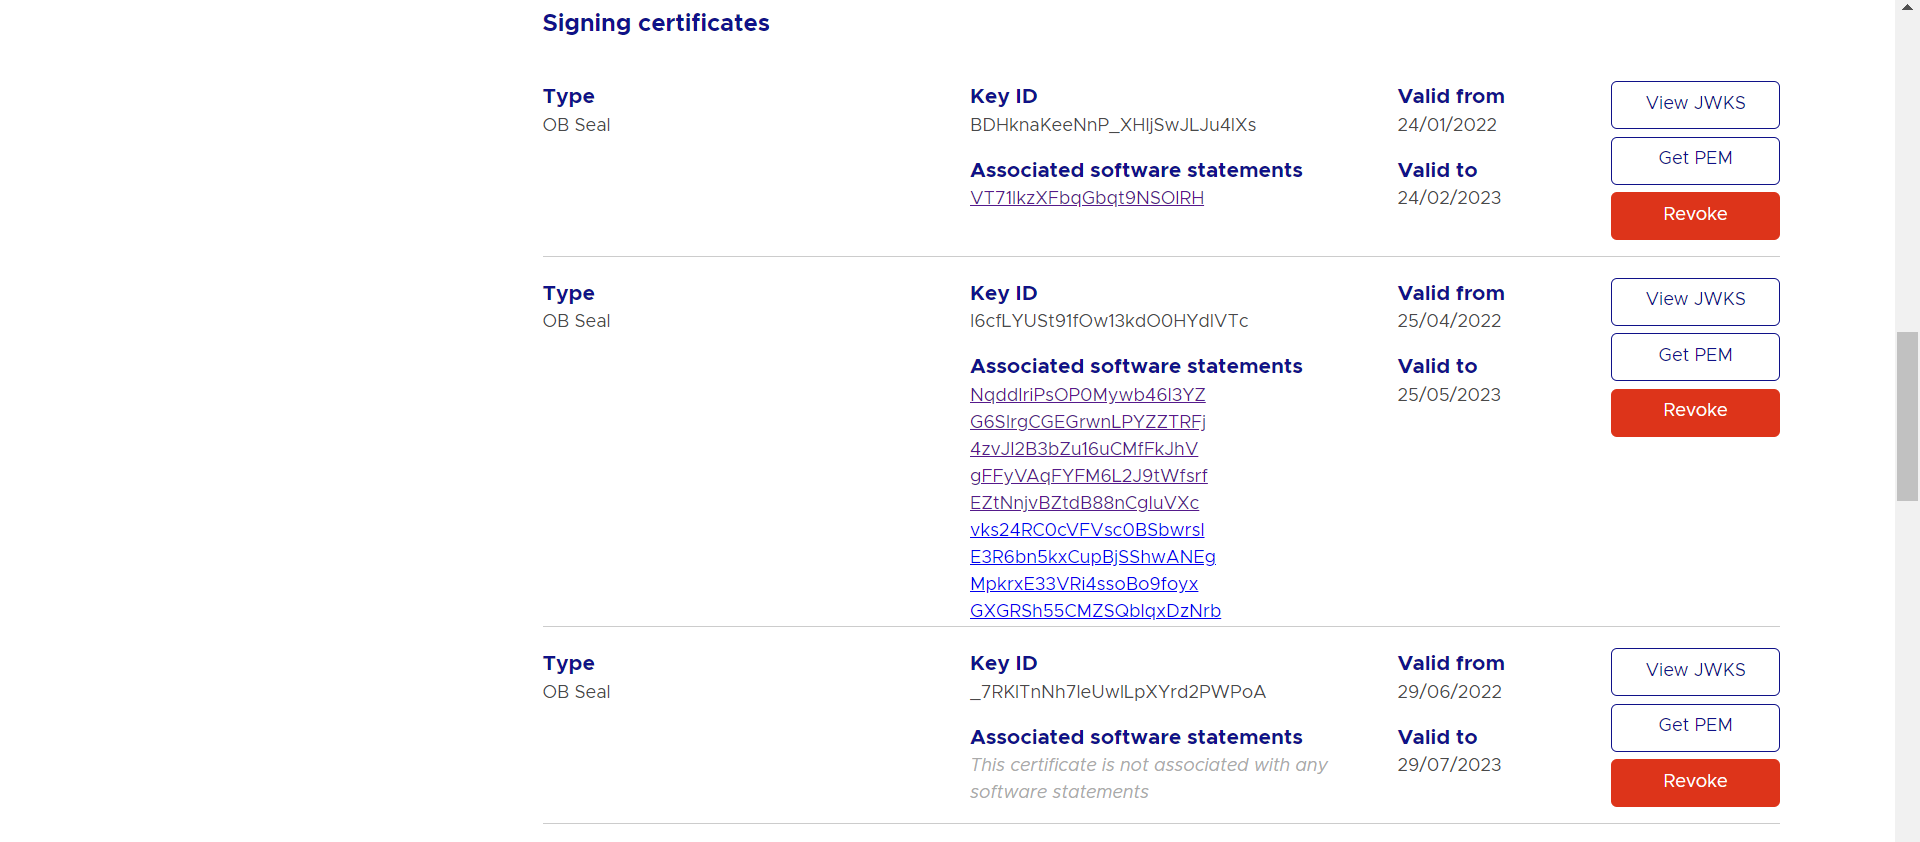
Description of the illustration ukopen22.png
- Login with Open Banking Directory account credentials and select the desired
Directory Participant(Your Organization).
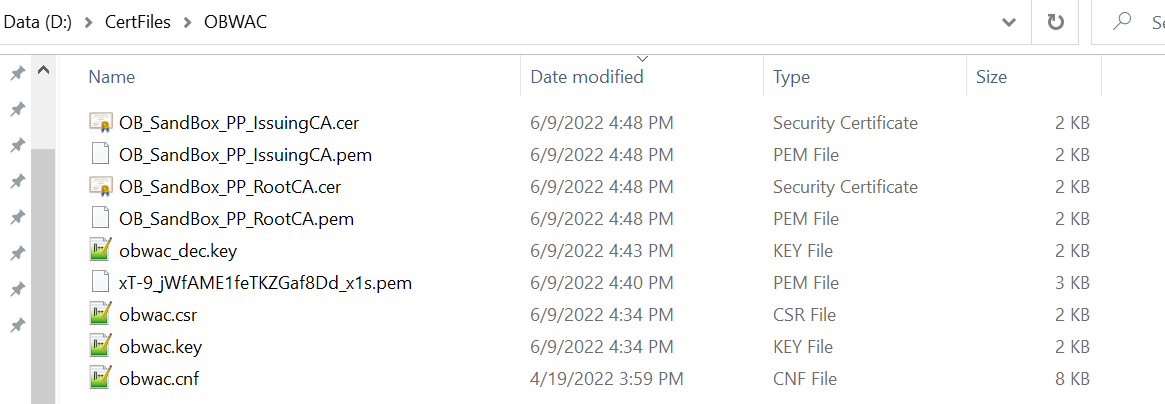
- Download the generated OBWAC and OBSEAL files and copy in the respective folders
which have created locally. Change the extension from ‘.cer’ to ‘.pem’ of the
downloaded files if required.
- Generate decrypted keys by executing below commands
OBWAC> openssl rsa -in obwac.key -out obwac_dec.key
OBSEAL> openssl rsa -in obseal.key -out obseal_dec.key
Enter the pass phrase ‘pass1234’ when provided, which had been entered at the time of the .key files.
- Download OB Root and Issuing Certificates from the Open Banking directory
- URL for sandbox certificates: https://openbanking.atlassian.net/wiki/spaces/DZ/pages/252018873/OB+Root+and+Issuing+Certificates+for+Sandbox
- URL for production certificates: https://openbanking.atlassian.net/wiki/spaces/DZ/pages/80544075/OB+Root+and+Issuing+Certificates+for+Production
- Create a copy of both the downloaded certificate files and change the extension from
.cer to .pem and copy in the OBWAC folder. Keep the file names same
- OB_SandBox_PP_IssuingCA.cer to OB_SandBox_PP_IssuingCA.pem
- OB_SandBox_PP_RootCA.cer to OB_SandBox_PP_RootCA.pem
Note:
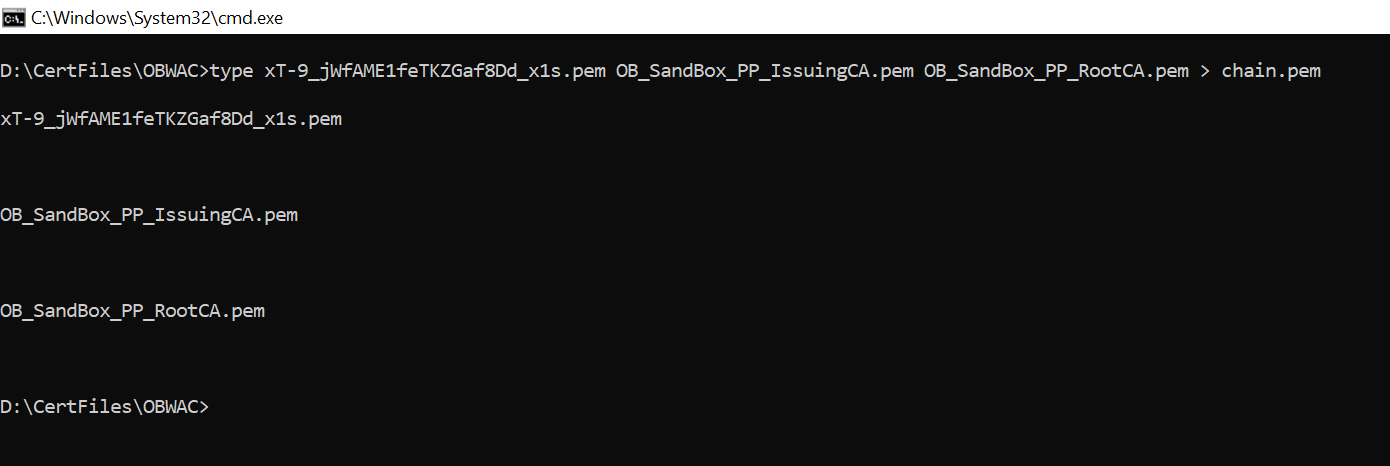
Remove the spaces from the pem file names if there are any. - Use ‘cat’ command on linux or ‘type’ command in Windows machine to build the
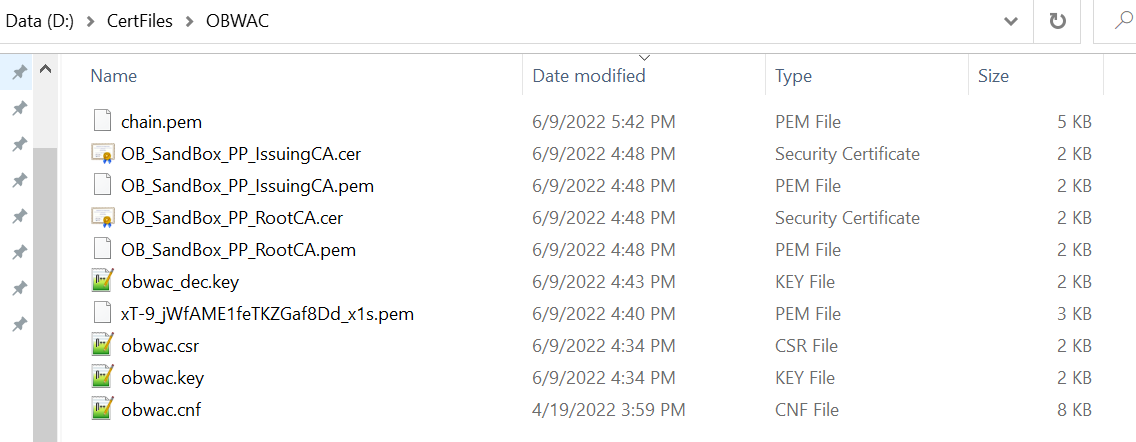
certificate chain from the above three .pem files
- cat xT-9_jWfAME1feTKZGaf8Dd_x1s.pem OB_SandBox_PP_IssuingCA.pem
OB_SandBox_PP_RootCA.pem > chain.pem
OR
- type xT-9_jWfAME1feTKZGaf8Dd_x1s.pem OB_SandBox_PP_IssuingCA.pem
OB_SandBox_PP_RootCA.pem > chain.pem
- cat xT-9_jWfAME1feTKZGaf8Dd_x1s.pem OB_SandBox_PP_IssuingCA.pem
OB_SandBox_PP_RootCA.pem > chain.pem
- Creating Custom Keystore and importing chain
WebLogic Server Java Utilities is used to create the custom keystore and importing private key & the certificates chains.
Resource URL for reference: https://docs.oracle.com/cd/E13222_01/wls/docs81/admin_ref/utils20.html
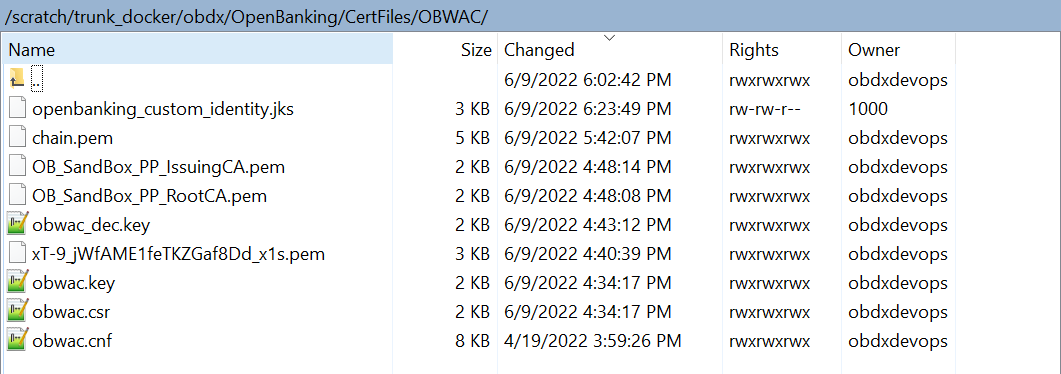
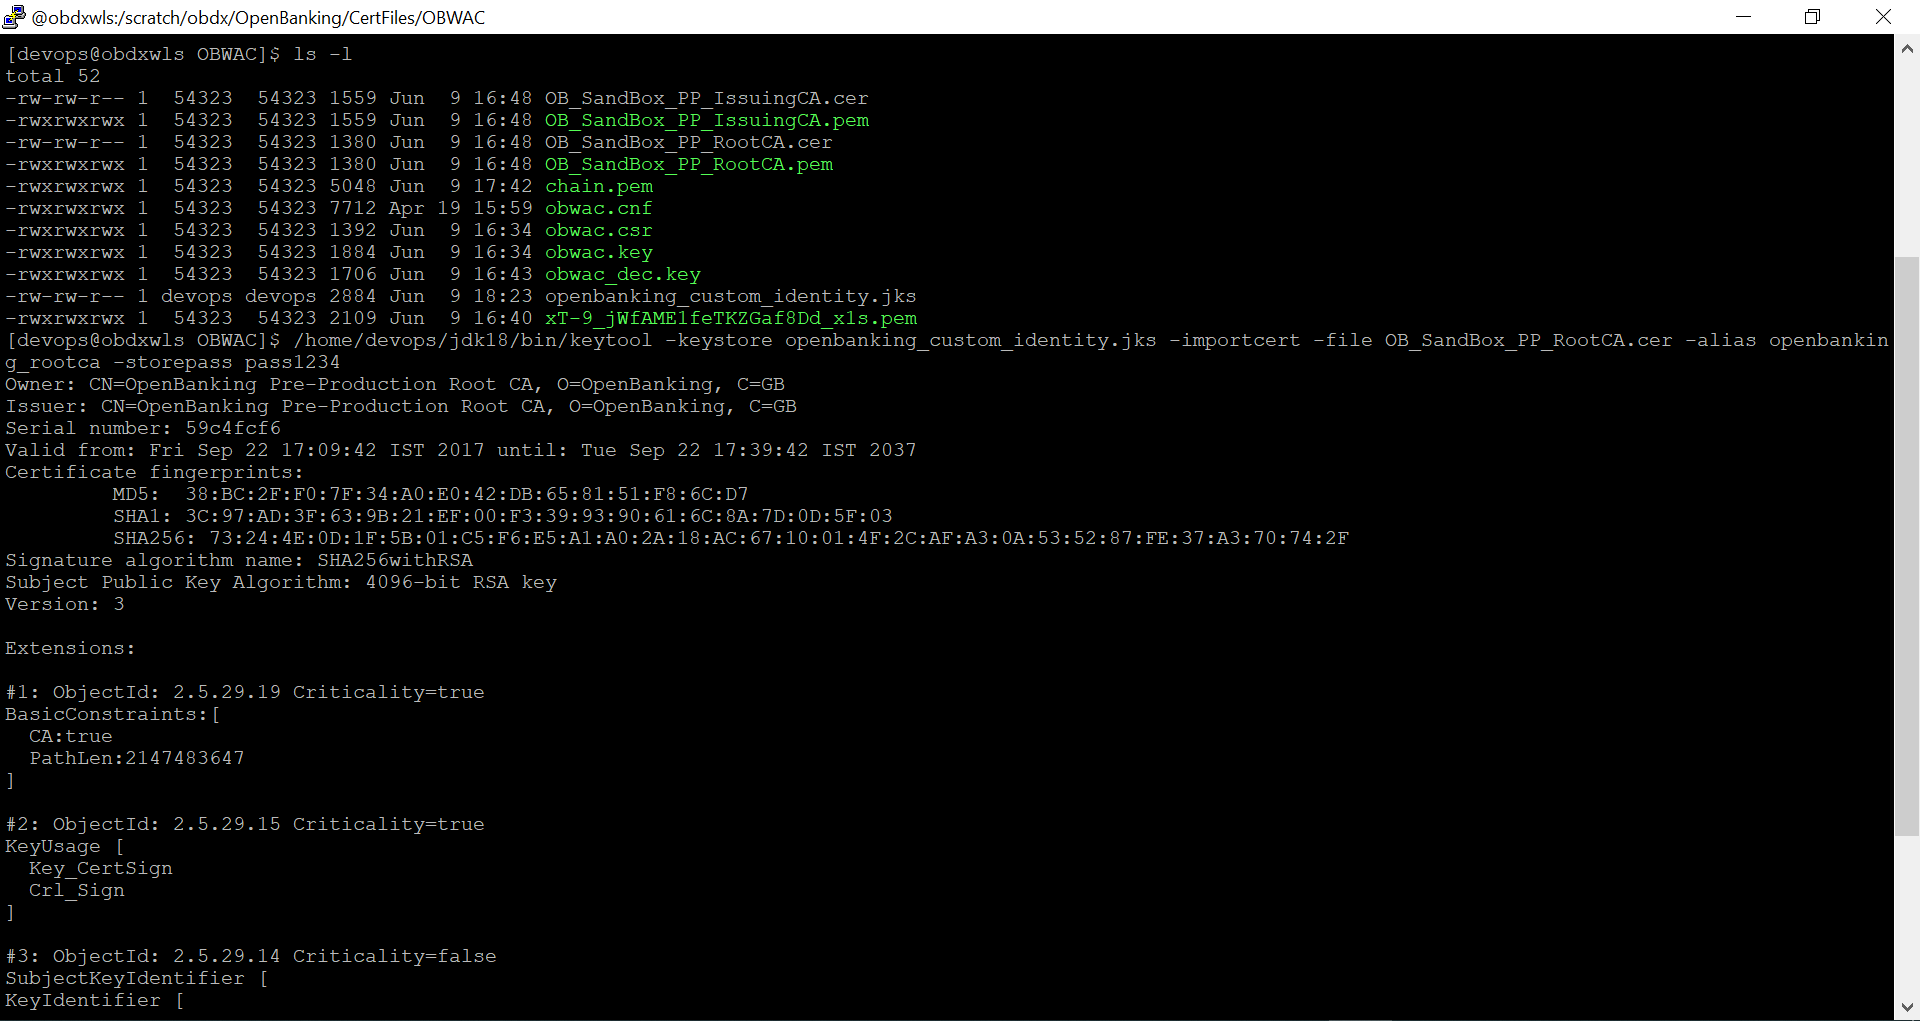
Execute the below command with files in the OBWAC directory
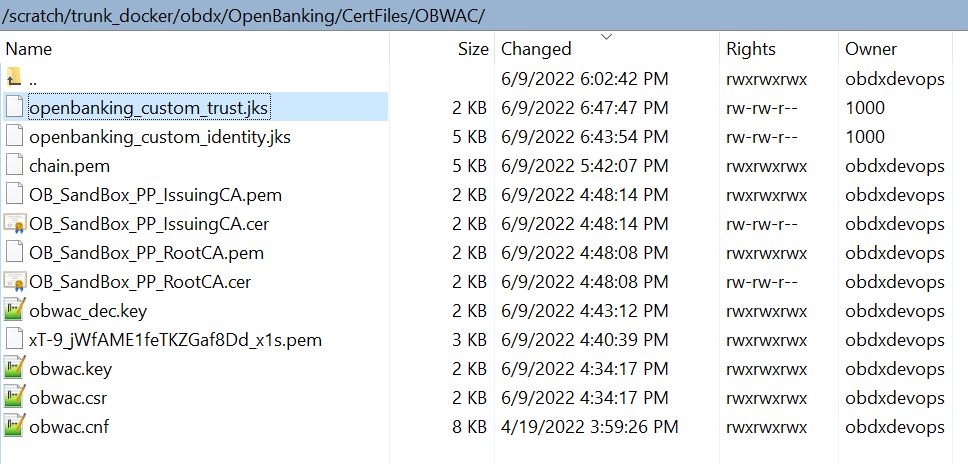
java -cp /home/devops/Oracle/Middleware/Oracle_Home/wlserver/server/lib/weblogic.jar utils.ImportPrivateKey -certfile chain.pem -keyfile obwac_dec.key -keystore openbanking_custom_identity.jks -storepass pass1234 -alias openbanking_obtrans
Note:
“/home/devops/Oracle/Middleware/Oracle_Home/wlserver/server/lib/” this path is to locate the weblogic.jar file, this may differ as per the setup.A new .jks file with the filename ‘openbanking_custom_identity.jks’ is created.
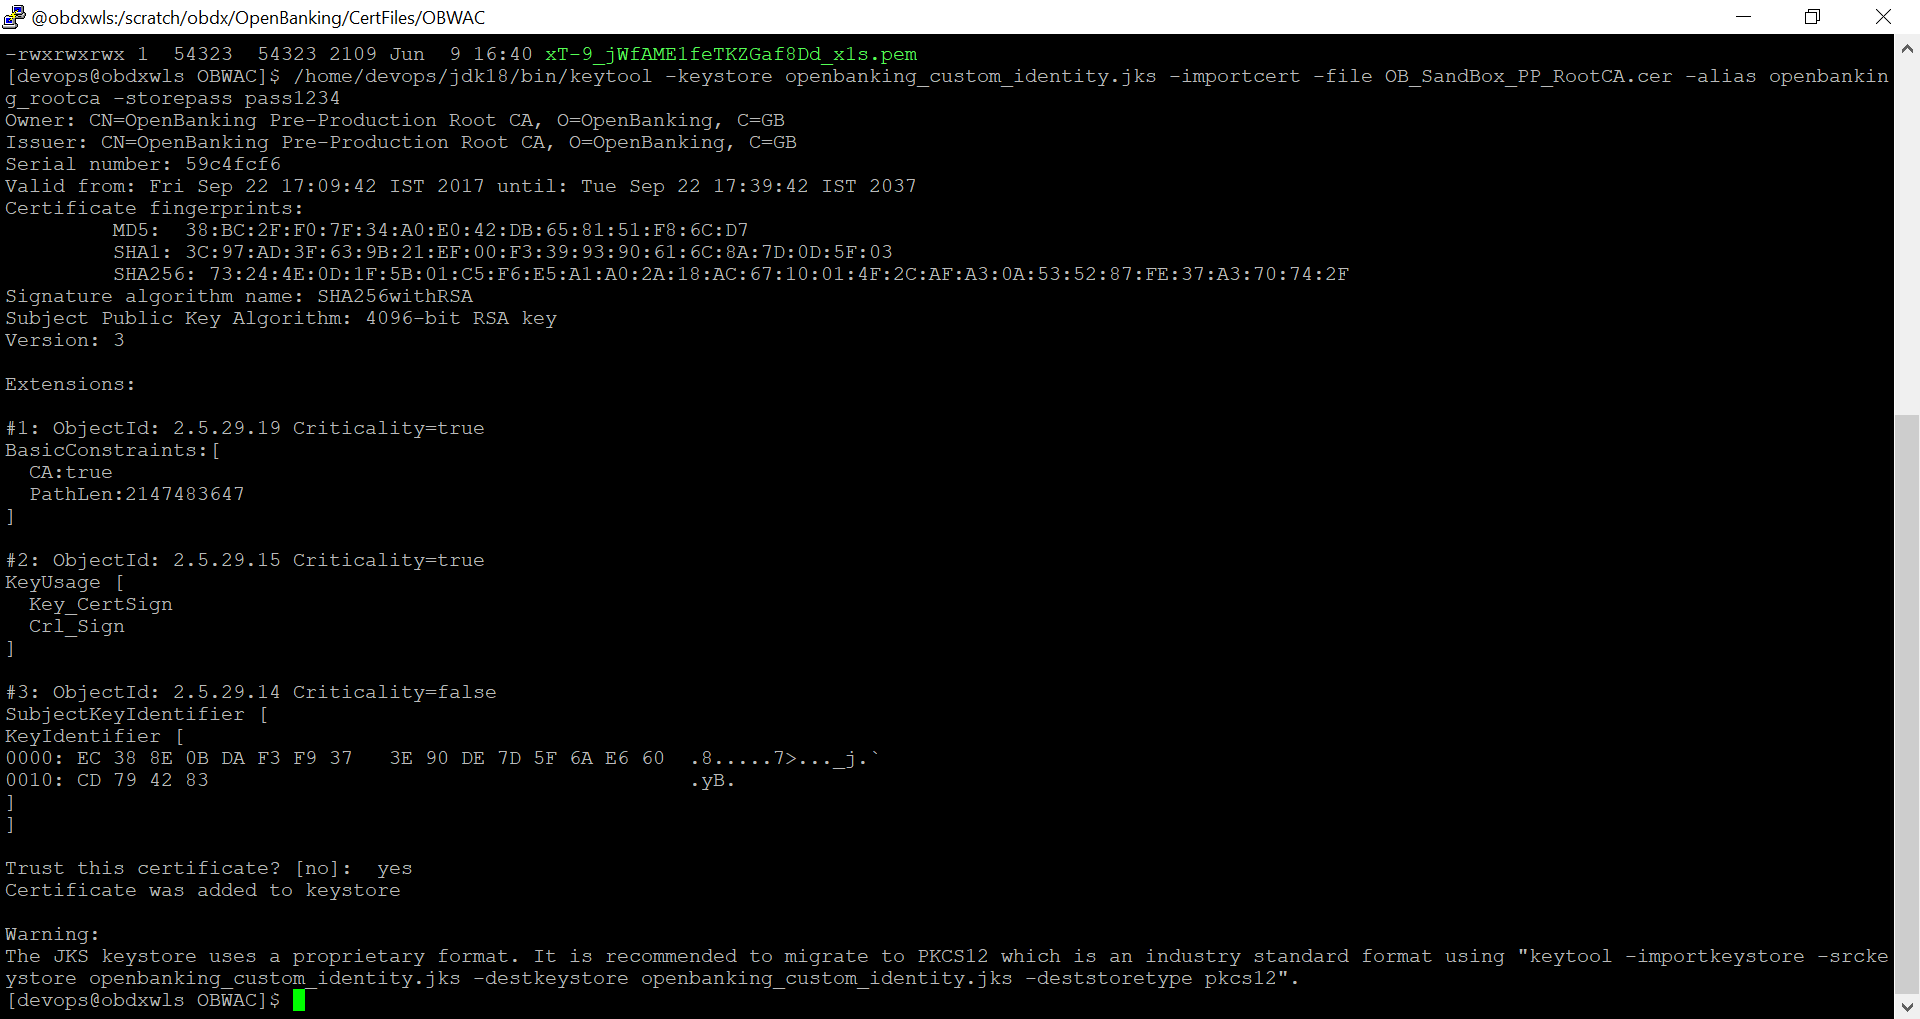
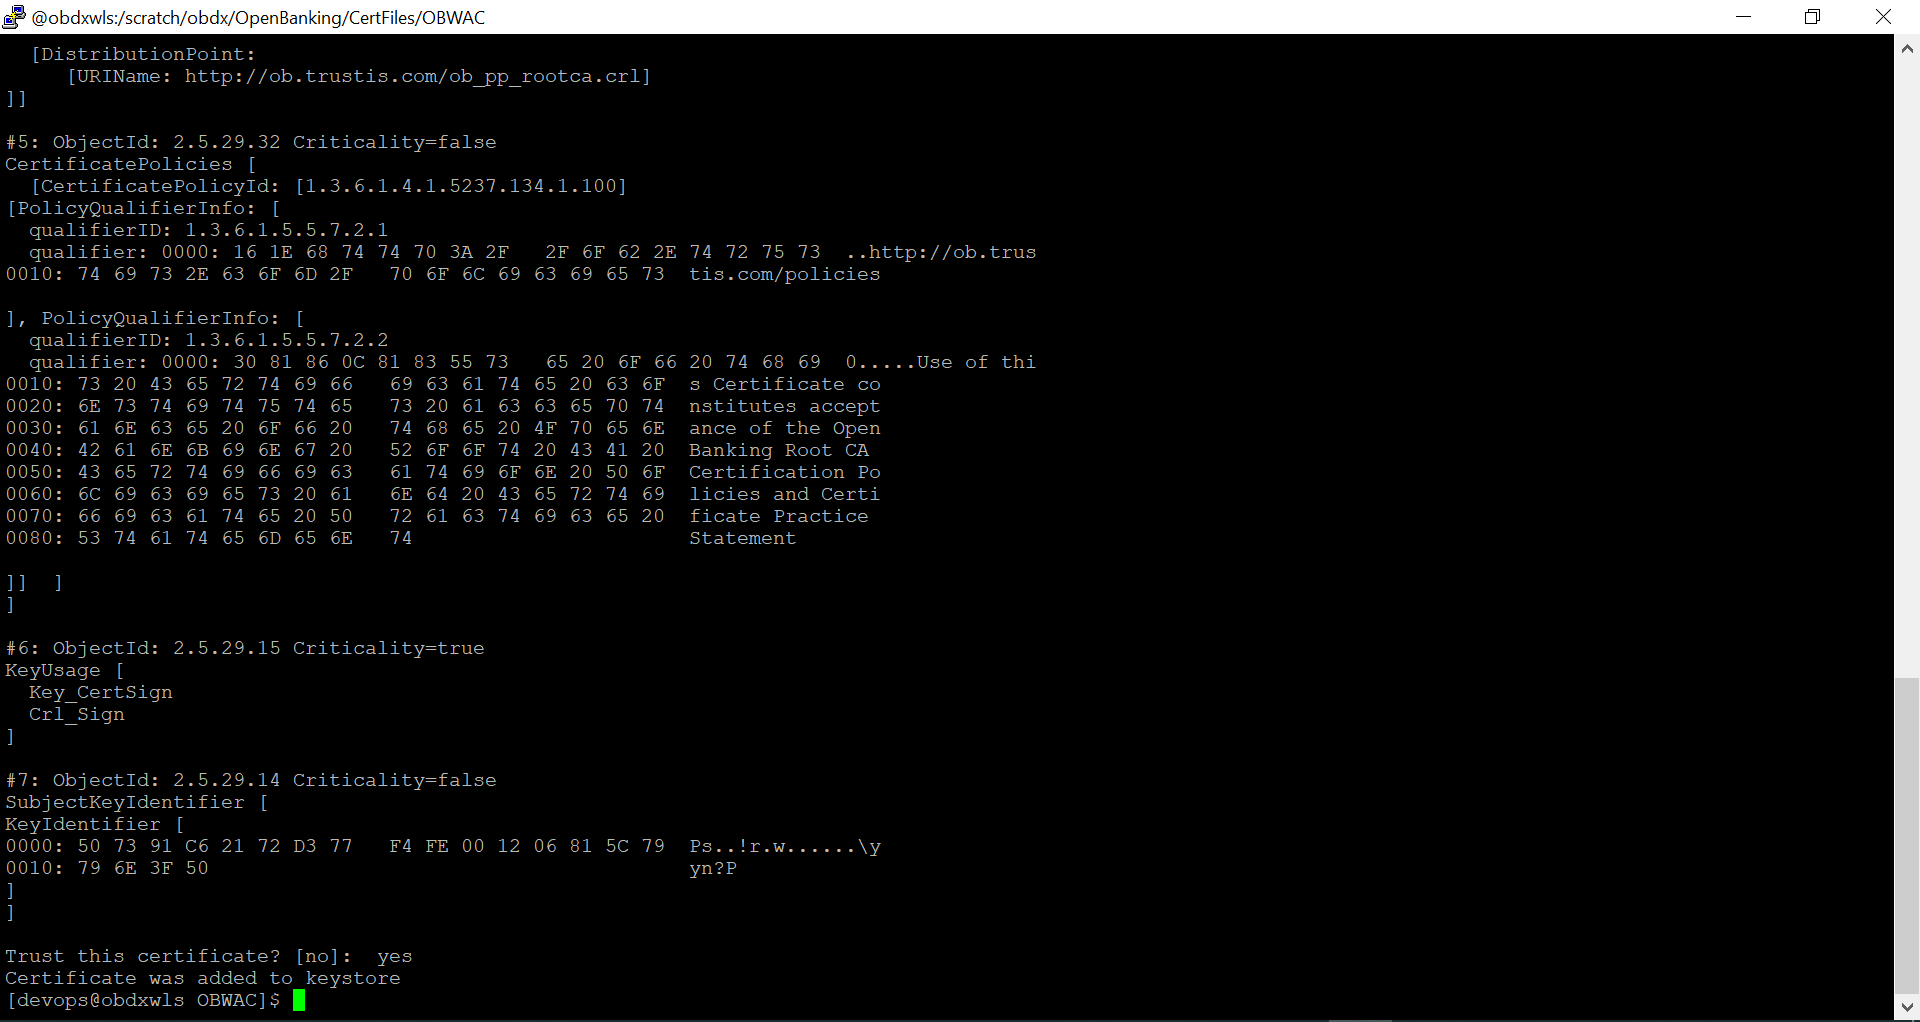
- Creating Custom Identity Trust
Execute below two commands.
Enter ‘yes’ and press enter when prompted “Trust this certificate? [no]:”.
Note:
“/home/devops/jdk18/bin/” this path is to locate the java keytool, this may differ as per the setup.-
- /home/devops/jdk18/bin/keytool -keystore
openbanking_custom_trust.jks -importcert -file
OB_SandBox_PP_IssuingCA.cer -alias openbanking_issueca -storepass
pass1234
Another .jks file with filename ‘openbanking_custom_trust.jks’ is created.
Note:
OpenSSL 1.1.1n 15 Mar 2022 is used to perform above steps.
-


