- Getting Started User Guide
- How Tos
- Configure Dashboard
4.3 Configure Dashboard
You can configure Dashboard to add, remove, or reorder a widget based on the requirements.
- To configure a tile, perform the following steps:
- On the Dashboard, click Configure Tile.The Configure Dashboard Tile popup page appears.
- Select one of the following options:Allow the user to...
Table 4-4 Options and their Descriptions
Option Description Insert or Remove the tile
If selected, you can remove the dashboard widget from the dashboard-landing page.
Reorder the tile
If selected, you can rearrange the dashboard widget on the dashboard-landing page.
Put the tile into other states:Table 4-5 Tile States and their Descriptions
State Description Flipped
If selected, you can flip the dashboard widget for more information.
Expanded
If selected, you can expand the dashboard widget on the Dashboard landing page.
Flipped and Expanded at the same time
If selected, you can flip and expand the dashboard widget on the Dashboard landing page.
- Click Close to update the dashboard widget configuration.
- On the Dashboard, click Configure Tile.
- To remove the dashboard widget from the landing page, click the
Remove icon.
The removed widgets are available under the Add Tiles option.
- To drop the dashboard widget at the desired place, select and drag the
Drag to Reorder icon.The page is automatically refreshed and displays the updated order.
- To view all the information on the dashboard widget, click Expand Tile.The expanded widget appears on a complete row to view more information.
- To add a tile, perform the following steps:
- Click Add Tiles to Dashboard to add more
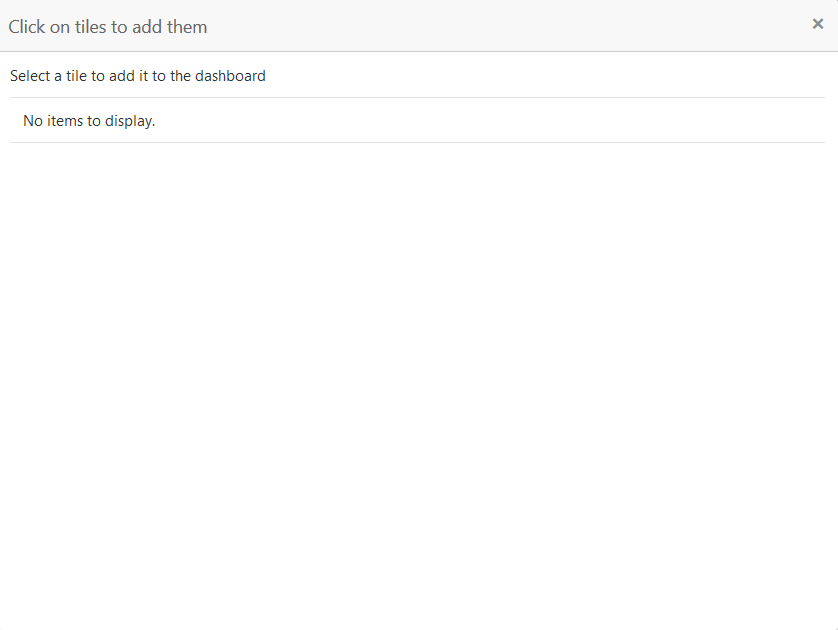
available Dashboard widgets to the dashboard-landing page.The Click on tiles to add them popup screen appears.
- Click on the dashboard to add to the dashboard-landing page.The page is automatically refreshed and displays the added dashboard widget.
- Click Add Tiles to Dashboard to add more
available Dashboard widgets to the dashboard-landing page.
Parent topic: How Tos
